
There’s something deeply grounding about large rocks in a landscape—literally. They anchor a space in a way that feels intentional without screaming “designed,” and they weather beautifully over time, developing character that most landscaping elements simply never achieve. I’ve watched ordinary backyards transform into genuinely memorable spaces just by introducing substantial boulders as focal points, path borders, or sculptural elements.
The trick isn’t plopping rocks down and calling it natural. It’s understanding how light hits them, what plants want to live nearby, how they interact with water, and how to integrate them so they feel like they belong rather than look dumped. Large rocks take patience to position correctly—you’re working with permanence here—but that’s also why they’re so rewarding. They don’t need replanting, they don’t require deadheading, and unlike annual flowers, they only get more handsome as they age.
What follows are twelve specific approaches I’ve seen succeed across different garden styles, soil types, and budgets. Some lean modern. Others suit cottage or woodland gardens. All of them respect the natural beauty of stone itself.
1. Boulder Clusters as Focal Points
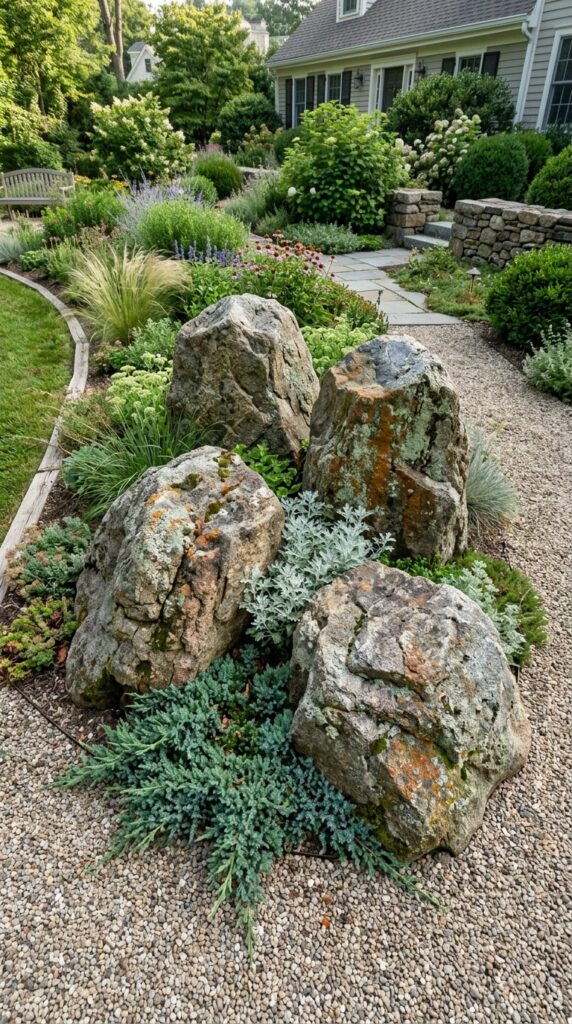
Clustering three to five substantial rocks together creates an instant focal point that costs less than sculpture but commands just as much attention. The key is asymmetry—avoid lining them up military-style or placing them in a perfect triangle. Nature doesn’t arrange boulders that way, and your eye knows the difference even when your brain doesn’t.
I’m partial to clusters that sit slightly proud of ground level on a pad of fine gravel. It gives them prominence without looking contrived. Use rocks with different profiles: one tall and angular, one squat and rounded, one somewhere between. Bury at least a third of each stone in the soil so they look rooted, not parked. Surround them with low, silvery foliage like artemisia or lamb’s ear to soften the edges.
Watch out for over-styling. The moment you add too many plants or decorative bits, the cluster loses its quiet authority.
A well-placed boulder grouping does the heavy lifting—let it.
2. Dry Creek Beds with River Rock
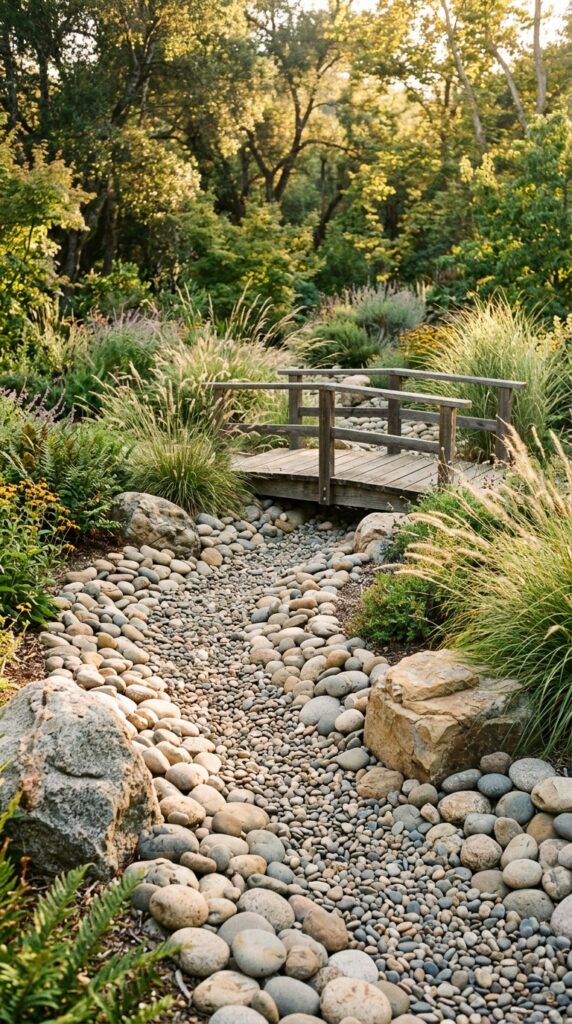
Dry creek beds solve drainage problems while looking like they’ve always belonged. If you have a spot where water pools or runs off during heavy rain, this is the answer—functional and beautiful in one move. The curve matters more than the rocks themselves. Straight channels read as drainage ditches; gentle, irregular curves read as nature.
Mix your stone sizes deliberately. Use larger boulders at bends and points where the “current” would slow, smaller river rocks in the channel itself, and pebbles to fill gaps. Edge the bed with ornamental grasses, sedges, or moisture-loving plants like Japanese forest grass. If you want the illusion really sealed, bury a few flat stones partially under the smaller ones, the way water-tumbled rocks actually stack.
One caution: skip this idea if your yard is dead flat with no slope at all. Without elevation change, it just looks like a rocky stripe.
Done right, it feels like a creek paused for the season.
3. Rocks as Natural Garden Borders
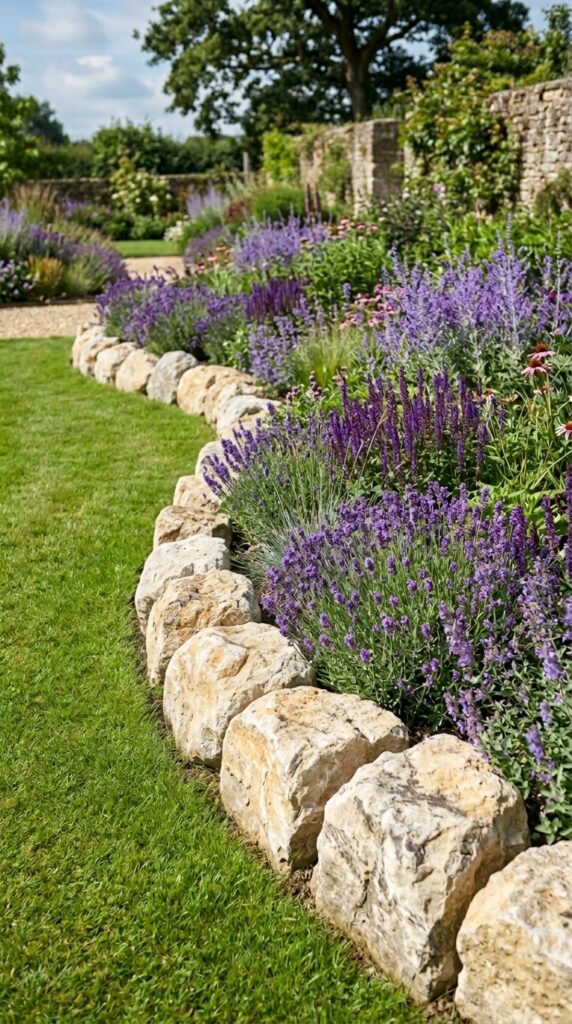
Forget plastic edging and those wavy metal strips. A single line of substantial rocks creates a border that’s both functional and gorgeous, and unlike thin edging materials, it actually stops aggressive grass from creeping into your beds. The visual weight reads as permanent in a way nothing else does.
Choose rocks roughly the size of a watermelon or larger—anything smaller looks fussy and gets lost. Vary the sizes within the line so it doesn’t read as a perfect row. Set them at slightly different angles, with some leaning forward, some back, like they tumbled there over decades. For curves, keep the radius generous; sharp turns look unnatural with stone.
Here’s the trick most people miss: bury each rock about a third of the way. A floating border looks like landscaping. A buried-in border looks like geology.
Skip this if you mow up to the edge constantly—you’ll hit them.
4. A Rock Garden on a Slope
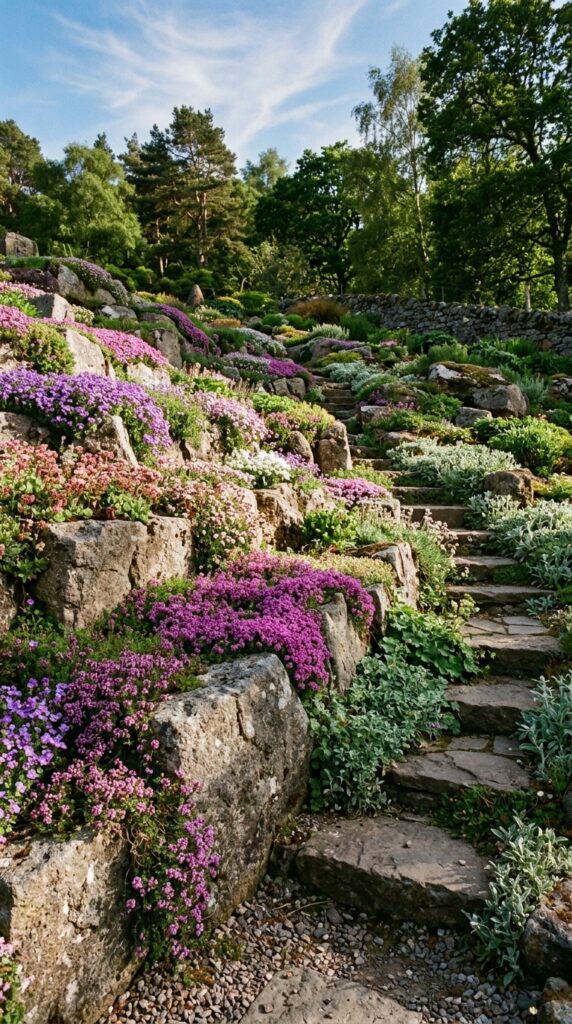
A slope is honestly the easiest place to use big rocks because gravity does half the design work for you. The boulders look like they belong because, geologically, they would. If you’re staring at an awkward hillside that’s hard to mow or constantly eroding, a rock garden solves the problem permanently.
Start with the largest rocks first and work down in size. Anchor the biggest ones near the top and at any natural pivot points—they’ll hold soil and slow water runoff. Tuck alpine plants and creeping perennials into the pockets between stones: creeping thyme, sedum varieties, ice plant, dianthus. Avoid neat rows of plants here; the appeal is the wild, tumbled look.
One thing to watch: don’t overplant. Empty space between rocks is part of the aesthetic. If everything’s covered in green, you’ve just made a regular slope with stones underneath.
Slopes were made for this. Lean in.
5. Stone Steps Through the Garden
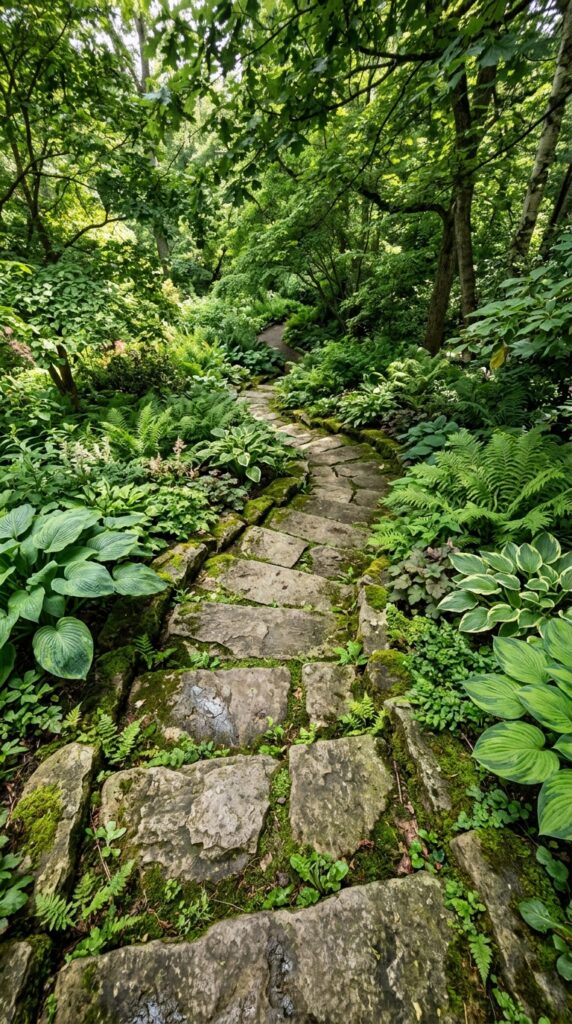
Stone steps turn navigation into a small ritual. The pause between footfalls slows people down, which is exactly what a good garden wants you to do. They’re also one of the few places where bigger really is better—small stepping stones feel cheap and shift over time, while substantial slabs settle in and stay put.
Look for flat-topped fieldstone or sliced boulder pieces at least eighteen inches across and two to three inches thick. Set each one in a bed of sand and gravel so it doesn’t wobble. Space them according to your natural stride, not a measuring tape—walk the path before committing and adjust. Let moss grow in the joints if your climate allows; it’s the cheapest finishing detail you’ll ever buy.
Watch out for slick surfaces in winter or shade. A textured top saves twisted ankles.
The right steps make the rest of the garden feel earned.
6. Boulder and Water Feature Combo
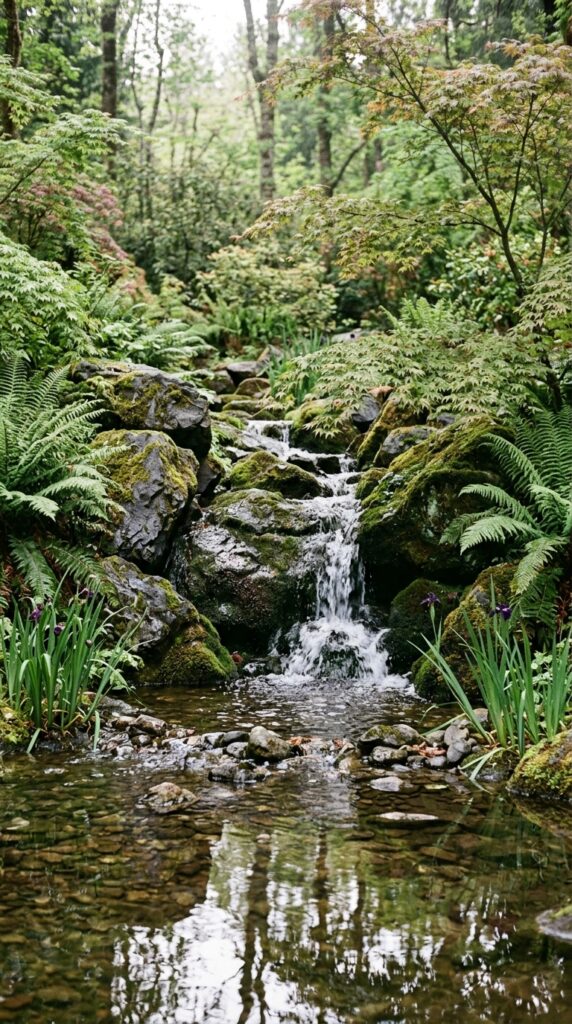
Pairing boulders with moving water is honestly one of my favorite combinations in landscape design. The contrast—solid against fluid, stationary against constantly moving—creates something almost meditative. Even a modest pondless fountain becomes dramatic when it spills over real stone instead of a resin facsimile.
Use the largest boulders at the spillway and around the base of the feature, where water will splash and your eye will land. Choose rocks with interesting textures and slight hollows that catch and release water in unexpected ways. Surround the feature with shade-loving plants—ferns, hostas, astilbe, Japanese forest grass—to soften the edges and reinforce the woodland feeling.
Be honest about maintenance, though. Algae loves wet rocks, and you’ll spend a few hours each season scrubbing if you want them looking crisp. Many people prefer the patina; some don’t.
Water and stone together rarely disappoint.
7. Rocks Around the Base of Trees
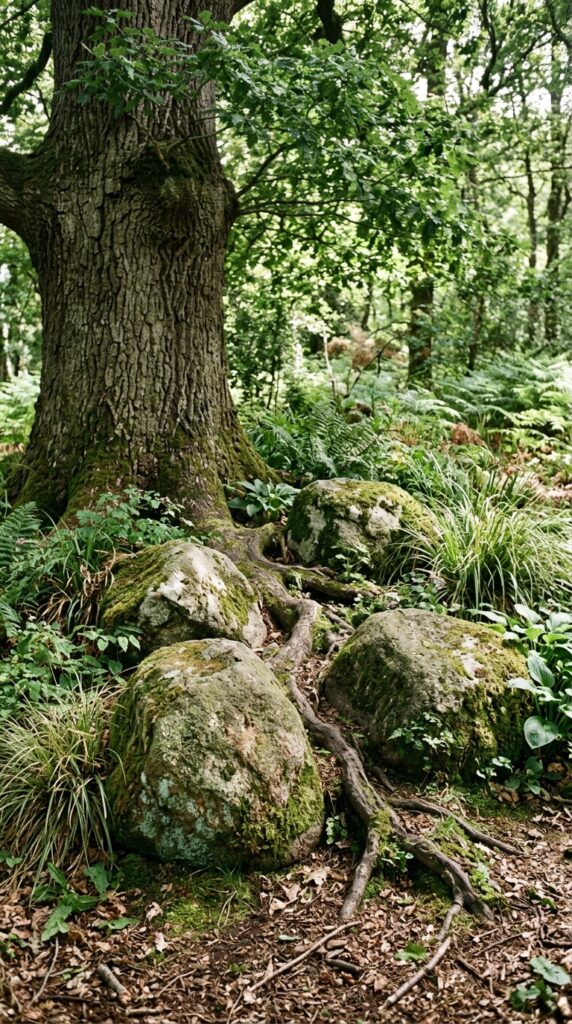
Mulch rings around trees are practical but visually flat. Replace some of that mulch with two or three substantial boulders nestled near the trunk, and suddenly the tree looks like it grew up in real terrain instead of a suburban lawn. It’s a small change that completely shifts the feeling of the space.
Position rocks so they appear to emerge from the soil, not sit on top of it. Vary the heights, and don’t ring the tree completely—nature wouldn’t. Tuck shade perennials like heuchera, hellebores, or hostas into the gaps, and consider a low groundcover like Vinca minor to knit everything together.
A real warning here: never pile rocks against the trunk itself. Trees need their root flare exposed, and trapped moisture invites rot. Keep stones six to twelve inches from the bark.
Done well, it looks geological. Done poorly, it kills your tree.
8. Stacked Stone Retaining Walls
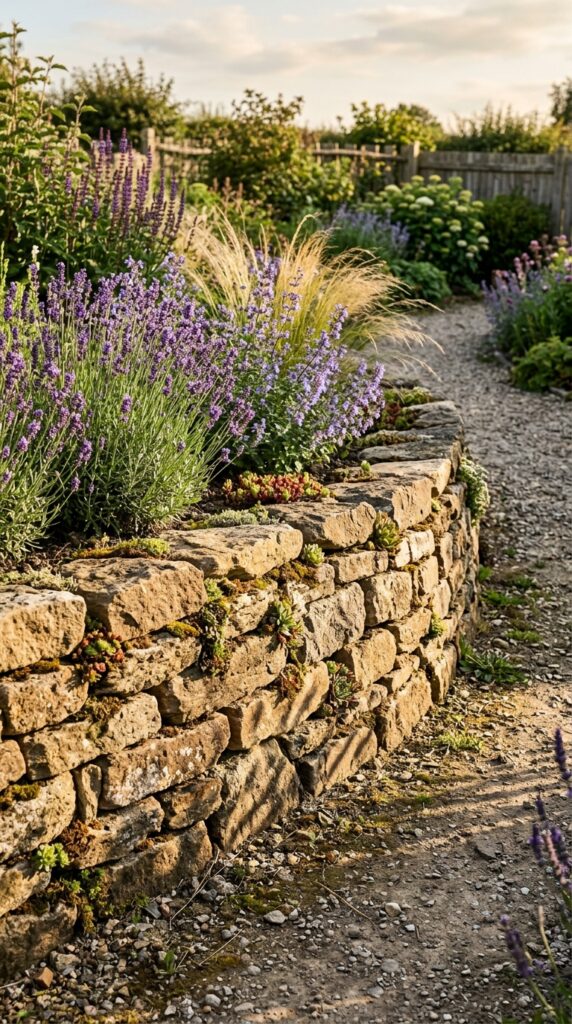
A dry-stacked stone wall is one of the most satisfying additions to any sloped property. No mortar, no concrete, just stone weighted properly and locked into place by gravity and good geometry. It looks like it’s been there forever even when it went up last weekend, which is honestly the dream for any landscape feature.
Use flat, layered stones rather than rounded boulders—they stack predictably. Start with the largest pieces at the base and graduate to smaller ones near the top. Set the wall with a slight inward lean (called a batter) so soil pressure pushes it into stability instead of out toward collapse. Plant the top with cascading perennials like creeping phlox or sedum to soften the edge.
Don’t go higher than three feet without proper engineering. Above that, you’re flirting with collapse and code violations.
A well-built dry wall ages beautifully and outlasts almost everything else.
9. A Single Statement Boulder
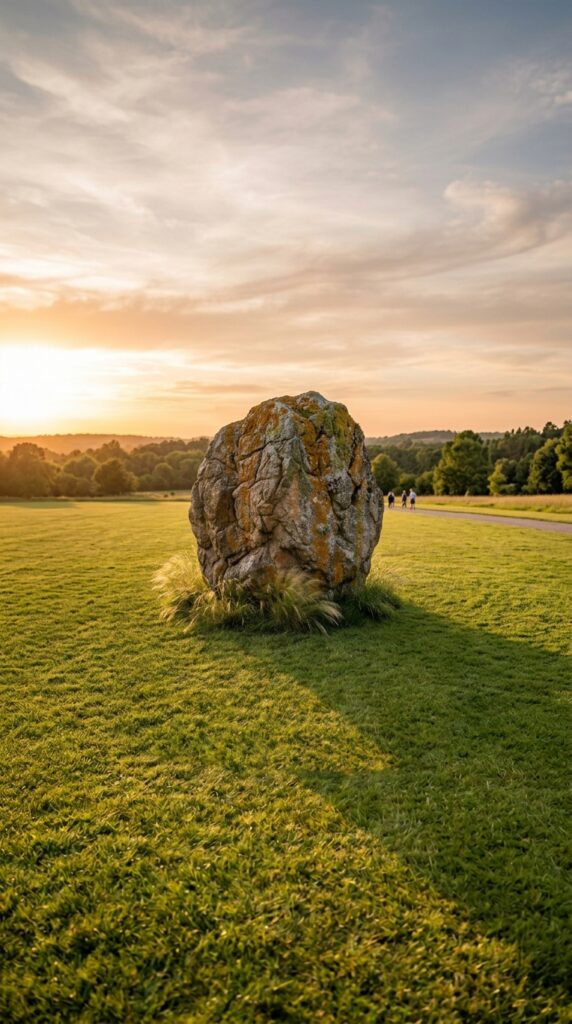
Sometimes one perfect rock says more than a dozen mediocre ones. A single statement boulder—chosen for its character, color, and silhouette—becomes sculpture. The restraint takes confidence, but it pays off because the eye has only one thing to study, and that thing better be worth looking at.
Spend time choosing this rock. Walk around it at the stone yard, view it from every angle, imagine which face will point toward the house. The best statement boulders have presence: interesting fracture lines, color variation, lichen already established, or an unusual shape. Position it where it’s visible from your most-used window or seating area. Surround it with simple, low plantings that don’t compete.
Don’t try to dress it up with too many supporting plants or decorations. The boulder is the moment. Anything else dilutes it.
This is the move when you want quiet impact.
10. Rock-Lined Pathway Edges
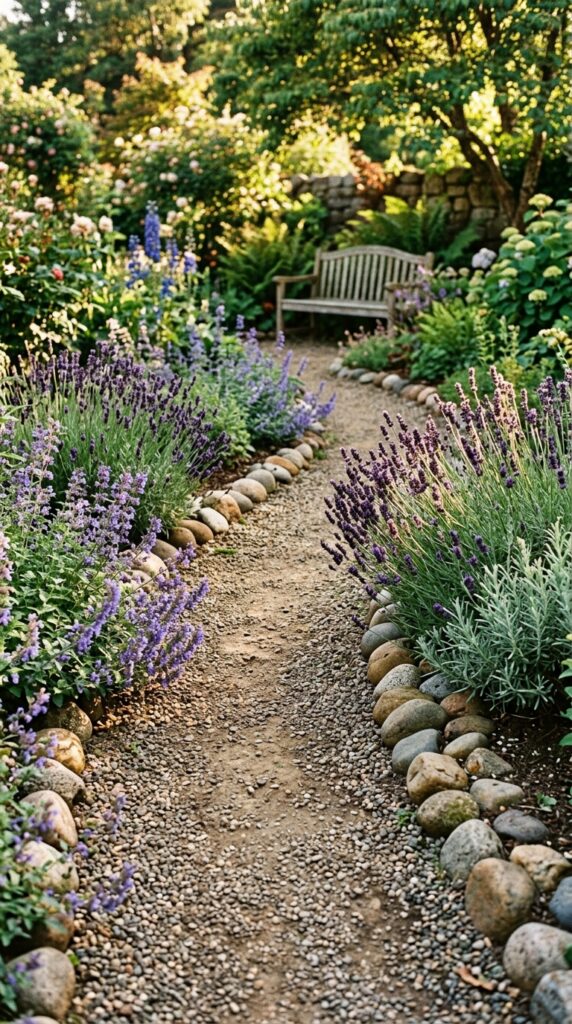
Lining a path with substantial rocks does two practical things: it keeps gravel or mulch from migrating onto the lawn, and it signals where the path ends without needing a hard architectural edge. Visually, it also adds weight and rhythm to what would otherwise be a flat ribbon of material running through your yard.
Choose rocks that are consistent in size—roughly the size of a cantaloupe works for most paths. Set them close together so soil and mulch don’t sneak through. For an even more natural feel, vary the placement so some rocks sit slightly forward, some slightly back, breaking the rigid line. Let plants like creeping thyme or catmint spill over the edges to soften everything.
The watch-out: don’t use rocks so small they look like driveway gravel. Edging stones need real visual presence or they disappear into the path itself.
A good edge makes a path feel intentional.
11. Boulder Seating Areas
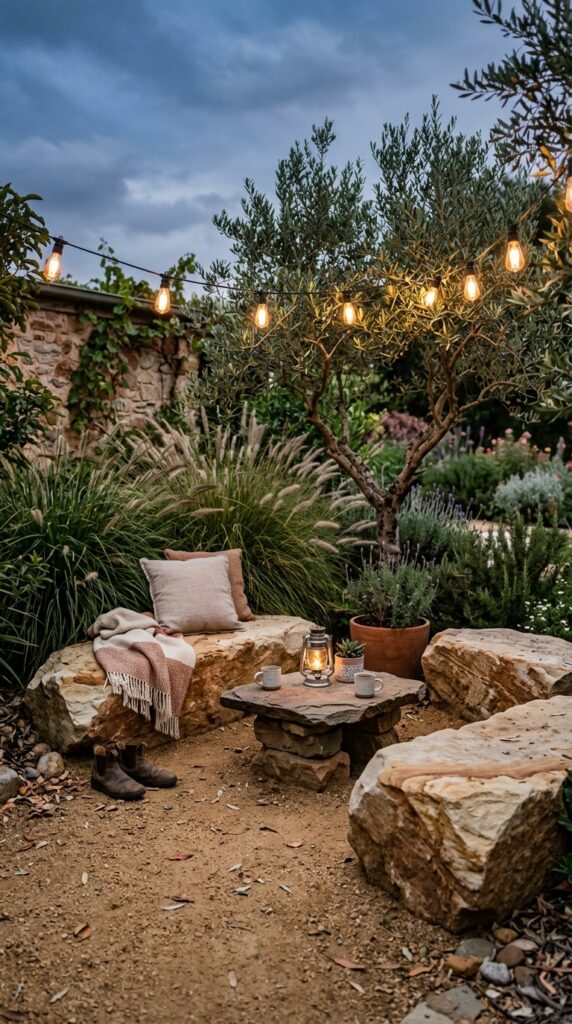
Outdoor seating doesn’t always have to be teak or aluminum. Strategically placed flat-topped boulders make wonderfully natural perches, and they require zero maintenance—no cushions to drag inside before storms, no rust, no fading fabric. For casual seating around a fire pit or in a meditation corner, they’re hard to beat.
Look for boulders with naturally flat tops at comfortable seat height, roughly sixteen to eighteen inches. Position them in conversational arrangements—not all facing the same direction—and pair with a low stone or wooden table if you want function. Soften the area underfoot with decomposed granite or a low groundcover so the seating feels intentional rather than accidental.
The honest trade-off: stone is cold and hard. For long lounging, you’ll want a throw or cushion. For quick coffee or a sunset moment, it’s perfect.
Sometimes the best furniture isn’t furniture at all.
12. Rocks in Gravel Gardens
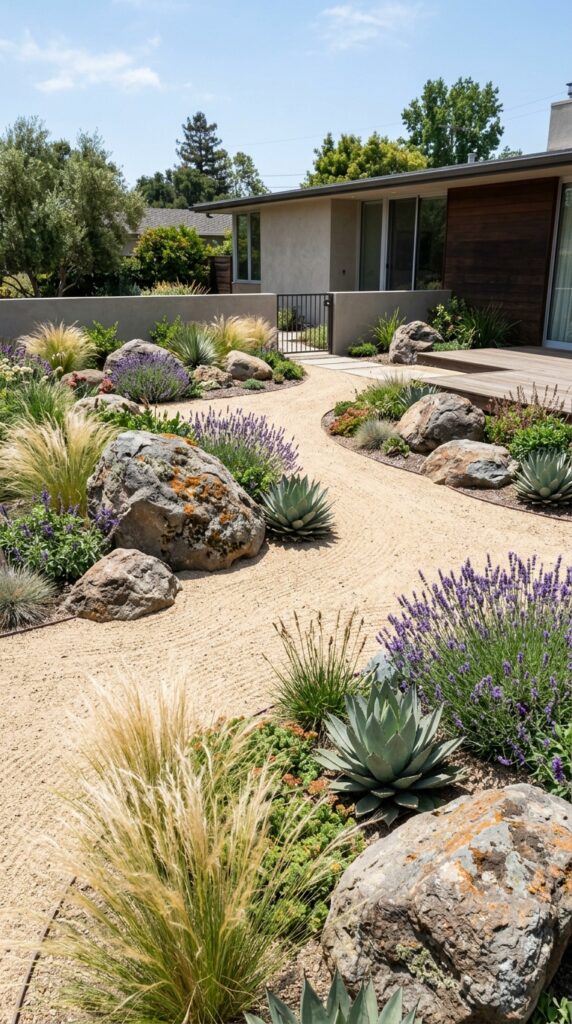
Gravel gardens are having a real moment, and honestly, they deserve it. Low water, low maintenance, low fuss—and when you punctuate the gravel with substantial boulders, the whole composition takes on a sculptural, almost minimalist feel. It works equally well for modern homes and rustic ones, which is rare in landscape design.
Choose gravel in a color that complements your rocks rather than competes—pale tan or warm gray usually wins. Place boulders in irregular clusters, bury them partially, and group your drought-tolerant plants nearby rather than scattering them evenly. Lavender, salvia, agave, ornamental grasses, and sedums all thrive in these conditions and look beautiful against the texture of gravel and stone.
One real consideration: weeds will try. A high-quality landscape fabric beneath the gravel saves hours of pulling later, though some purists hate it.
For low-effort beauty, this approach earns its keep.
Conclusion
Large rocks aren’t just landscaping elements—they’re commitments to a more permanent, more grounded outdoor space. Once you place them well, they reward you for years with virtually no upkeep, no replacement costs, and an aesthetic that only deepens as moss settles in, lichen spreads, and surrounding plants mature around them. That’s a kind of return on investment most garden features simply can’t match.
The ideas here aren’t meant to be combined all at once, of course. Pick one or two that fit your space, your style, and your appetite for installation effort. A statement boulder requires nothing more than thoughtful placement, while a dry-stacked wall is a real weekend project. Both can transform a yard.
What I hope you take away is this: the best rock landscaping doesn’t shout. It feels like it’s always been there, like the land itself decided this is how it should look. Spend time choosing your stones, respect their weight and presence, and let them do their quiet work.
Come back and visit us again when you’re planning your next garden project—we always have more ideas worth digging into. You’ll learn something new every time.

