
Small backyards have a reputation they don’t quite deserve. People assume you can’t fit a play area, a herb garden, a seating spot, and a mud kitchen all into the same square footage, but you absolutely can, you just have to think vertically, modularly, and a little cleverly. The trick with a tiny outdoor space is that every piece has to earn its spot, which is actually a gift when you’re designing for kids. It forces you to skip the bulky plastic toys and build something proportional, beautiful, and quietly woven into the landscaping. Below are twelve mud kitchen ideas designed specifically for cramped yards, narrow side returns, balconies, and the awkward little patches behind apartments. None of them dominate the space. All of them invite hours of unplugged play. And almost every one can be built in a single weekend with materials you can scrounge for free or close to it.
1. The Fence-Mounted Mini Kitchen
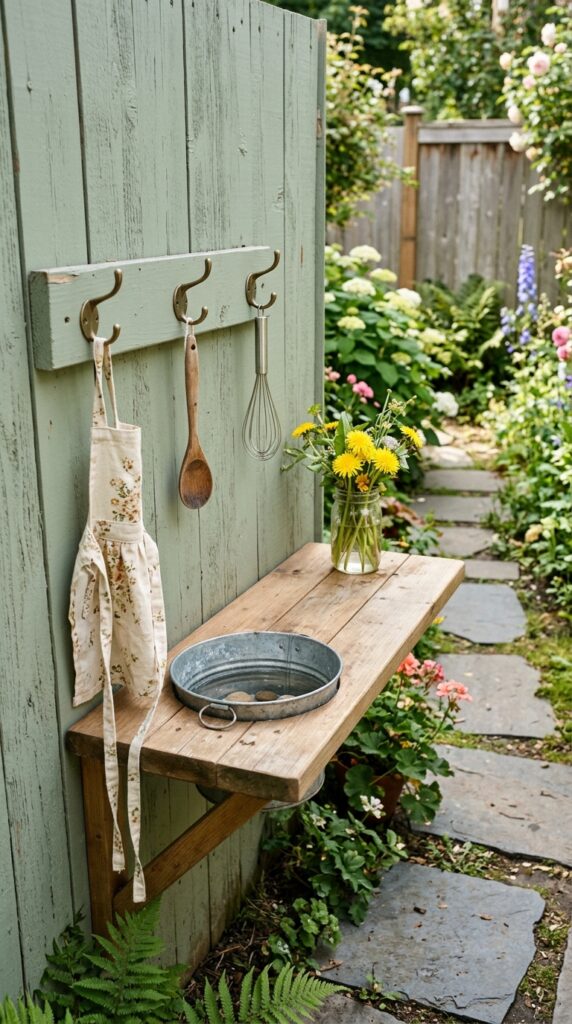
When you’ve got almost no floor space, the fence becomes your best friend. A single sturdy plank mounted horizontally at toddler height, with two strong brackets bolted into the fence posts (not just the panels, those will wobble), gives you a clean little counter that takes up zero ground. Add a row of hooks above for utensils and aprons, and a small basin sunk into the counter. The whole thing reads as built-in rather than added on. Paint the plank in a color that complements your fence, sage on cedar, chalky white on dark wood, terracotta on weathered grey. The catch is structural: only works on solid wooden fences, not chain-link or panel-style that flex when leaned on. Genuinely the lowest-footprint option here.
2. The Corner Tucked Build
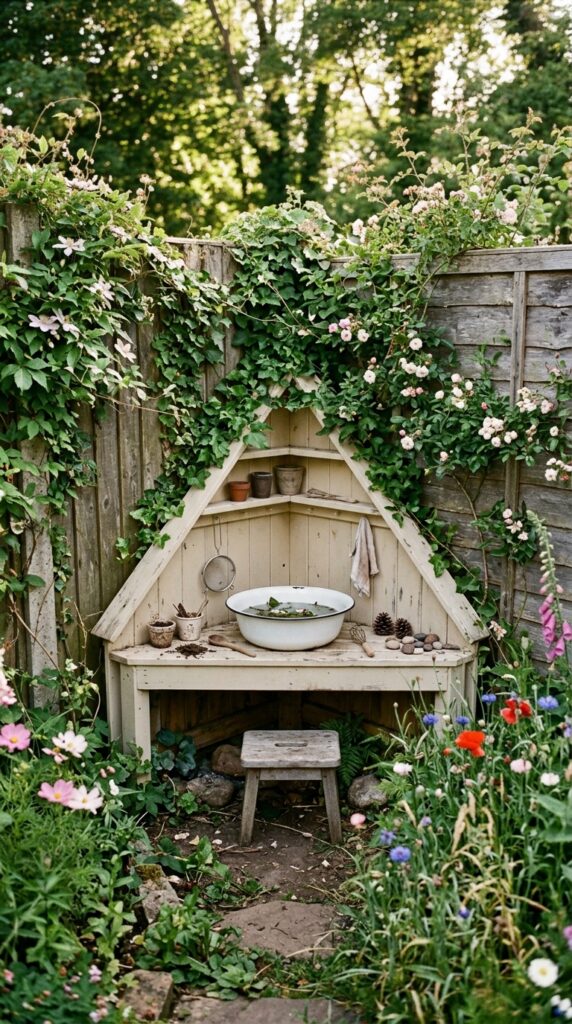
Corners are where small yards waste the most space. A triangular kitchen that wedges into the meeting point of two fences turns a useless angle into the most charming spot in the garden. Cut a triangle of plywood for the counter, mount it on three small brackets, and finish the front edge with a strip of trim so it doesn’t look like an offcut. The corner naturally creates a “back wall” on two sides, which means everything stays contained and feels intentional. Style it with a single basin, a couple of hooks, and a small shelf below for storage. Watch out for low-hanging branches or vines, the corner often collects the most overgrowth, so trim regularly. Clever use of dead space, almost no materials needed.
3. The Slim Console Kitchen
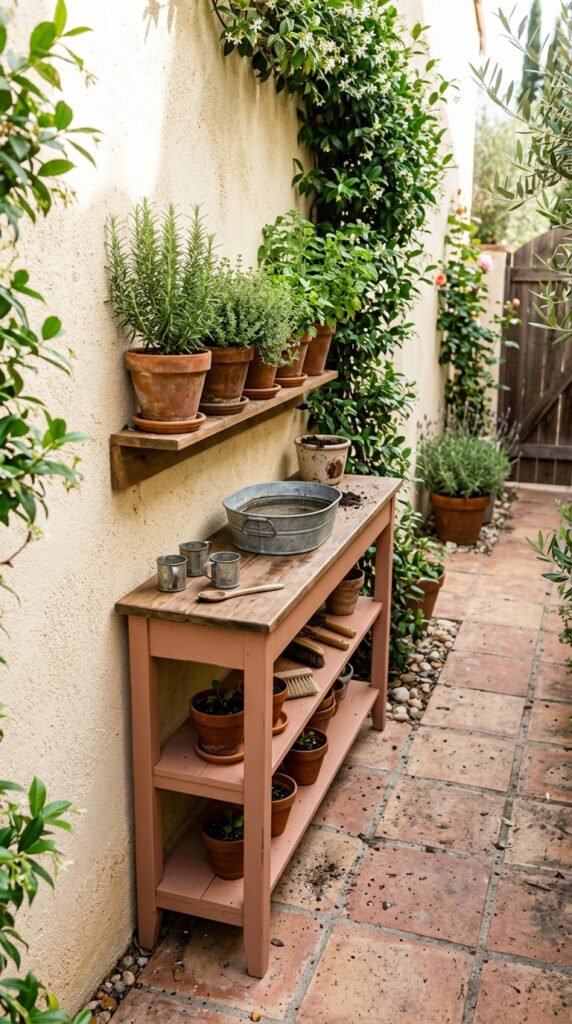
Console tables are the secret weapon of small-space design, and the same logic works outdoors. Build a narrow kitchen, no more than ten inches deep, that hugs the wall like a hallway table. The shallow depth means it doesn’t eat into walking paths, and you can still fit a basin, two shelves, and a small storage cubby. Use scrap pine or a thrifted indoor console you don’t mind sacrificing to the weather. Paint it in a color that disappears into your wall, clay against stucco, charcoal against dark fencing, chalky white against brick. The trade-off is depth, kids can’t dig into deep mud bowls comfortably here, so this works better for “cooking and serving” play than messy excavation. Sleek and unobtrusive.
4. The Stacked Crate Tower
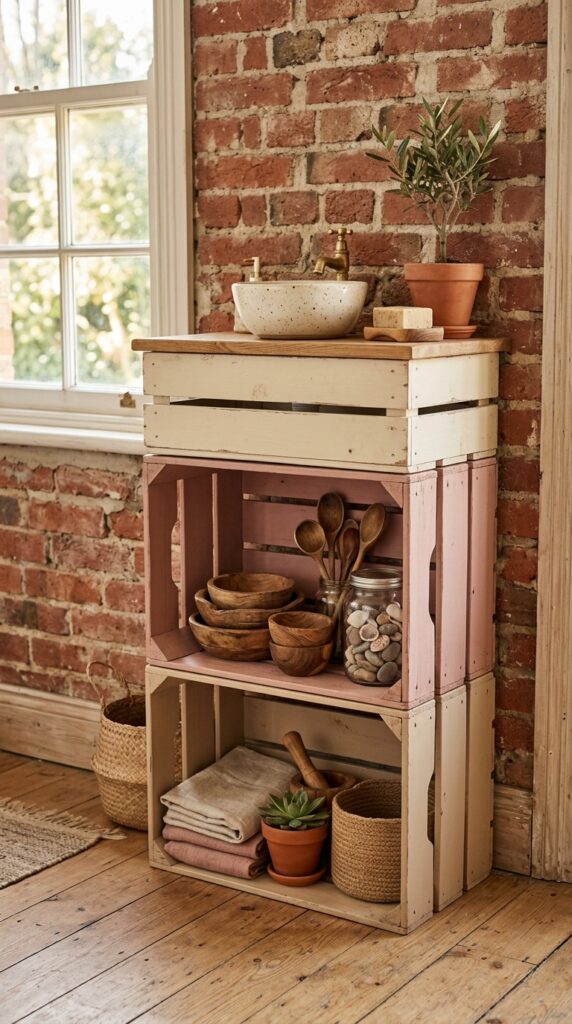
When you can’t go out, go up. Three or four wooden produce crates stacked vertically take up the floor space of one crate but give you four times the storage and play area. Flip the top crate upside down for a flat counter surface, and use the lower crates as open cubbies for play “ingredients” and utensils. Screw them together at the seams, vertical stacks tip easily if a kid pulls on the front, and anchor the top crate to the fence or wall behind for safety. Paint each crate a slightly different muted tone for that intentional layered look. The constraint: top-heavy stacks are genuinely a tip-over risk, so always anchor them. Tiny footprint, surprising amount of play surface.
5. The Balcony Bar Cart
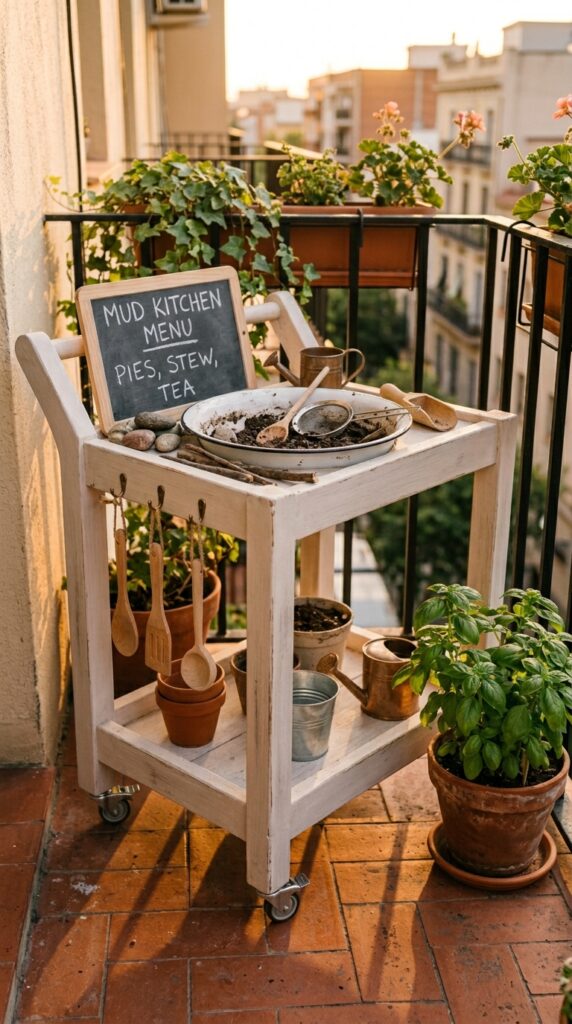
For apartment balconies or paved courtyards where literally nothing can be permanent, a small bar cart on wheels is the move. The two tiers give you counter and storage, the wheels let you roll it out for play and tuck it against the wall after, and the whole thing reads as intentional outdoor furniture rather than a kid zone. Cheap thrifted bar carts run $20–30 and clean up easily with sandpaper and a coat of exterior paint. Add a small basin on top, hooks on the sides for hanging utensils, and you’re done in an afternoon. Skip this if your balcony floor isn’t level, the wheels will roll uphill toward the railing. Mobile, stylish, no commitment.
6. The Drop-Down Wall Counter
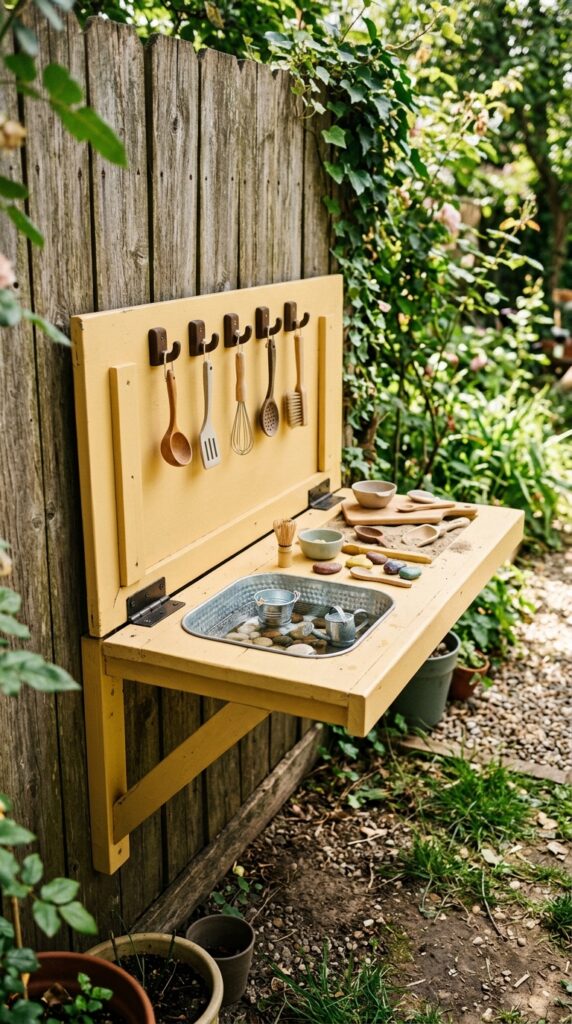
The drop-down counter is genuinely one of the best space-savers ever invented and adapts beautifully to a mud kitchen. A hinged plywood counter mounts flush against the fence when not in use, then folds down to horizontal for play, held in place by a folding bracket or chain. When the kids are done, it tucks back up and the yard returns to normal. Use a thick board, half-inch ply minimum, so it doesn’t sag when leaned on. Paint the underside (which becomes the “back” when folded down) in a fun color so it brightens the space during play. The catch: you need a fence sturdy enough to bear weight via screws into posts. Pure small-space genius.
7. The Pot Stand Conversion
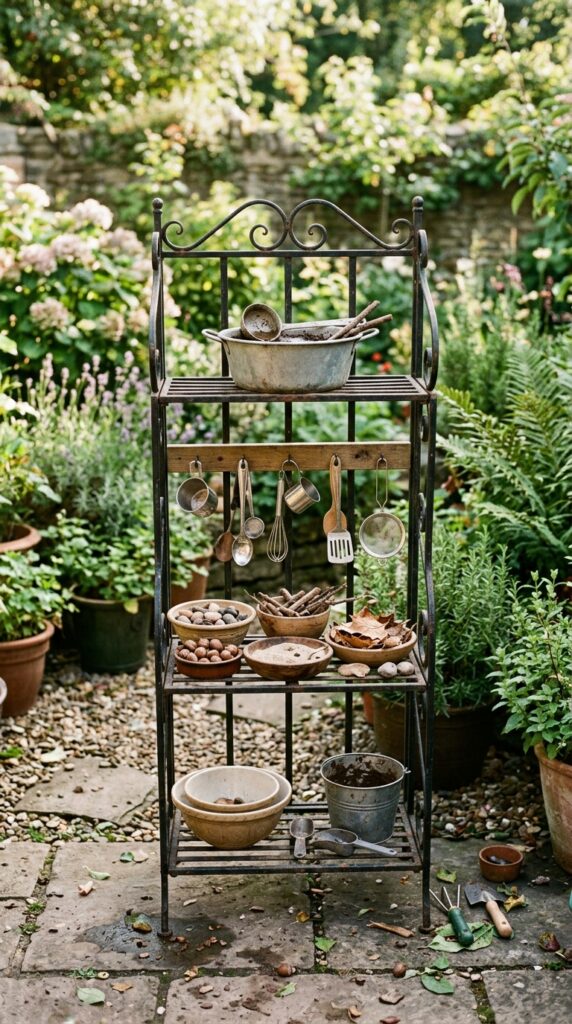
Tiered plant stands are abundant at thrift stores, charity shops, and on local marketplace listings for under fifteen bucks. Their vertical design means they take up almost no floor space while giving you three or four play levels. The top tier becomes the counter and basin, the middle tier holds utensils and aprons, the bottom tier holds buckets of dirt or “ingredients.” Spray paint the whole thing one cohesive color, matte black, deep olive, chalky cream, so the mismatched tier designs read as intentional. Watch the weight capacity though, old plant stands aren’t built for heavy use, so don’t load them down or let kids climb. Surprisingly elegant, very vertical, almost no footprint.
8. The Window Box Kitchen
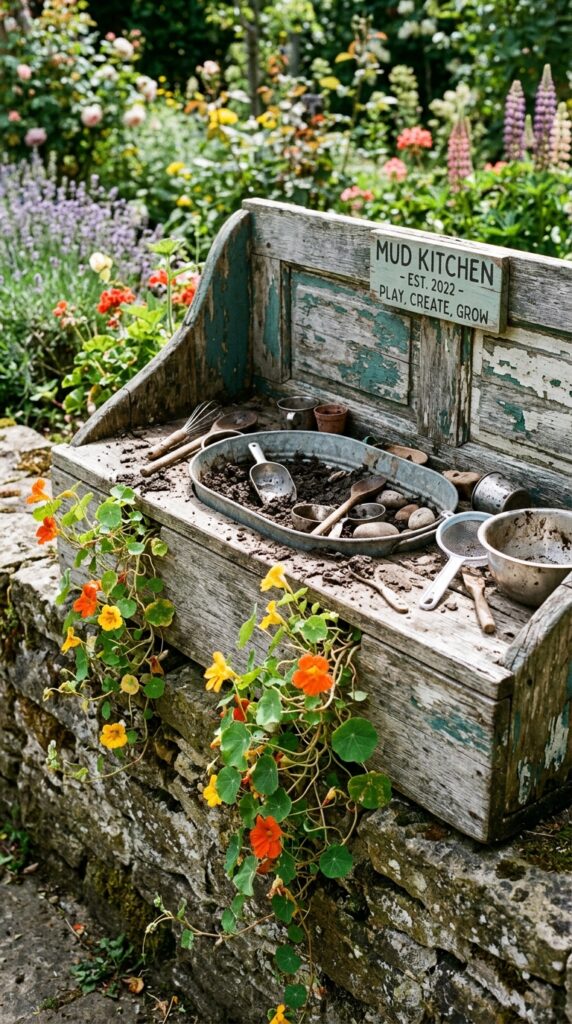
This one’s especially lovely if you’ve got a low garden wall or a sturdy windowsill at the right height. Build a deep wooden box, around eight inches deep, and mount it like an oversized window box. Drop in a basin, a few utensils, and let your kid use the box itself as the prep surface. The whole thing reads as part of the garden architecture rather than a play structure, which is the dream in small yards where every piece is visible. Plant trailing flowers or herbs around the edge for the “this was always here” effect. The limit: depth. Window box kitchens work for “cooking” play but not for deep mud excavation, so it’s better for slightly older kids who lean into pretend rather than dig.
9. The Stool-Height Single Counter
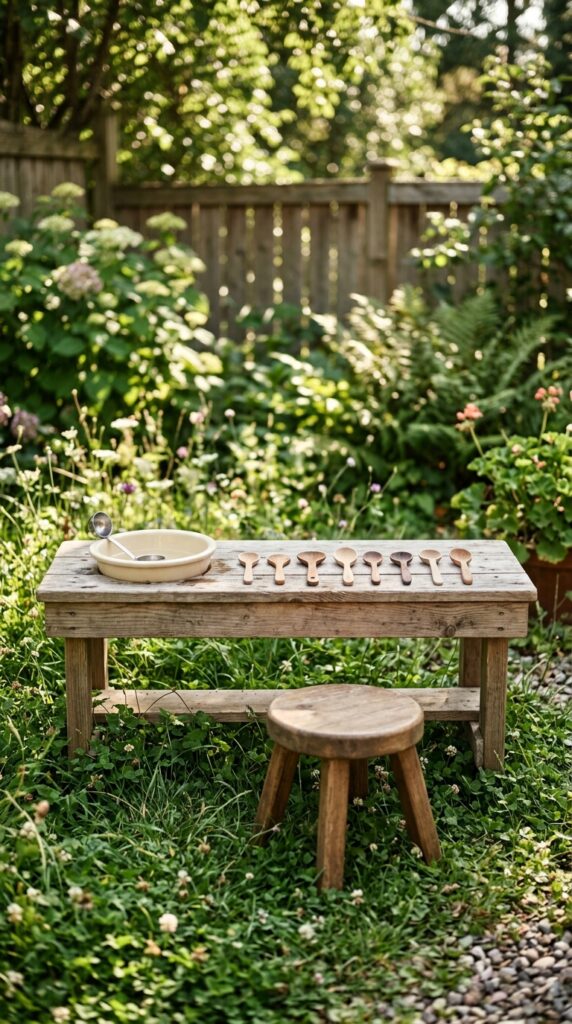
For very young kids and very tight spaces, sometimes the answer is to scale down dramatically. A single low counter, just twelve inches off the ground, takes up almost no visual weight in the yard but gives toddlers a perfect-height play surface. They can sit on a small stool or kneel directly on the grass, which is how most toddlers naturally play anyway. Use a short plank on two small log rounds, or a thrifted child’s stool flipped sideways. The whole thing reads almost like a piece of garden landscaping rather than furniture. The catch: only works for kids under four or so, older children outgrow the height and the magic fades. Low-impact, low-cost, low-commitment.
10. The Vertical Slat Wall Setup
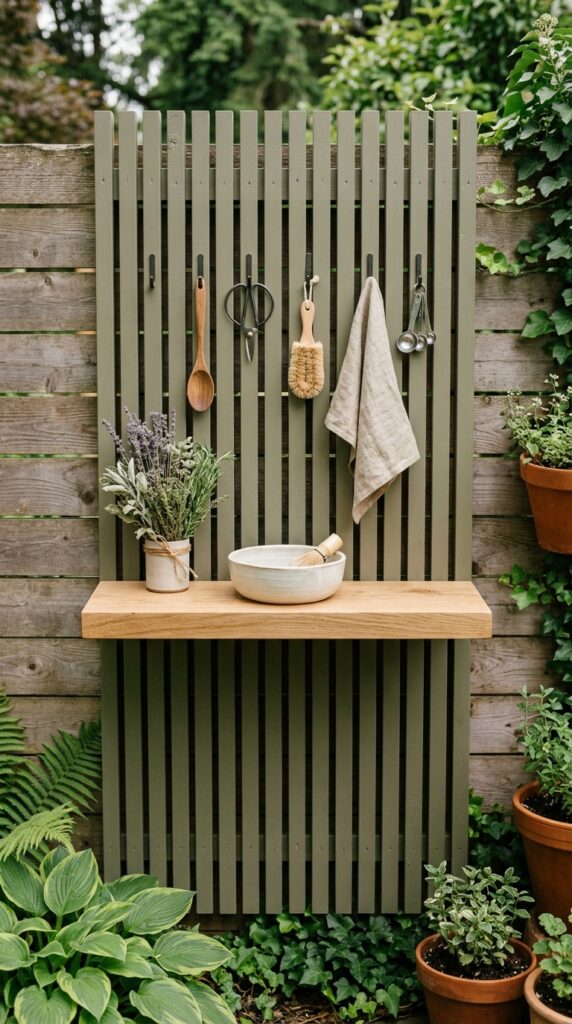
If you want something that genuinely reads as designed rather than improvised, a slat wall is the way to go. Vertical wooden slats mounted to your fence create a textured backdrop, and a single floating shelf at toddler height becomes the counter. Hooks slot between the slats for utensils, so everything has a place and the whole thing looks like an outdoor mood board rather than a kid zone. Paint everything one cohesive color, dusty olive, charcoal, chalky white, for that monochromatic high-design feel. The trade-off: this is the most “design” of the options here, so it takes longer to build and costs slightly more in materials. Still under $50, but plan for an afternoon of careful measuring.
11. The Bucket And Plank Setup
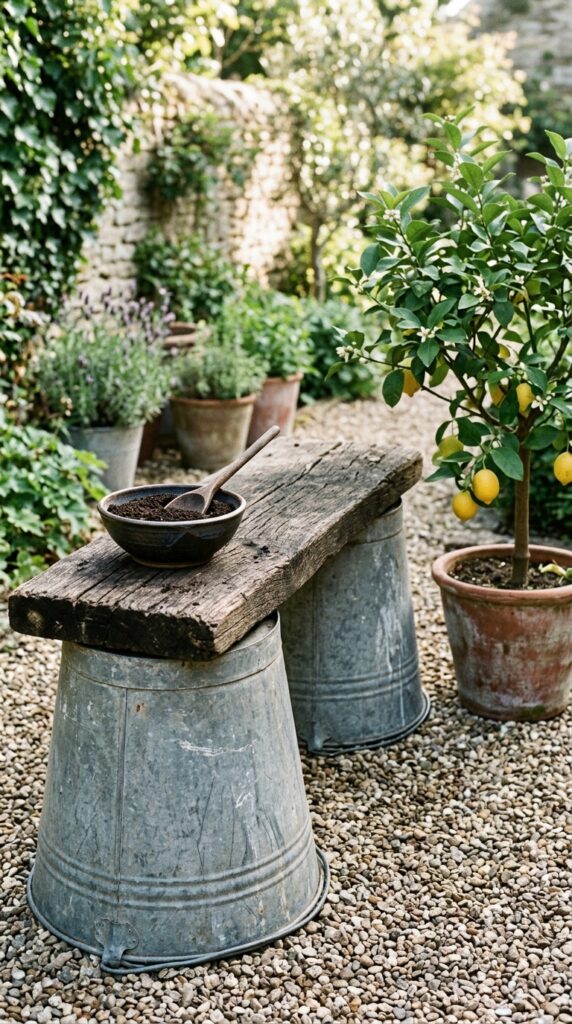
The absolute lowest-effort option on this list, and somehow one of the most charming. Two galvanized metal buckets flipped upside down become the legs, a single weathered plank lays across the top as the counter, and that’s the entire build. The whole thing takes ten minutes, costs under $25, and packs away into the buckets when not in use. The metal buckets become storage for the play tools at night, you just flip them right-side up and toss everything in. Style-wise it leans into a raw, earthy minimalism that actually looks lovely against potted plants and gravel. The catch: not the most stable for rough play, so steady the plank with a couple of clamps if your kids are heavy-handed. Almost no commitment, almost no cost.
12. The Doorway Threshold Kitchen
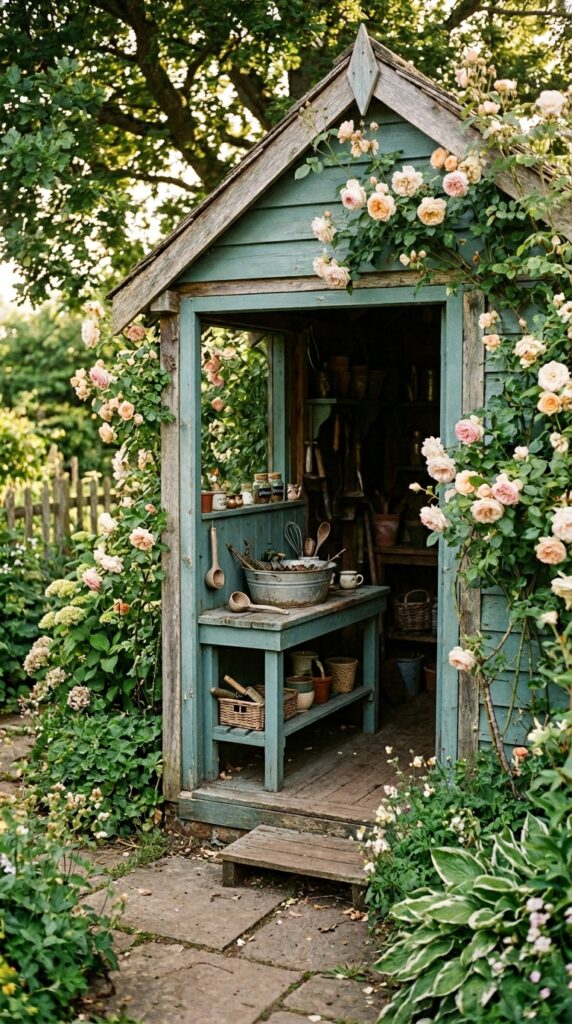
If you have a shed, garage, or covered nook in your tiny yard, building the kitchen into the threshold is genius space-use. The structure above acts as the roof, the doorway frames the kitchen visually, and you get full rain protection without building any cover. A simple counter mounted across the inside of the doorway, with the basin sunk in and storage shelves below, transforms wasted threshold space into a fully sheltered play kitchen. Paint it in a color that pops against the shed, dusty teal on a grey shed, warm clay on a white one, sage on weathered cedar. The constraint: you still need to access the shed, so make the counter removable or hinged to swing out of the way. Sheltered, hidden, and uses zero new ground.
There’s a particular pleasure in solving small-space puzzles, and a mud kitchen in a tiny backyard is one of the most rewarding ones to crack. The yards in these ideas aren’t sprawling country gardens, they’re the real cramped patches behind apartments, terraced houses, and city homes where every square foot matters. And yet every single one of these builds proves you don’t need acreage to give a child the quiet magic of stirring leaf soup in the afternoon sun. If something here sparked an idea, the fold-down counter, the corner build, the bucket-and-plank, just start. Pick the simplest one and build it this weekend. We share practical, design-led ideas for small homes and small budgets here every week, the kind that respect your space, your taste, and your sanity. Bookmark us, share this with a friend who’s been telling you their yard is “too small for anything,” and go build something tiny and brilliant.

