
Every parent reaches a moment where they realize the most expensive toys gather the most dust, while a stick and a puddle hold a child’s attention for two hours. A mud kitchen leans into that truth. It’s not a fancy installation, it’s a small invitation to mess, invention, and the kind of unhurried play that’s getting harder to come by. The genuinely lovely thing about building one yourself is how little it actually costs. Most of the supplies are sitting in your shed, behind the hardware store, or being given away on local marketplace listings every weekend. Below are twelve cheap, doable builds, ranging from a fifteen-minute setup to a proper Saturday project. None of them require fancy tools or carpentry skills you don’t have. Just a willingness to get a little sawdust on your jeans and the patience to let your kid “help.”
1. The Two-Pallet Wonder
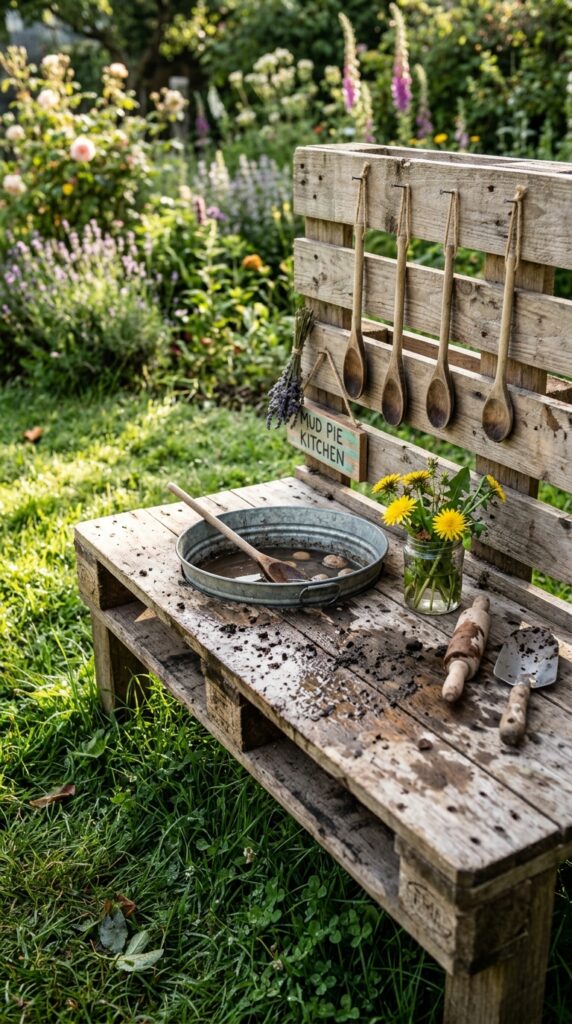
Pallets are basically the universal currency of cheap DIY. Two of them, stacked perpendicular and bolted together with L-brackets, give you a functional mud kitchen for the cost of a few screws. Sand them properly first, splinters will end this project faster than rain will. A jigsaw circle in the top holds a thrifted metal bowl as the sink. Don’t bother painting unless you want to, raw weathered pine actually looks lovelier than most finishes after a season outdoors. One critical thing: only use pallets stamped HT (heat-treated), never MB (methyl bromide), which is chemically nasty. If the stamp is missing, walk away. Free materials, an afternoon of work, and a result that looks like you knew what you were doing. The classic for a reason.
2. The Old Bookshelf Flip
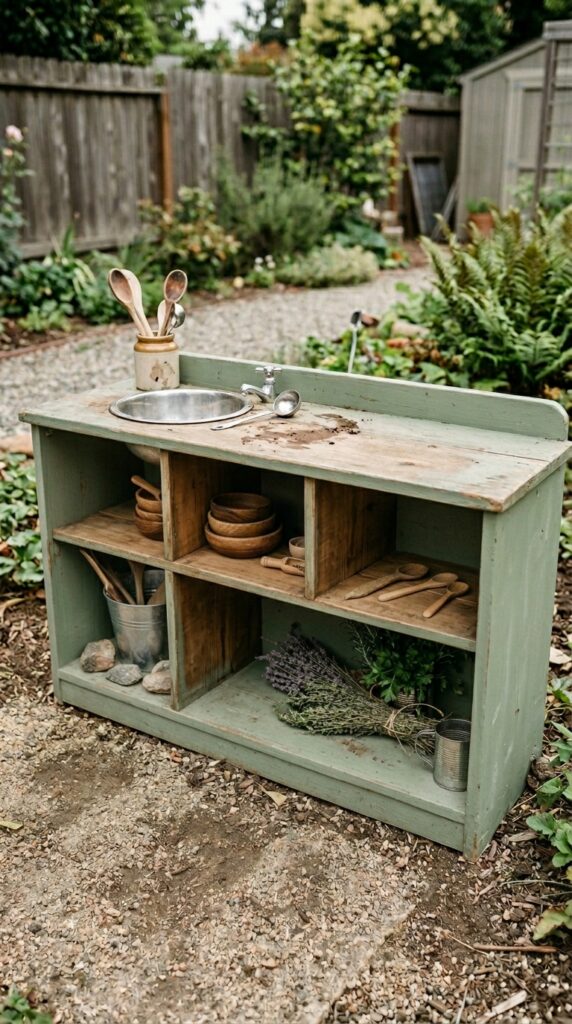
This one always makes me smile because it’s so cleverly lazy. An old wooden bookshelf, the cheap kind that nobody wants because the back is warped, gets laid on its back, and suddenly all those shelves become storage compartments. The top becomes counter space. The whole “build” is essentially tipping a piece of furniture sideways. Hit it with a coat of exterior chalk paint in something muted, dusty sage, soft clay, putty grey, to mask the original veneer. Cut a hole in the top for a basin if you’re feeling ambitious. Watch the materials though, particleboard bookshelves will swell and crumble in rain, so this only works under a covered porch or for a setup you’ll bring inside at night. Brilliant if you have one already, skip if you’d have to buy one.
3. The Cinder Block Bar Setup
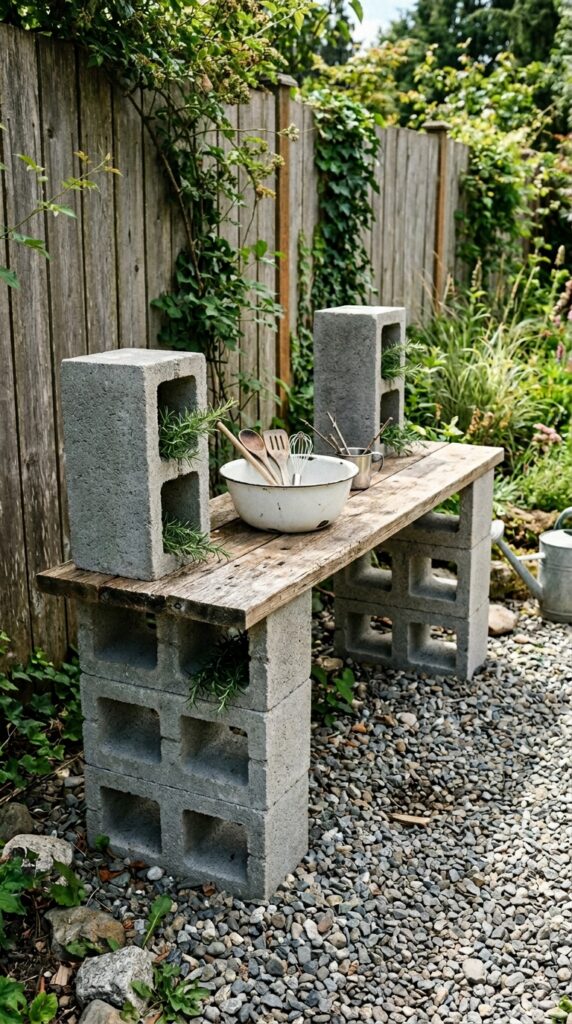
For renters and anyone who wants to be able to disassemble the whole thing in three minutes, this is unbeatable. Cinder blocks (around two dollars each), a couple of planks, and you’re done. The genius part is that the holes in the blocks double as utensil storage and tiny planters, you can slot wooden spoons right in or grow herbs. Leave them raw for an honest, industrial look, or limewash them in a creamy off-white for something softer and more Mediterranean. The trick is balancing the planks properly so they don’t tip when a kid leans on the edge, screw them down lightly to the top blocks for security. The downside: cinder blocks are heavy, so move them once and leave them. Cheap, fast, and oddly stylish if you commit to the aesthetic.
4. The Reclaimed Drawer Kitchen
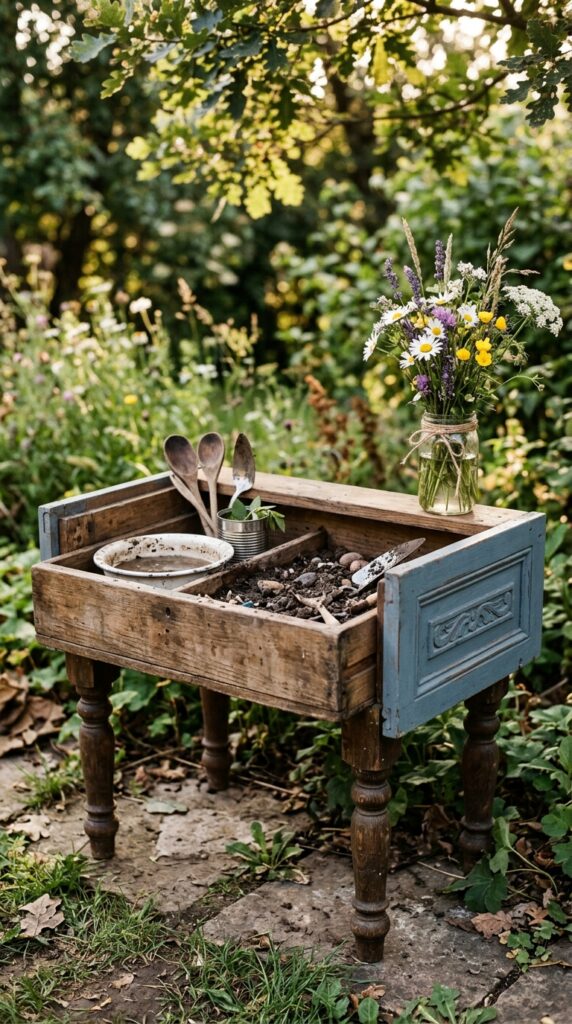
There’s something so satisfying about pulling a single drawer out of a dead dresser and giving it a whole new life as a tiny kitchen. Mount it on four sturdy wooden legs (table legs from a thrift store, $5 a set), and the drawer itself becomes the basin and prep area. If you grab a dresser from a curbside giveaway, you can use the carved drawer fronts as decorative side panels for free, which adds character. Paint everything in one cohesive muted color, dusty blue, soft olive, chalky cream, so it doesn’t look like a Frankenstein build. Watch the depth though, deep drawers work better than shallow ones because they hold more “ingredients.” Best for kids who like to dig and stir, less ideal if your child prefers neat, separated stations.
5. The Tree Stump Kitchen
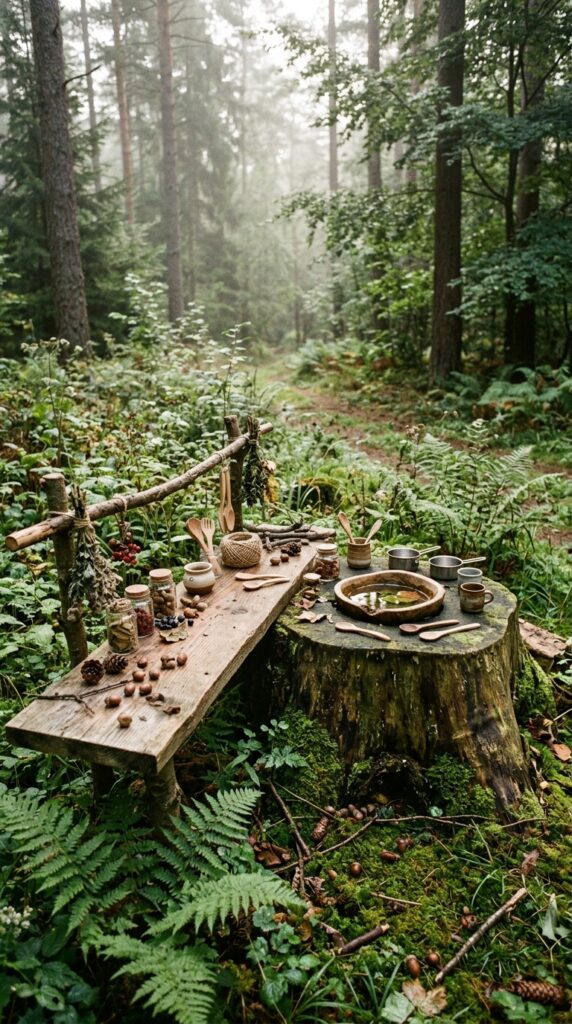
If you’ve got an old tree stump in the yard, you’ve already got most of a mud kitchen. Stumps are the natural counter, weatherproof, beautiful, and impossible to knock over. Attach a wider plank to one side at the same height for extra surface, and use the stump’s flat top as the main prep area. Carve or burn a shallow bowl into the wood if you have a wood-burning tool, otherwise just set a metal basin on top. The whole setup leans into a woodland, fairy-tale aesthetic that no manufactured kitchen can replicate. The one obvious limit: you need a stump. But if you’re getting a tree removed, ask the arborist to leave one knee-high, you’ve just saved yourself a build. Magical, free, and outlasts everything else on this list.
6. The Folding Camp Kitchen
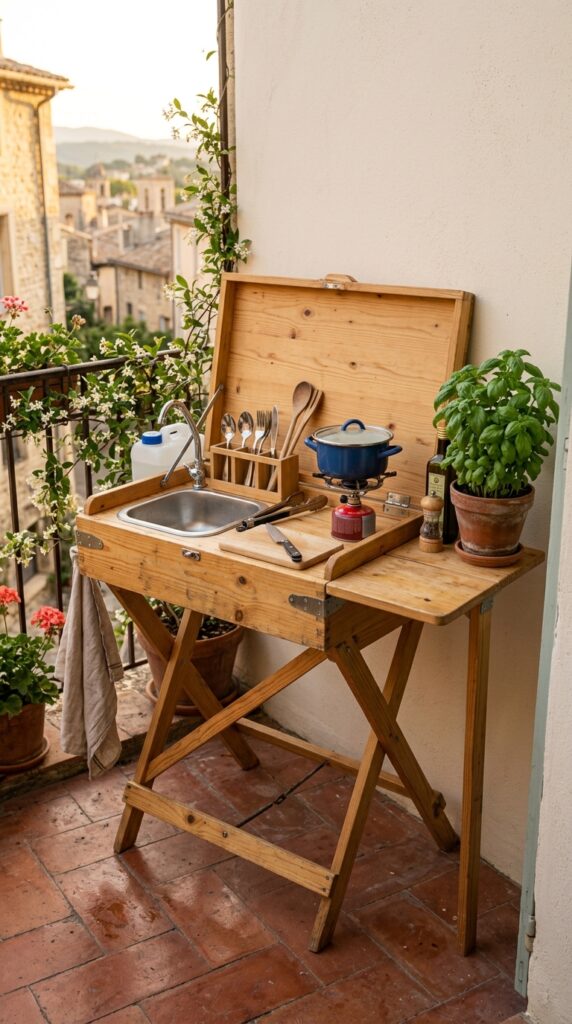
For apartment dwellers and tiny-yard families, a foldaway version solves everything. Build a simple plywood box with a hinged lid that folds up to become the backsplash and folds down flat for storage. The whole thing collapses to about four inches deep and slides behind a planter when not in use. Use lightweight materials, half-inch plywood, small metal hinges, a thin metal basin, so the kid can help open and close it themselves. Paint it in something that works with your outdoor space rather than screaming “child zone,” chalky white, sage, terracotta. The catch: stability isn’t as solid as a permanent build, so this works better for ages four and up who won’t lean their whole weight on the counter. A small-space hero.
7. The Sink-And-Spigot Build
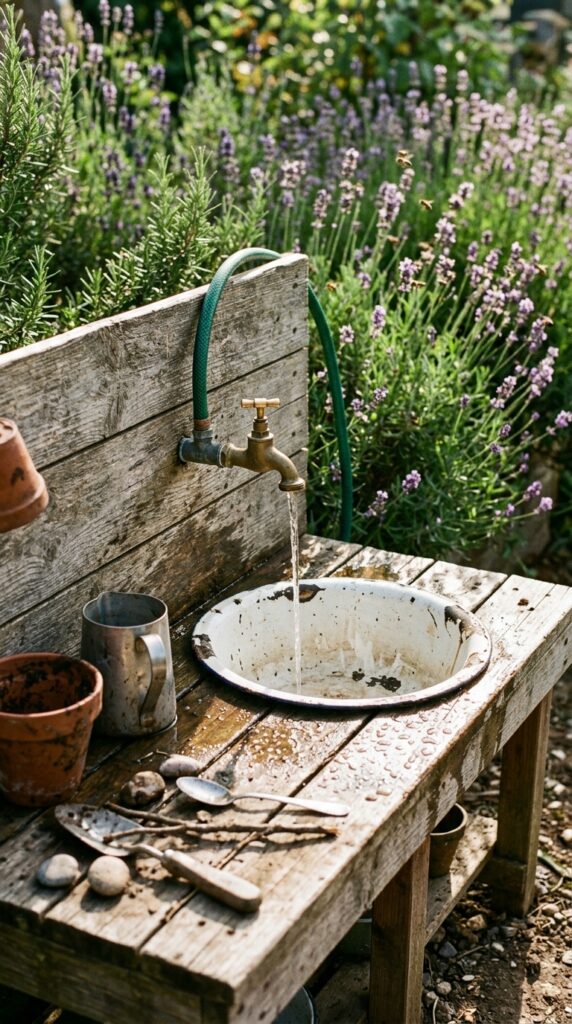
If your yard has access to an outdoor tap, adding real running water genuinely transforms the play experience. Buy a cheap salvage-yard enamel basin (usually $15–25), mount it into a wooden frame, and run a length of garden hose up the back to connect to your outdoor tap. Suddenly there’s actual washing, rinsing, and water-pouring in the play, which doubles the time kids spend out there. Plan drainage carefully though, drill a hole in the basin bottom and run a hose into a flowerbed or gravel pit, otherwise you’re creating a permanent puddle. Only ever connect to cold water, never hot, and shut it off at the source in winter to prevent freezing pipes. Worth every minute of the extra setup if you can manage it.
8. The Crate Stack Kitchen
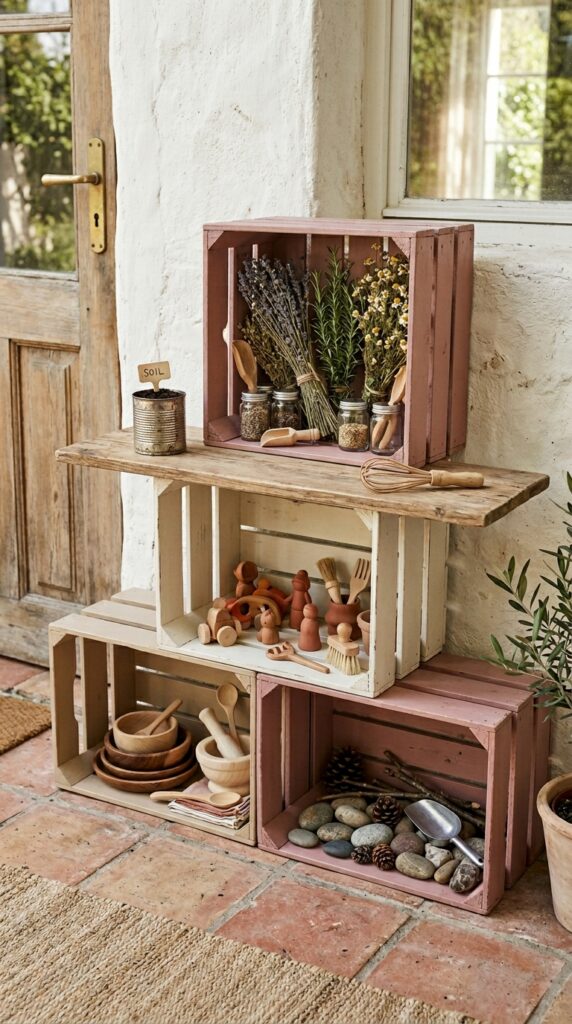
Wooden produce crates from your local greengrocer are usually free if you ask politely at the end of the day. Stack three or four in a stepped arrangement, screw them together where they meet for stability, and lay a flat board across the top for a counter. The crates themselves become open shelving, one for utensils, one for “ingredients,” one for plates. Paint each crate a slightly different muted shade for that intentional gradient look (it always reads as more expensive than it is). The constraint: crates from produce shops have wide slats that small items fall through, so line them with cardboard or fabric if you’re storing little things. Modular, rearrangeable as the kids grow, and ridiculously cheap.
9. The Old Door Counter Trick
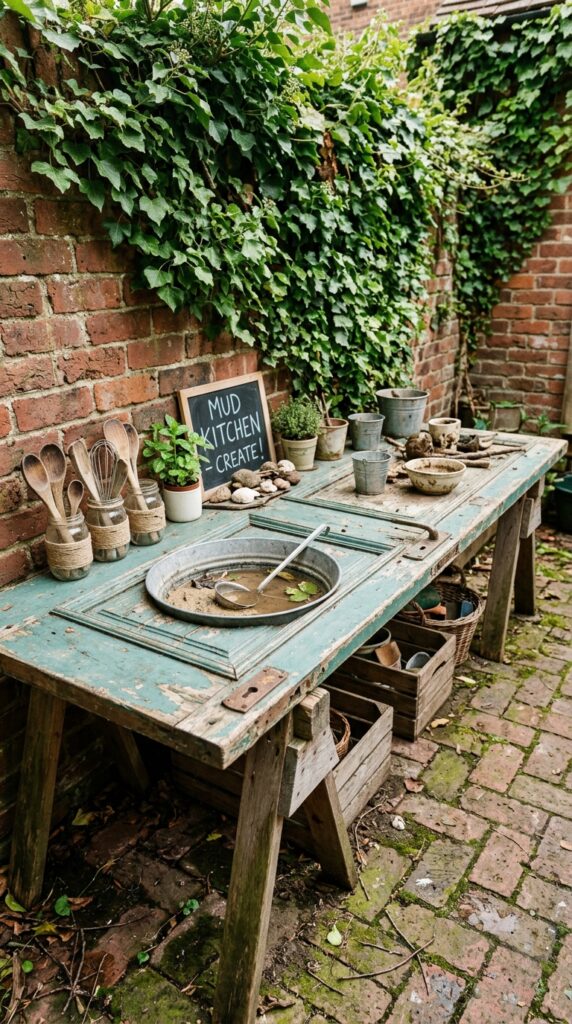
Old doors are perpetually available for free, people throw them out during renovations every weekend. Lay one horizontally across two trestles or sawhorses and you’ve got an enormous counter that fits multiple kids at once. The existing panels and moldings add visual character no plain plywood ever could. Cut a hole in one of the lower panels for a basin if the door is solid wood, or just sit a basin on top if you don’t want to commit to cutting. Strip the door first if it’s old, lead paint was common pre-1978, so test it before letting kids near. Sand thoroughly. A coat of exterior paint in a moody color like teal, deep clay, or charcoal makes it look intentional rather than scavenged. Wide counter, tons of character, almost no money.
10. The Pegboard And Plank Wall
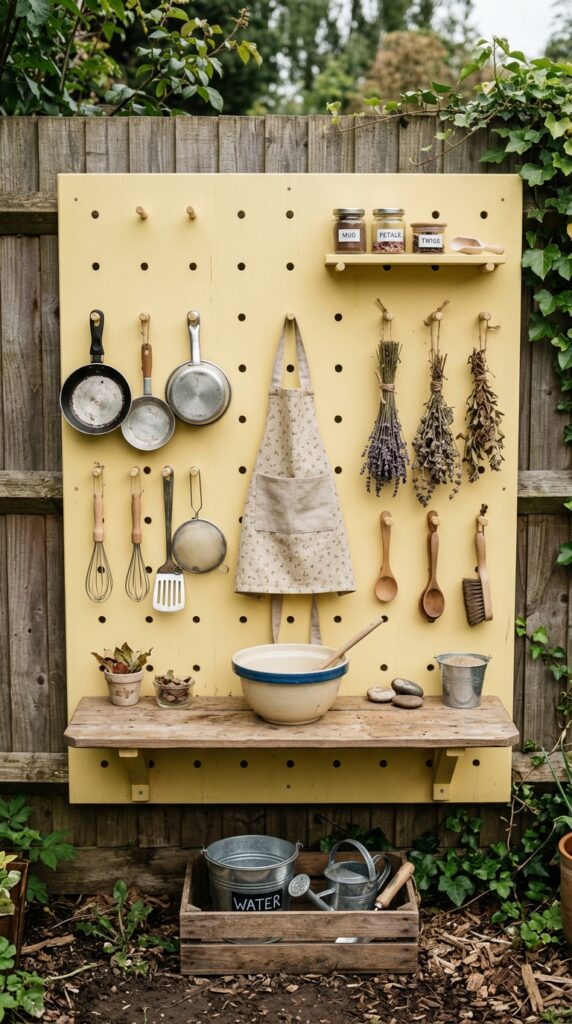
When floor space is tight, build vertically. A large pegboard mounted directly to your fence, with a narrow hinged shelf below as the counter, takes up almost no ground area but gives kids tons of “kitchen” to engage with. Hooks hold every utensil in clear view, which actually helps tidy-up routines (kids return things to their hook outline). Use marine-grade plywood pegboard, not the cheap MDF kind, because MDF disintegrates in two weeks outdoors. Paint the whole thing one unexpected color, butter yellow, deep olive, chalky pink, anything but primary brights. The catch: the shelf can’t be loaded with heavy items or it’ll sag over time, so use it for the basin and one or two items only. Tidy, vertical, and visually striking against a plain fence.
11. The Under-Porch Hideaway
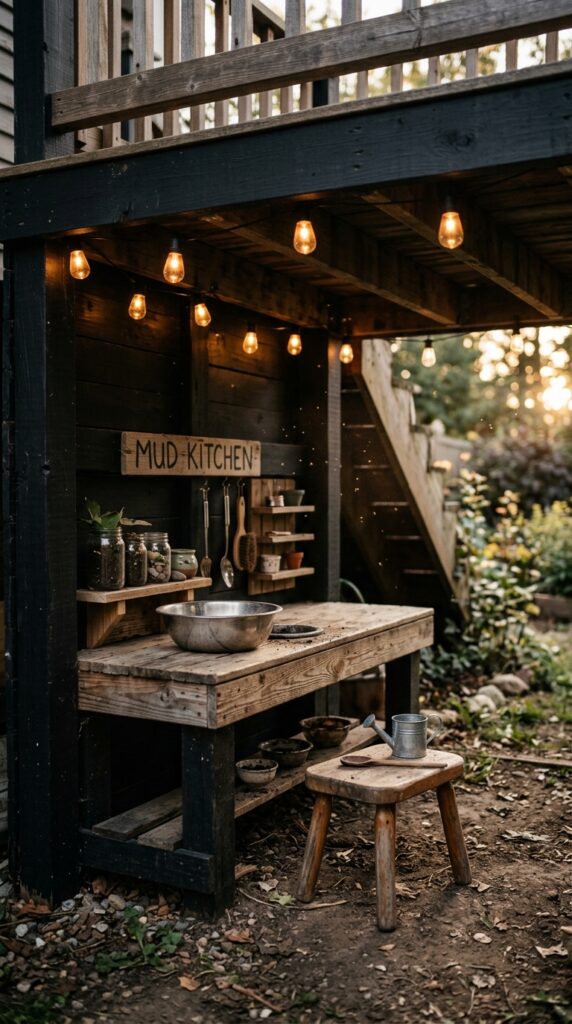
The space under a raised porch or deck is almost always wasted, and it’s the perfect spot for a mud kitchen. Naturally sheltered from rain, the porch acts as the roof so you don’t need to build one. The shaded, slightly hidden feeling appeals enormously to kids, it becomes a “den” and a kitchen at once. Paint the kitchen itself in something dark, matte black, deep forest, charcoal, so it disappears into the shadow rather than fighting it. Hang a strand of warm white outdoor lights along the porch underside for atmosphere. The watch-out: shaded ground stays damp even when it doesn’t rain directly, so raise the structure on bricks or feet to keep wood off the soil. Otherwise the legs rot in a season. Atmospheric, hidden, uses dead space.
12. The Outdoor Counter With Hooks
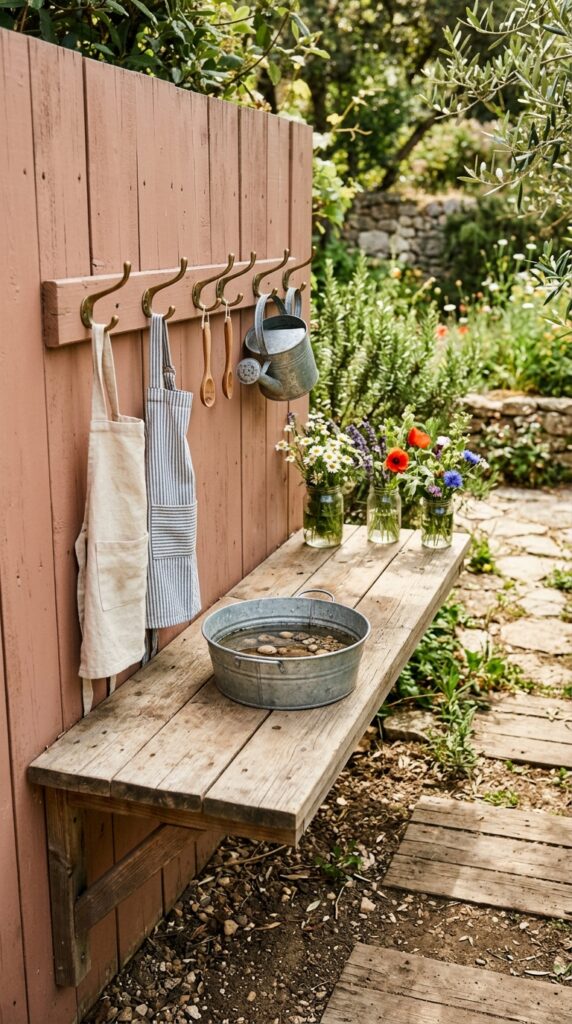
The simplest possible build, and honestly one of the most elegant. A single long plank mounted directly to your fence at the right height for your child, with hooks above for utensils and aprons. That’s it. No back panel, no fancy structure, just a clean horizontal line of counter space. Use sturdy brackets underneath so it can take weight, and reinforce them into a fence post (not just the panels) so nothing pulls loose. Paint the plank in a color that complements your garden rather than fighting it, dusty terracotta, sage, chalky cream all work beautifully. The constraint: you need a fence solid enough to take screws, so this won’t work for chain-link or chicken wire setups. Five-minute install, surprisingly polished look, and the kids barely notice it’s not “fancy.”
There’s a particular kind of contentment that comes from building something with your hands for someone you love, especially when it cost almost nothing and will end up holding a thousand small moments you won’t remember to photograph. Mud kitchens are exactly that. They’re not investments, they’re invitations. If one of these ideas got you eyeing that stack of pallets behind the garage, or that bookshelf you’ve been meaning to donate, then we’ve done our job here. We share practical, design-conscious project ideas like these every week, the kind that work in real homes with real budgets and real kids. Bookmark us, send this to the friend who’s been “planning” their garden for two years, and most importantly, just start. Pick the one that feels easiest. Build it this weekend. Your kid’s best summer is hiding inside it.

