
There’s something quietly transformative about bringing stone into your outdoor space. Not the raw, unplanned kind that comes with neglect — but deliberately chosen, thoughtfully placed decorative rock that adds weight, contrast, and a sense of permanence that no plant or paint color can replicate. Rock grounds a garden the way a wool rug grounds a living room. It gives the eye somewhere to rest. It tells the space it belongs to someone with taste. And the best part? It’s one of the few outdoor design choices that genuinely improves with age, weathering into something that looks like it was always meant to be there. Whether you’re working with a tiny urban courtyard, a sprawling suburban backyard, or something in between, there’s a decorative rock approach that fits. These twelve ideas run the full spectrum — from bold and sculptural to subtle and ground-level — and each one comes with real, practical notes on how to pull it off without overcomplicating it.
1. River Rock Ground Cover Around Plantings
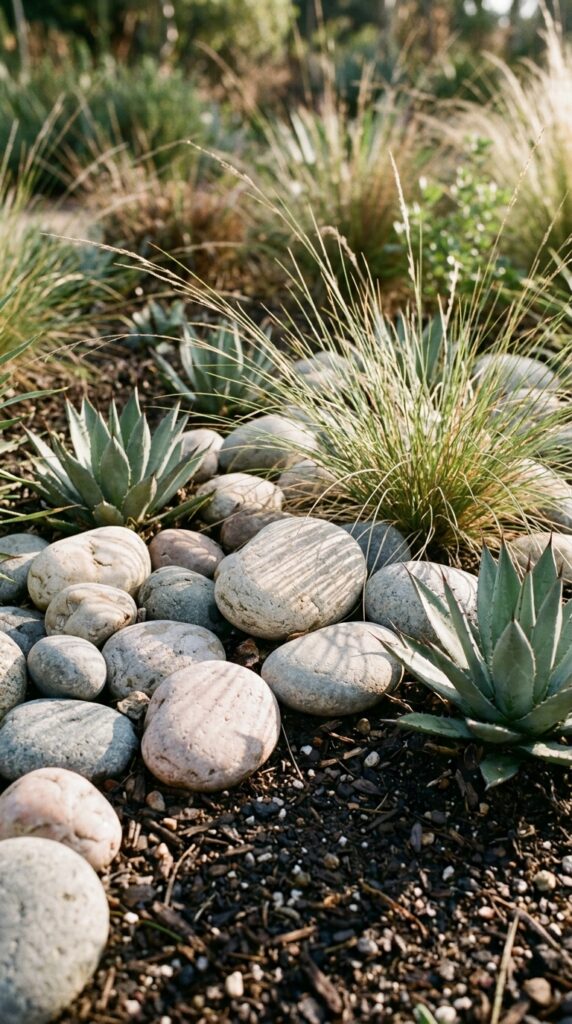
River rock is one of those materials that earns its keep ten times over. It suppresses weeds, retains soil moisture, regulates root temperature, and looks considerably more polished than bare mulch. But where most people go wrong is choosing rocks that are too uniform — same size, same color, perfectly distributed — and the result looks like a hardware store display rather than a thoughtful garden. The trick is to mix two or three complementary tones within the same color family: cool grey alongside warm taupe, or pale cream beside dusty blush. Vary the size slightly, too. A mostly medium-sized ground cover punctuated by a few larger stones reads as curated rather than poured-from-a-bag. Plant pairings matter enormously here. River rock really shines around structural, architectural plants — ornamental grasses, agave, yucca, or liriope — because the rounded softness of the stone creates a beautiful contrast with the sharp, upright energy of those plants. Avoid pairing it with delicate cottage garden flowers; it can overwhelm them visually. One thing to watch: in very hot climates, pale river rock near south-facing walls reflects intense heat onto plant bases, so choose darker stone or add a buffer of mulch around root zones. When it’s right, it’s really right.
2. Crushed Granite Pathways
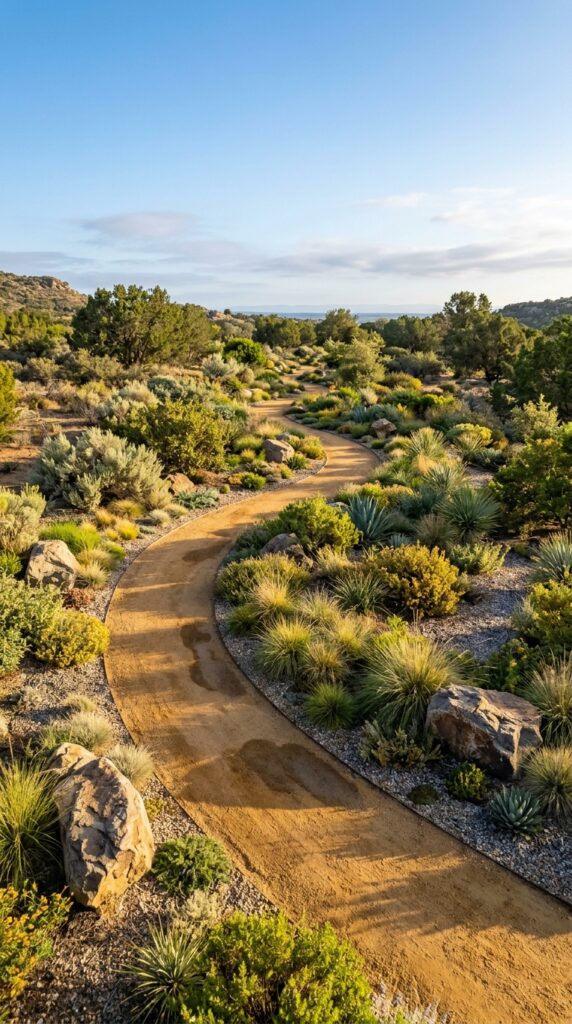
Crushed granite pathways have a regional reputation — you see them constantly in California, New Mexico, and Arizona — but they work beautifully in almost any dry or semi-dry climate and can be adapted for wetter regions with proper edging and a compacted base. What makes them so appealing is the texture underfoot: that satisfying crunch, the way they pack just enough without becoming concrete-hard, and the warm earthy color palette that ranges from dusty gold to terracotta depending on the source material. Functionally, they drain well, which makes them a smart alternative to poured concrete in areas prone to occasional downpours. Aesthetically, they pair wonderfully with both modern low-maintenance landscaping and relaxed naturalistic garden styles. Here’s the practical reality though: crushed granite does migrate without proper containment. Install steel, aluminum, or stone edging on both sides before laying it, and compact the base with a tamper before adding your top layer. Two to three inches of depth is the sweet spot — shallow enough to feel walkable, deep enough that you’re not constantly exposing bare soil underneath. Skip this if you have dogs who love to dig or kids who treat the garden like a sandbox. For everyone else, it’s one of the most cost-effective ways to add serious texture to an outdoor space.
3. Dry Stack Stone Retaining Walls
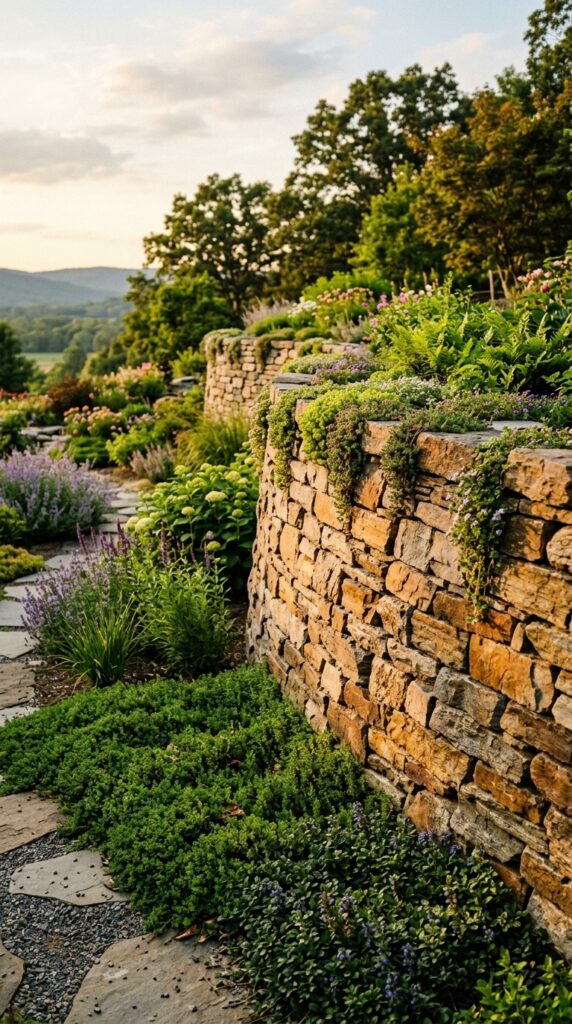
A dry stack stone wall — meaning mortarless, stones fitted together by weight and balance — is one of the oldest landscaping techniques in human history and somehow still one of the most beautiful. There’s a reason it never goes out of style: the irregularity is the point. Every gap, every slightly-tilted stone face, every bit of moss that eventually colonizes the joints adds character that no poured concrete wall can fake. Functionally, dry stack walls are ideal for gentle terracing on sloped properties, for raising planting beds, or for creating a low boundary between areas of the garden without the heaviness of a solid fence. The stones themselves vary wildly in personality: flat fieldstone stacks tightly and cleanly, giving a more refined result; rounded fieldstone is chunkier and more rustic; limestone has a chalky warmth that ages beautifully; granite reads cool and contemporary. Match the stone to the existing architecture of your home — a brick house pairs beautifully with warm sandstone, while a modern rendered exterior calls for something smoother and more uniform in tone. One real constraint: walls above three feet should be built by someone who knows what they’re doing. Below that, it’s a genuinely satisfying DIY project with a weekend’s worth of effort. Plant thyme, sedums, or creeping phlox in the gaps for a result that looks fifty years old by year two.
4. Large Accent Boulders as Focal Points
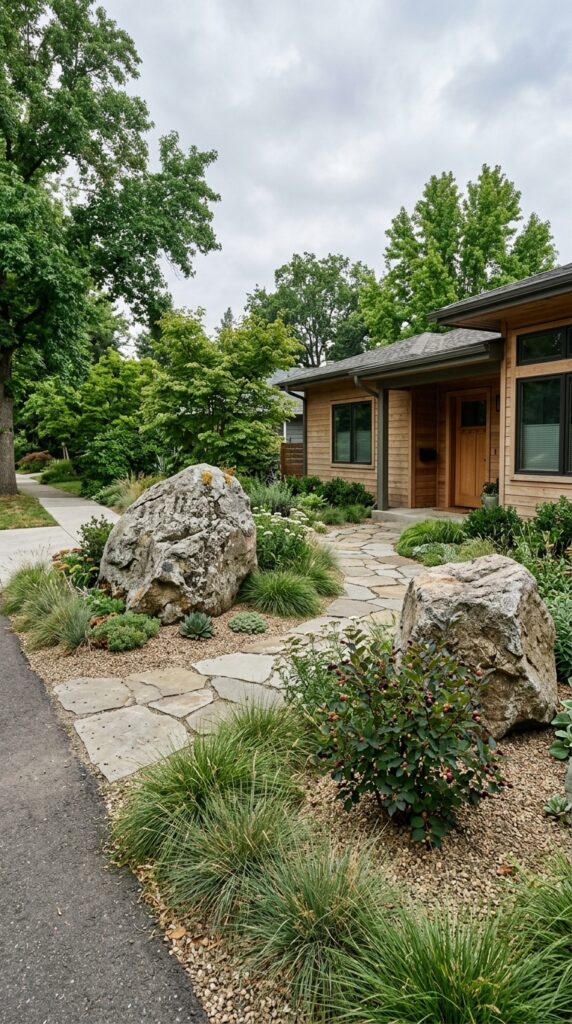
A single well-chosen boulder does more visual work than a dozen smaller design decisions combined. It’s the exclamation point, the anchor, the thing that makes strangers slow down in front of your house and actually look. But placement is everything, and most people get it wrong by simply setting a boulder on top of the soil like a decorative object on a shelf. Boulders need to look found, not placed. The golden rule: bury at least one-third of the boulder’s mass below grade. This creates the illusion that it has always been there, pushed up by the earth rather than dropped in by a landscaper. Choose boulders with interesting natural features — a streak of quartz, a patch of lichen, an unusually shaped top — and orient the most compelling face toward the primary viewing angle. Two boulders together can work beautifully if they’re clearly different in size; three creates a natural-feeling grouping. Avoid four or more unless you’re creating a specific rock garden composition. Granite reads modern and cool; sandstone feels warm and southwestern; moss rock suits woodland and cottage gardens. One watch-out: in windy areas or on slopes, make sure large boulders are professionally set and stabilized. They’re heavier than they look and gravity is unforgiving.
5. Pea Gravel Patio Surfaces
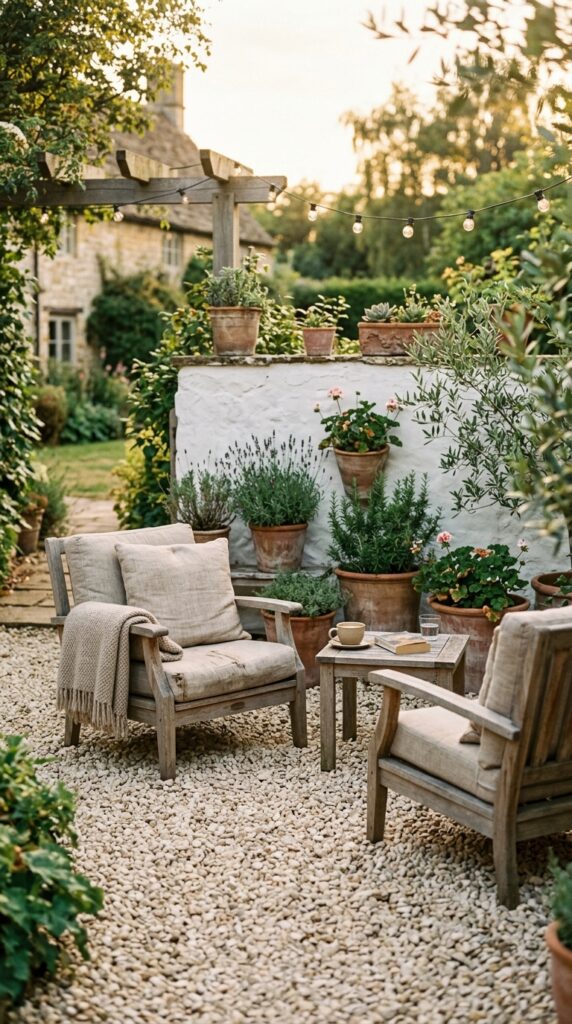
Pea gravel patios have had a serious moment in the design world, and they deserve it. They’re lower in cost than pavers or stone tile, they install in a fraction of the time, and the casual, European-courtyard aesthetic they create is nearly impossible to replicate with harder materials. A pea gravel surface says: sit down, stay a while, take your shoes off if you want. It’s relaxed in the best possible way. The stones themselves are small — typically three-eighths of an inch — smooth and rounded, and come in a surprisingly beautiful range of natural tones from warm gold to cool blue-grey depending on the regional source material. Pair them with natural wood furniture (teak, cedar, or acacia age particularly well alongside gravel), terracotta pots, and wrought iron or powder-coated metal accents. That said, pea gravel is not for everyone. It shifts underfoot — not dangerously, but noticeably — which makes it unsuitable for spaces where you’ll be moving furniture constantly or where elderly family members need firm footing. It also has a tendency to travel: define the edges with steel edging, benderboard, or a row of larger cobblestones, and accept that some maintenance is part of the deal. For a contained, furniture-anchored patio space though, it’s genuinely one of the most charming surfaces available.
6. Flagstone Stepping Paths Through Lawn
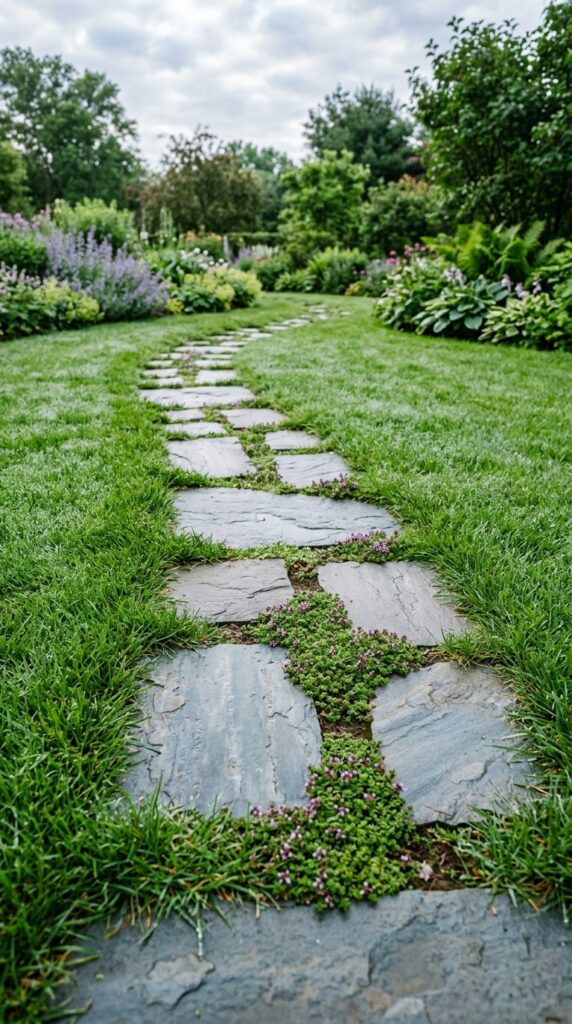
There are few outdoor design moves more quietly satisfying than a well-laid flagstone path through a lawn. It creates direction without demanding attention, guides movement without feeling rigid, and adds material texture to what might otherwise be a flat, undifferentiated expanse of green. The stones most commonly used are bluestone, limestone, slate, and travertine — each with its own personality. Bluestone is crisp and contemporary, with cool blue-grey tones that look sharp against bright green grass. Limestone is warmer and softer, with a slightly chalky surface that ages to a beautiful silver-gold. Slate tends to split and flake in freeze-thaw climates, so check your zone before committing. Spacing is the detail that separates a great flagstone path from a frustrating one. Set each stone to match a natural walking stride — roughly eighteen inches from center to center — and walk the path yourself before permanently setting anything. Stones set too close feel cramped and fussy; too far apart and you’re constantly adjusting your gait. Lay them slightly below the lawn surface so a mower can pass over without catching an edge. Fill joints with creeping thyme, Irish moss, or simply let grass fill in naturally for a relaxed look. This is one of those projects where taking an extra afternoon to get the layout right pays off every single day afterward.
7. Rock Mulch in Xeriscaped Front Yards
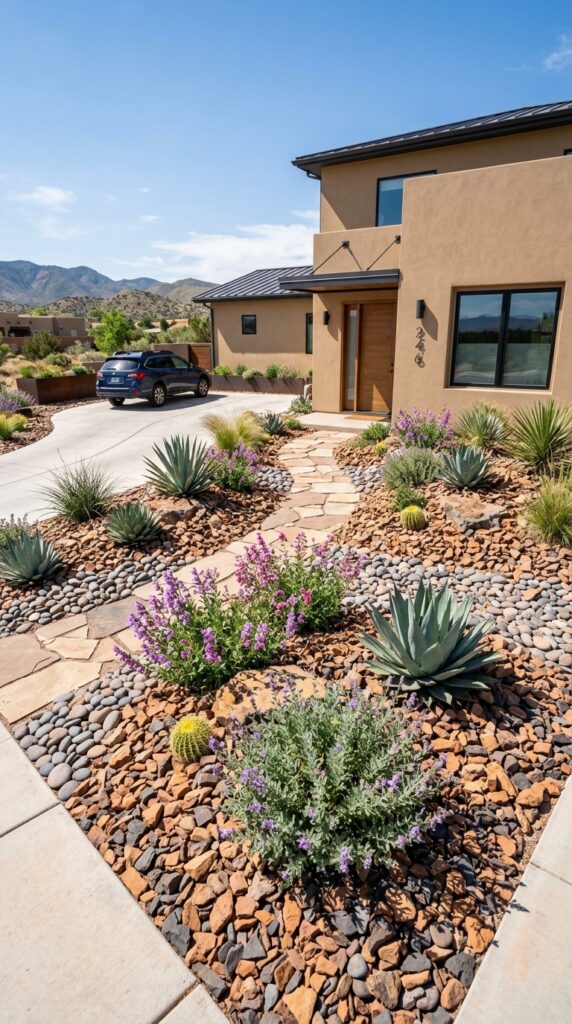
Xeriscape design — the practice of landscaping with drought-tolerant plants and water-conserving materials — has graduated well beyond its utilitarian origins. Today’s xeriscaped front yards are genuinely beautiful, and decorative rock mulch is central to why. Where traditional mulch breaks down, fades, and needs annual replacement, rock mulch is effectively permanent. It doesn’t wash away in heavy rain (if properly installed), it doesn’t attract termites, and it doesn’t require the seasonal top-up that organic mulch demands. The key to making a rock mulch front yard look designed rather than defeated is layering. Use a finer-textured material like decomposed granite or crushed basalt as the primary ground surface, then introduce larger accent stones — smooth river cobbles, angular lava rock, or flat quartzite pieces — as punctuation around planting groupings. Color contrast matters enormously here: pale granite against dark lava rock creates visual interest that reads as intentional even from a passing car. One firm constraint: always lay professional-grade landscape fabric underneath before placing rock. Without it, rocks sink into soil within a season and the weeds reclaim the ground with alarming speed. The fabric step feels tedious but it’s genuinely non-negotiable for a low-maintenance result. If your neighbors are still watering lawn three times a week, this approach will make your yard the most interesting one on the street.
8. Stacked Stone Veneer on Garden Walls and Pillars
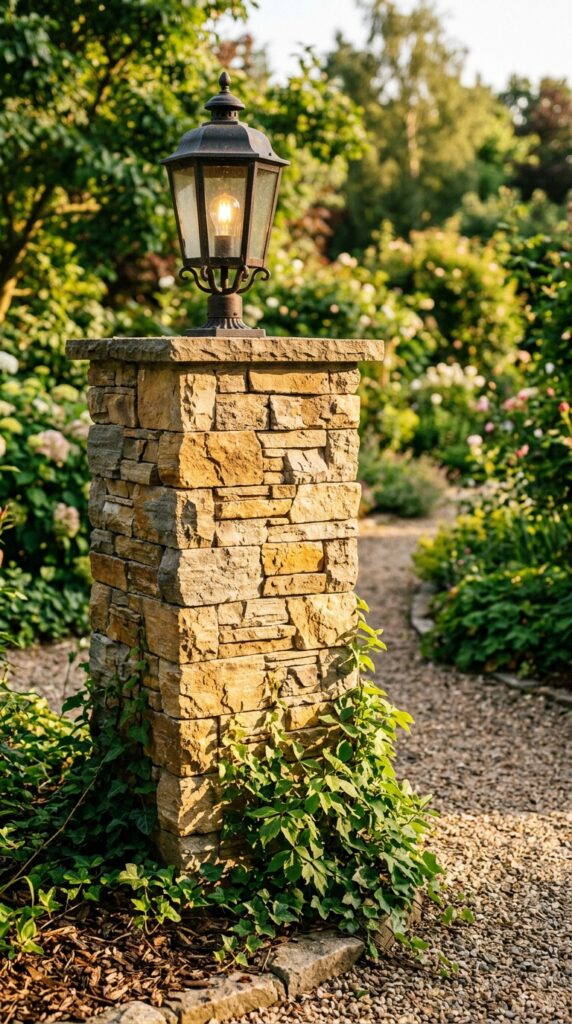
Stacked stone veneer — thin slices of real or manufactured stone applied to a concrete, block, or wood substrate — is one of the smartest ways to add the visual weight of a full stone wall without the structural engineering and cost that comes with genuine masonry construction. Applied to garden pillars, low boundary walls, or the base of an outdoor kitchen, it immediately reads as substantial, crafted, and expensive in a way that painted concrete simply never does. The ledger stone style — thin horizontal slices stacked in offset courses — is the most popular format and for good reason: it’s graphic, contemporary, and works across a wide range of home styles from craftsman to modern. Warmer tones in honey, rust, and sand suit traditional architecture; cooler grey and charcoal ledgestone is made for contemporary exteriors. Installation is more DIY-accessible than people assume. Panels come pre-assembled and can be cut with an angle grinder to fit edges and corners. The real skill is in the corner pieces and the mortar color — choose a grout that blends with the stone rather than contrasting sharply, unless you’re deliberately going for that graphic effect. One thing to watch: cheap manufactured stone veneer can look plastic in direct sunlight. Spend slightly more on quality panels or source real stone veneer if budget allows. The difference in how it ages is significant.
9. Zen-Inspired Raked Gravel Gardens
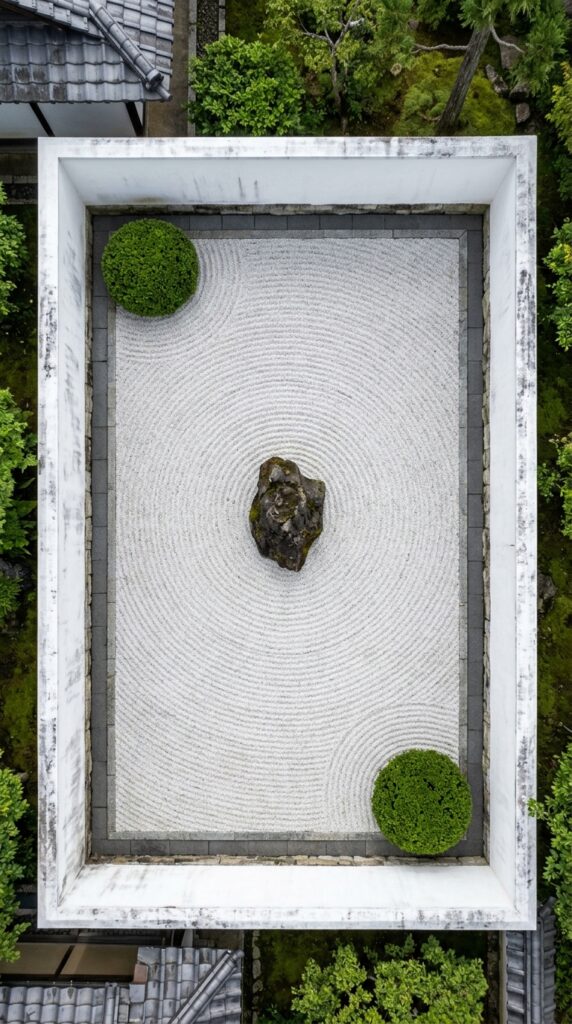
A raked gravel garden requires a specific kind of commitment — not to labor, because the maintenance is actually minimal, but to restraint. The entire philosophy of this approach depends on not adding more. One rock. Two at most. A single clipped shrub if you must. The gravel is the canvas, not the background, and everything placed within it functions as sculpture. Japanese garden design uses fine-grained decomposed granite or crushed granite chips in white, silver, or pale grey for the raking surface. The rocks chosen as focal elements should be dramatically different in character — dark volcanic basalt against pale gravel is a classic pairing that works because the contrast is absolute. Skip this approach entirely if you have children or dogs who will treat the raked patterns as an invitation. It also requires a contained, clearly defined space — a walled courtyard, a raised bed with clean edges, or a clearly bounded section of a larger garden. Open, ambiguous borders make it look unfinished rather than deliberate. For the right person with the right space, though, it’s one of the most peaceful and visually arresting things you can do with stone. The ritual of raking is genuinely meditative, and the result photographs beautifully in morning light when shadows are at their most defined.
10. Mossy Fieldstone Accents in Woodland Gardens
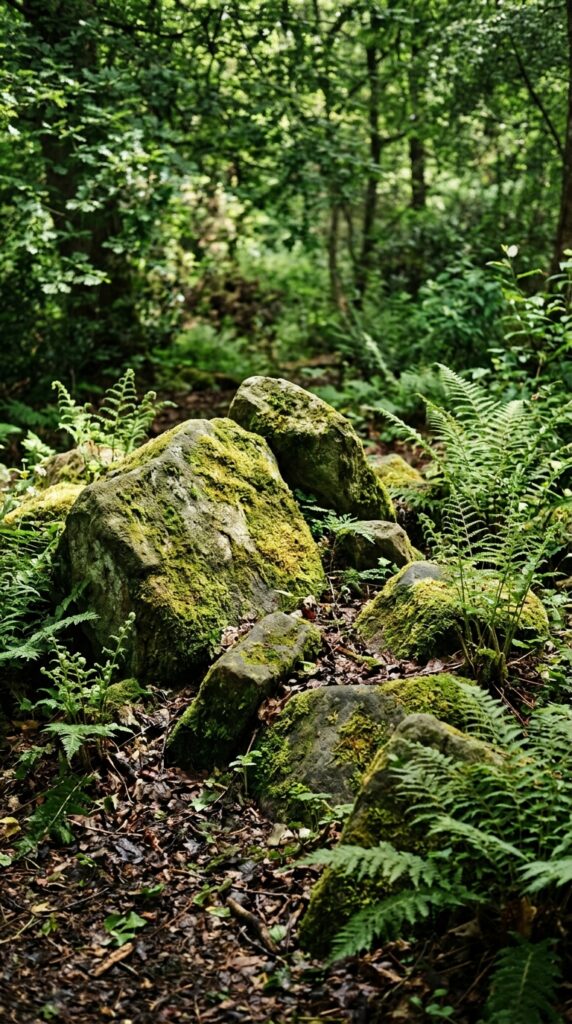
Moss-covered stone is the definition of organic luxury — it looks like it cost nothing and took a hundred years, which is exactly the effect you want in a woodland or shade garden. The paradox is that it’s actually achievable in a fraction of that time with a little patience and the right conditions. Moss thrives on porous stone surfaces in consistently moist, shaded environments with acidic soil — conditions that most woodland gardens naturally provide. If you want to accelerate the process, brush a thin slurry of blended moss, buttermilk, and water directly onto the stone surface and keep it damp for several weeks. It sounds eccentric but it genuinely works. Fieldstone — the irregular, rounded stone found naturally in fields and stream beds — is the best host because its rough, porous surface gives moss spores something to grip. Limestone and sandstone moss up faster than granite, which is too dense and smooth for easy colonization. Placement matters: partially bury the stones and arrange them in groupings of odd numbers, as if they surfaced naturally over time. Pair with ferns, hostas, astilbe, and hellebores for a planting palette that reinforces the woodland character without competing with the stone. One genuine constraint: if your garden is dry or sunny, don’t fight the conditions. Moss will fail in those environments and the stones will simply look dusty and forgotten. This idea belongs in the right setting.
11. Cobblestone Edging Along Garden Beds
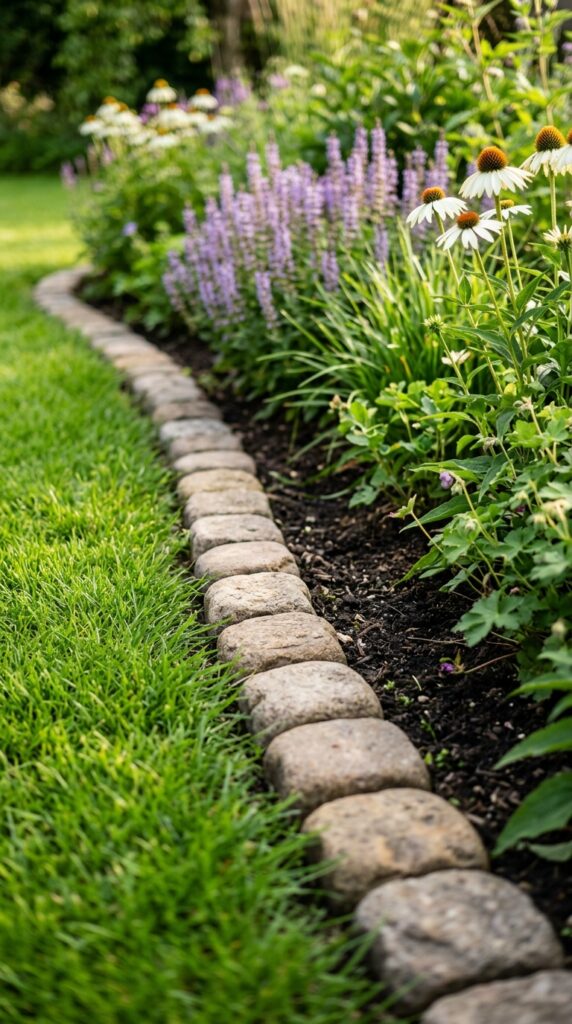
Cobblestone edging is the most underrated detail in garden design. It does three things simultaneously: it defines the line between lawn and bed with physical permanence, it creates a visual frame that makes even modestly planted beds look more considered, and it introduces a layer of stone texture at ground level that feels completely different from rock used as mulch or ground cover. The stones themselves — typically rounded, fist-sized or slightly larger river cobbles or Belgian blocks — are set vertically with roughly two-thirds of their mass below grade, creating a stable border that won’t shift with a lawn mower bump or a heavy rain. Choose stones that are consistent in height even if they vary in size and shape; an uneven top edge looks sloppy rather than relaxed. Color-coordinate loosely with other materials in the garden: warm amber and brown cobbles suit gardens with terracotta pots and wooden furniture; cool grey and blue-toned stones work beautifully alongside slate paths and contemporary steel planters. One practical note: this is one of those projects that benefits enormously from a string line. Run a line along the intended edge before placing a single stone, especially on curved beds. Eyeballing it seems fine until you look back from the house and realize the curve has drifted a foot to the left by the end of the bed. The string line takes five minutes and saves considerable frustration.
12. Gabion Rock Walls as Modern Garden Screens
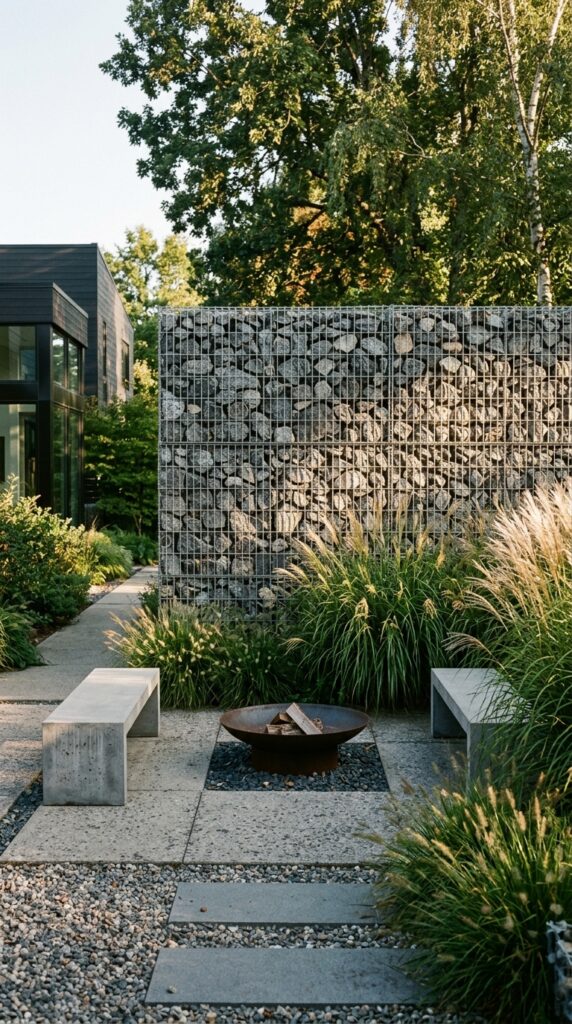
Gabion walls are the most architecturally serious thing you can do with decorative rock in an outdoor space. These wire cage structures — filled with angular quarried rock, river cobble, or even recycled concrete rubble — have migrated from civil engineering into residential garden design over the past decade and they’ve never looked more at home. The industrial-meets-natural combination is genuinely compelling: the rigid geometry of the steel cage against the wild irregularity of the stone inside creates a tension that reads as thoroughly contemporary. Functionally, they work as retaining walls, privacy screens, windbreaks, or simply as dramatic backdrop elements behind seating areas or water features. The fill material determines much of the character: angular basalt or slate gives a sharper, more urban look; round river cobbles feel softer; mixed sizes within the cage create the most natural texture. Gabions are surprisingly DIY-accessible in smaller sizes — the cages come flat-packed and the filling is simply a matter of placing rock by hand into the cage sections, which goes faster with two people. Larger retaining applications need engineering input, particularly on sloped ground. One aesthetic note: gabion walls look deliberately modern, so they need context that supports that. They feel somewhat out of place in very traditional or cottage-style gardens. Next to a rendered concrete wall, a steel pergola, or a clean contemporary home exterior though, they’re extraordinarily effective. Give them a bold plant at the base — feather grass, phormium, or architectural yucca — and you have a garden feature that genuinely stops people in their tracks.
Finding Your Footing in Stone
Decorative rock is one of the few outdoor design elements that rewards decisiveness. Pick a direction, commit to it, and resist the urge to mix every texture and material type into a single space — that’s how a thoughtful rock garden becomes a quarry showroom. The ideas in this list work best when they’re chosen to suit a specific garden character: the climate, the architecture of the house, the plants already growing, and honestly, how much maintenance you’re actually willing to do. Stone needs less care than almost anything else in the garden, but it’s not truly zero-effort, and pretending otherwise leads to abandoned projects and regret. What stone gives you in return for that small investment is texture, permanence, and a kind of visual honesty that synthetic materials never quite achieve. It weathers. It changes with the seasons. It develops a relationship with the light that shifts hour by hour. That’s what makes it worth the initial effort of choosing and placing it well. Spend more time on planning than you think you need to, get the right edging and base layers in place, and let the rock do what it’s done for centuries: quietly make everything around it look more considered.

