
Fairy gardens occupy a rare and wonderful category of home project — the kind where imperfection is not just acceptable but actively part of the charm. A crooked little gate, a mossy stone that’s slightly lopsided, a tiny door that doesn’t quite line up with the tree it’s nailed to — these things don’t ruin a fairy garden. They make it feel inhabited.
What makes most people hesitate is the assumption that creating something this whimsical requires spending real money on speciality miniature décor from garden centres. It doesn’t. The best fairy gardens are almost always built from things you already own, things you’ve found, and things that cost next to nothing from a charity shop or dollar store. The secret is restraint, a little bit of moss, and the willingness to look at ordinary objects as miniature furniture.
Whether you’re making one with a child, creating a quiet corner of your own garden that brings you genuine joy, or gifting someone an experience rather than a thing, these twelve ideas will take you from blank container to enchanted world without breaking anything important — least of all your budget.
1. The Terracotta Pot Landscape
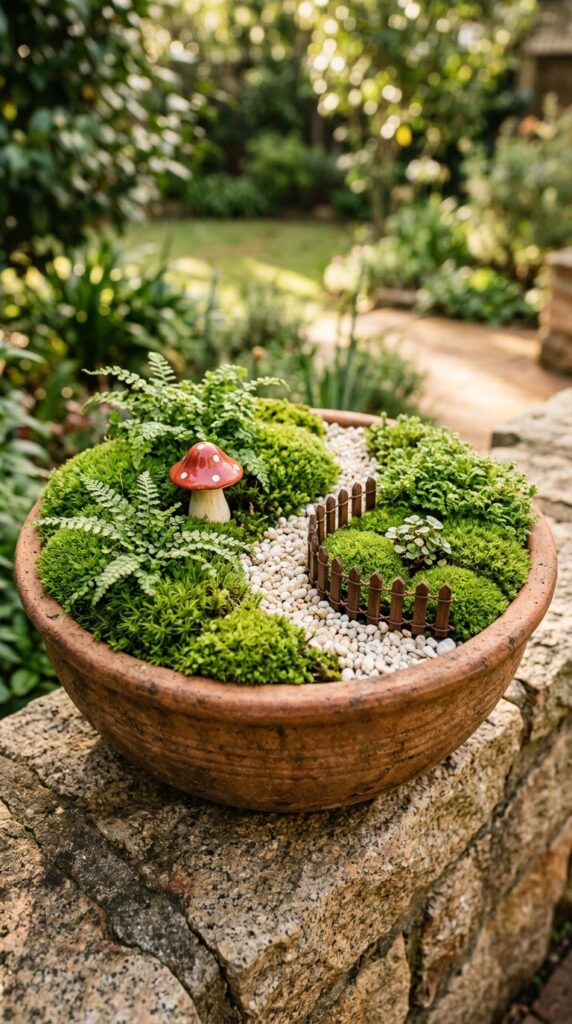
Terracotta pots are the single most forgiving container for a beginner fairy garden, and the most available. You probably already have one sitting in the shed doing nothing. The curved interior walls create a natural amphitheatre effect that frames whatever you place inside, and the warm reddish-brown tone makes every shade of green look extraordinary against it.
Start with a drainage layer of small stones or broken pot shards at the base, then fill with a mix of potting soil and horticultural grit — fairy gardens need sharp drainage because the miniature plants you’ll use tend to be succulents, alpines, and moss, none of which appreciate sitting wet.
Arrange the tallest element first. A small fern, a tiny conifer, or even a sprig of rosemary can stand in as a fairy-scale tree. Build the landscape around it: a path of white aquarium gravel, a clearing of cushion moss, a cluster of pebbles painted with dots to suggest toadstools. Keep one corner slightly elevated using a mound of soil to create topography — flat fairy gardens look static.
The constraint: terracotta dries out quickly in warm weather. Position yours somewhere it gets morning sun but afternoon shade, and check moisture every couple of days in summer.
2. The Fallen Log Fairy Village
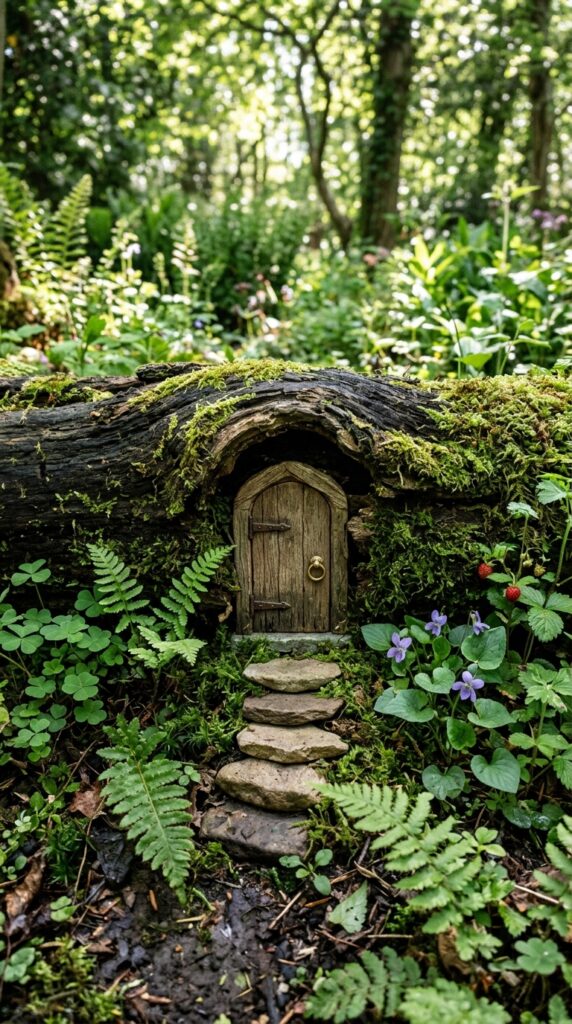
If you have a garden, you almost certainly have access to fallen branches, and even a modest one — thirty centimetres of diameter — provides enough canvas for an entire fairy dwelling. This is the zero-cost option that consistently produces the most atmospheric results, because nature has already done most of the design work for you.
Source a log or large branch section from a woodland walk, a neighbour’s tree pruning, or a timber merchant’s offcuts pile. Let it sit outside for a few weeks before decorating — it’ll develop a natural patina and, if you’re lucky, begin to grow its own moss. That natural weathering is worth waiting for.
The focal point is the door. Cut a small arch shape from a piece of bark or thin offcut wood, paint it in forest green or deep red, add a bead or button as a knocker, and fix it to the log face with a small dab of exterior adhesive. Frame the door with pebbles pressed into soil to suggest a threshold. Add a path of fine gravel leading up to it.
Position the log in an existing garden bed so the surrounding plants become the fairy garden’s landscape. You spend almost nothing and gain something that genuinely looks like it was always there. One watch-out: logs eventually decompose. Treat this as a feature, not a problem — it just becomes more beautiful.
3. The Vintage Teacup Miniature Garden
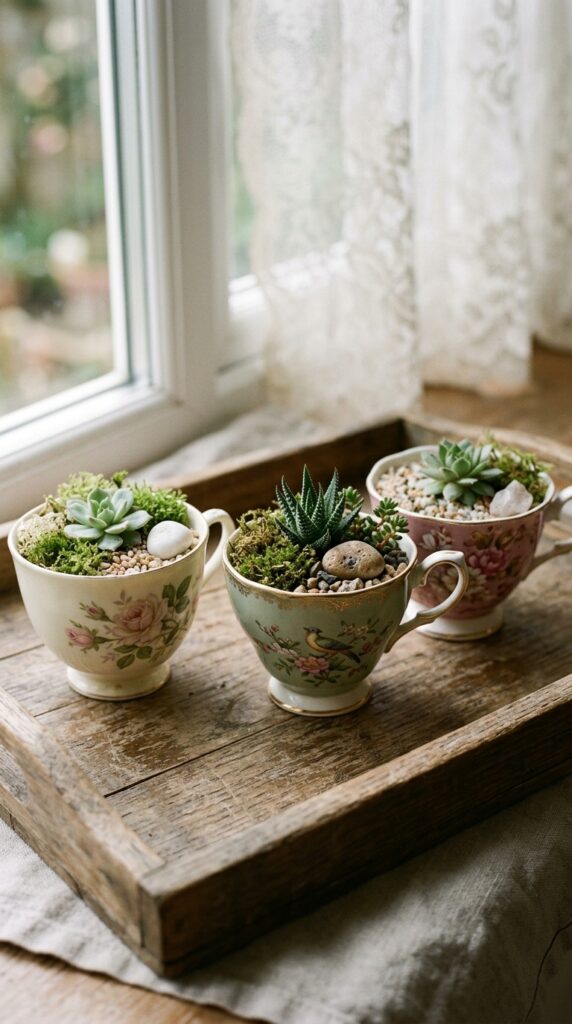
This is the indoor fairy garden option, and it’s arguably the most elegant of the bunch. Mismatched vintage teacups from charity shops cost almost nothing — often fifty pence or a dollar each — and they make extraordinary containers for tiny contained fairy gardens that live on a windowsill, shelf, or garden table.
Choose cups with no cracks through the base, because you’ll be planting into them. Add a thin layer of activated charcoal at the bottom (sold in pet shops for fish tanks, very cheap) to prevent soil souring without drainage holes. Top with a fine potting mix and plant a single small succulent or echeveria rosette as the centrepiece — these need almost no water and will last for months.
Dress the soil surface with fine aquarium gravel in a complementary colour to the cup’s glaze. Tuck in a tiny decorative piece: a small crystal, a miniature resin mushroom, a curled piece of bark. The teacup’s pattern becomes part of the garden’s décor rather than a distraction from it.
Arrange three or five cups together on a wooden tray for a proper fairy garden table display — odd numbers always look more intentional. This works beautifully as a gift, especially for someone who loves gardening but has no outdoor space. Genuinely one of the most charming budget projects you can put together in under an hour.
4. The Pebble Path and Miniature Gate
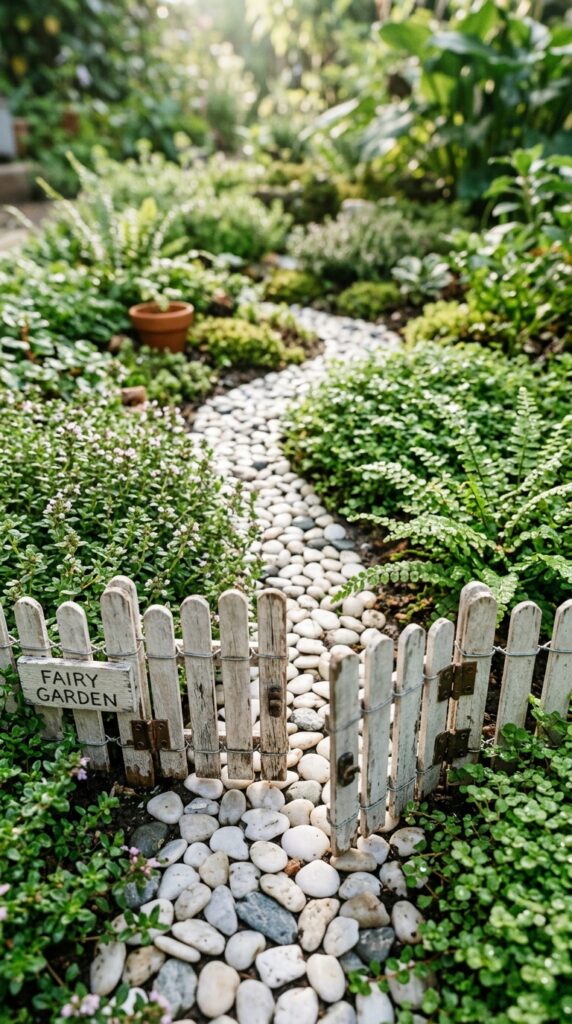
The path is one of those design elements that separates a fairy garden that reads as designed from one that just looks like a collection of small things. A winding path — not straight, never straight — immediately suggests a world with destinations, with movement, with residents who come and go. And it costs nothing but patience.
Gather flat pebbles from a garden centre’s bargain bag of decorative gravel, from a beach, or from your own existing paths. Lay them in a gently curving line through your fairy garden, pressing each stone slightly into the soil so it sits flush rather than perched. The path should narrow slightly as it curves away, which creates the illusion of greater distance — a proper designer trick that works at any scale.
The gate at the path’s entrance is the second essential. Cut lolly sticks or thin twigs to matching lengths, lay them side by side, and bind two cross-pieces behind them with garden twine or a dab of wood glue. Add a small stone as a hinge post on one side. It doesn’t need to actually open — though children love it when it does. Paint it white for a classic look, or leave it natural for a woodland feel.
Here’s the trick with pebble paths: add a single contrasting stone — a piece of rose quartz, a black pebble, a shell — somewhere along the route. It looks deliberate and gives the eye something to land on.
5. The Stacked Stone Fairy House
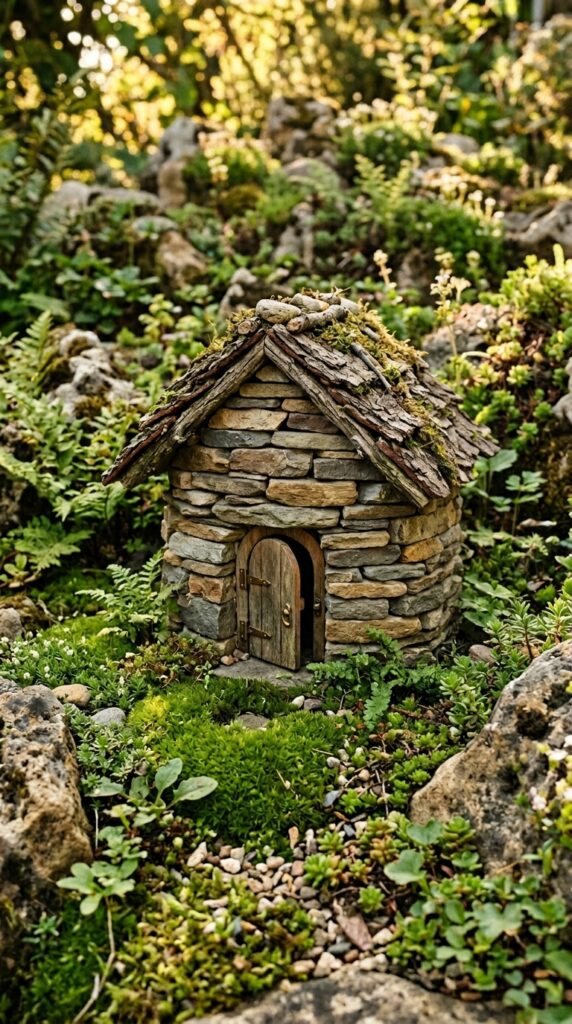
Flat stones cost nothing if you’re willing to look for them — in your own garden, along a country path, at a builder’s merchant where they sell off irregular pieces cheaply. Stack them dry — no mortar — in a rough circular formation, building up five or six courses to create a small tower or cottage wall. A large flat slab becomes a roof. A deliberately left gap in the lower course becomes a door.
The beauty of dry stone construction is that it looks ancient from the moment you build it. Add a piece of curved bark over the top as a thatch effect, or stack a few more flat pieces as a proper pitched roof. Tuck small pieces of moss between the stones as you build — it fills the gaps, softens the edges, and will eventually root into the crevices and grow.
Leave a small clear space inside the stone walls filled with fine gravel — this becomes the fairy’s courtyard. A tiny carved stone from a garden centre’s pebble section, or a bead glued to a flat stone, can serve as a garden sculpture inside.
One constraint: stacked stone fairy houses are susceptible to being knocked by footballs, dogs, and curious toddlers. Position yours somewhere slightly sheltered, or in a rockery bed where the existing stones provide some natural protection. Rebuilding takes five minutes, but prevention is easier.
6. The Succulent Fairy Garden Tray
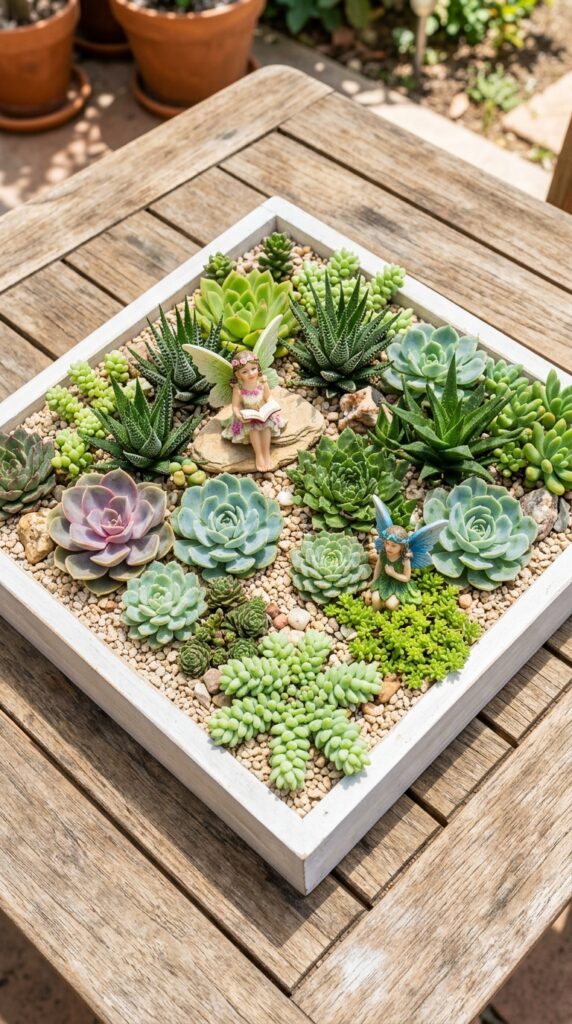
Succulents are the perfect fairy garden plant for anyone who travels, forgets to water, or simply wants a low-maintenance version of the magic. They’re drought-tolerant, endlessly varied in texture and form, and they stay compact enough that a single tray garden can look full and established with just six to eight small plants sourced from a supermarket garden section.
Use a shallow wooden tray — the kind sold as decorative trays in homeware shops, or a vintage seed tray from a market — and line it with plastic sheeting before filling with a gritty succulent compost. The shallowness is an advantage here: it forces you to compose the garden like a landscape painting, thinking in terms of foreground, middle ground, and sky.
Place the tallest succulent — a small aloe or haworthia — toward the back. Let spreading sedums trail slightly over the front edge. Fill gaps with fine decorative gravel in pale grey or warm sand tones. Then add your one or two small decorative elements: a miniature bench, a tiny figure, a single piece of rose quartz. Keep the accessory count low. Succulents are interesting enough on their own and additional clutter undermines their natural geometry.
Skip this if your chosen spot gets less than four hours of direct sun — succulents will stretch and lose their compact form in low light, and the effect collapses.
7. The Mossy Log Slice Stepping Stones
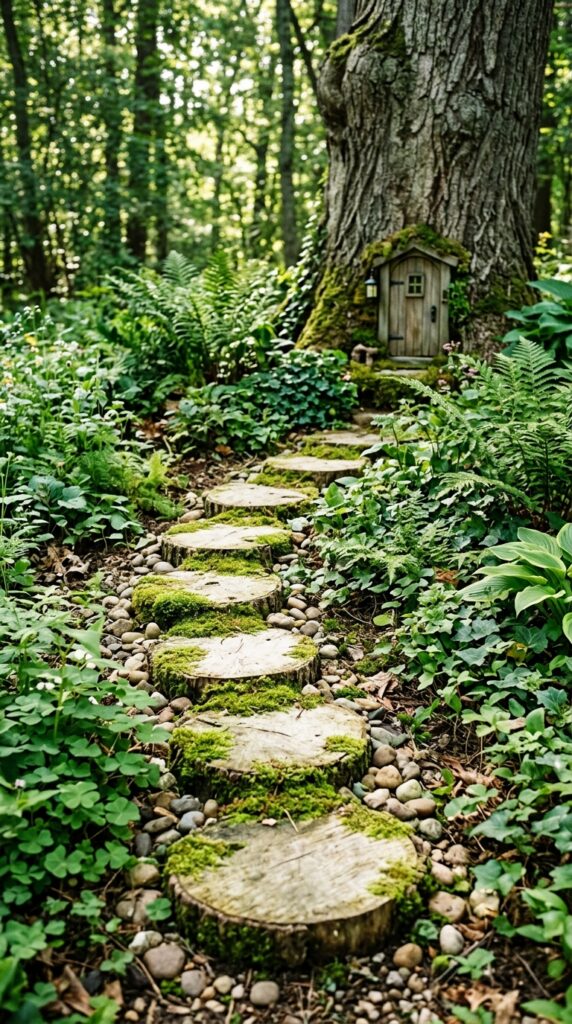
Log slices — the kind cut from a branch or small log with a handsaw or sold cheaply in garden centres as path edging — make extraordinarily beautiful fairy garden stepping stones. At ten to fifteen centimetres in diameter, they’re perfectly proportioned for a miniature landscape, and their natural circular form reads as deliberate craftsmanship rather than a found object.
The moss is the key detail. Cushion moss can be collected ethically from your own garden, purchased from a florist’s supplier, or grown deliberately by blending moss with buttermilk and painting the mixture onto the wood — it takes a few weeks to establish but it works. Once moss covers the surface of each slice, the stepping stones look genuinely ancient.
Lay them in a gently curving path through an existing garden bed, pressing each slice slightly into the soil so it sits level. The surrounding garden plants become the fairy world’s landscape — you’re not building a contained garden here, you’re weaving the fairy garden into what already exists.
This approach works particularly well in shaded gardens where other fairy garden styles struggle, because moss genuinely thrives in low light and moisture. If your garden is mostly under tree canopy, this is your best option.
8. The Window Box Fairy Terrace
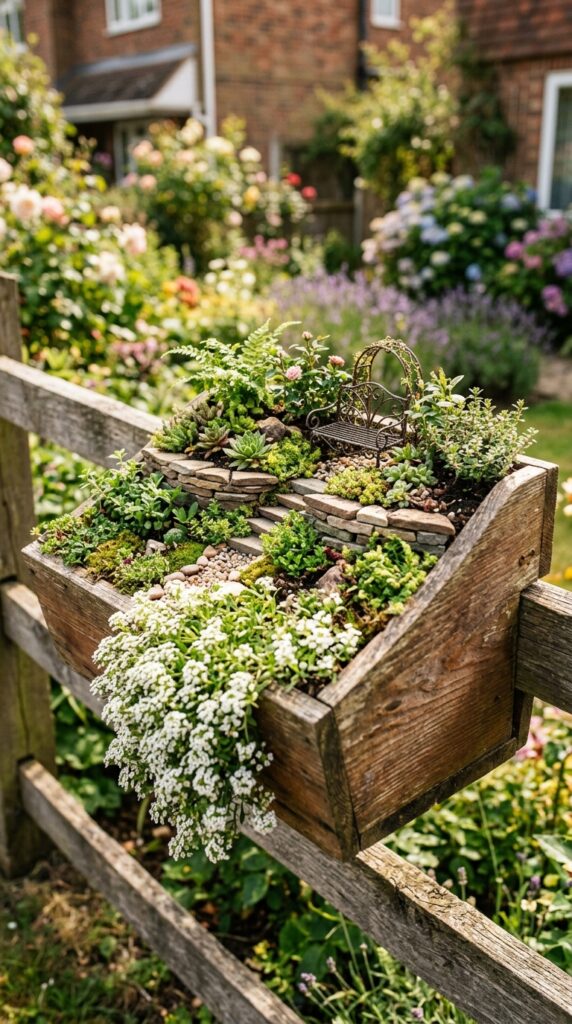
Window boxes are usually wasted on simple rows of bedding plants. Used as a fairy garden, the elongated rectangular form becomes a perfect stage set — long enough to tell a proper story from one end to the other, with a beginning, a middle, and an end.
Divide the box into three informal zones as you plant: a wilder, taller section at one end with a small ornamental grass or trailing plant; a central clearing area with fine gravel and your key decorative elements; and a low-growing, soft-textured section at the other end using creeping thyme or baby tears. This three-part structure gives the eye something to travel along and keeps the garden from looking like a single undifferentiated mass.
The fence-mounting detail matters more than people think. A window box at eye height — particularly a child’s eye height — is far more engaging than one at ground level. It becomes something to look into rather than down at, which changes the experience entirely.
Build internal terracing using small flat stones to create level changes within the box. Even a two-centimetre height difference between sections adds enormous visual depth. A wire fairy bench from a craft shop or a homemade version bent from garden wire completes the scene without overwhelming it.
9. The Enchanted Tree Base Garden
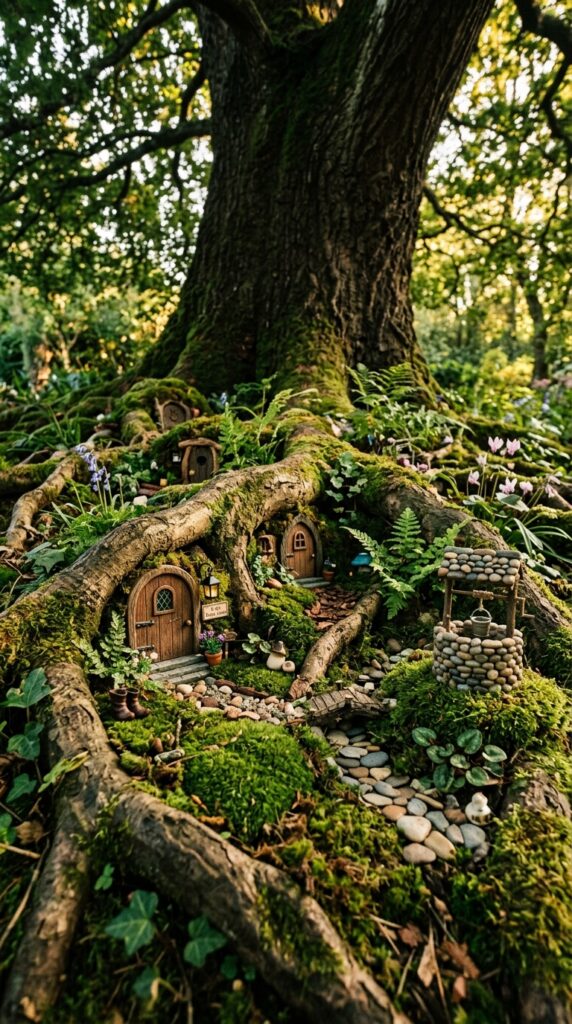
If you have a mature tree in your garden — particularly one with exposed surface roots and a rough, textured bark — you already own the best fairy garden location available. The roots create natural topography, the bark provides texture, and the established plants growing in the tree’s vicinity fill in as fairy-scale forest without any additional planting.
Mount two or three small wooden doors at various points around the base, each a different style and colour, suggesting a whole community living within. Simple doors cut from bark offcuts and painted work beautifully — no need to purchase resin miniatures. A small stone well built from pebbles stacked around a central stick, with a piece of garden twine as the rope, takes twenty minutes and looks extraordinary nestled between the roots.
Collect cushion moss from shadier parts of your garden and press it between the roots to fill gaps and suggest a maintained lawn. Water lightly to help it settle and it will root itself within a few weeks. Add a scattering of tiny natural objects — acorn caps, pine cone scales, small seeds — as fairy-scale garden furniture and tools.
One thing to watch: tree base light levels are usually low. Choose shade-tolerant plants only — ferns, moss, wood sorrel, ivy. Sun-loving plants will sulk and thin out quickly, which undermines the lush effect entirely.
10. The Upcycled Colander Hanging Garden
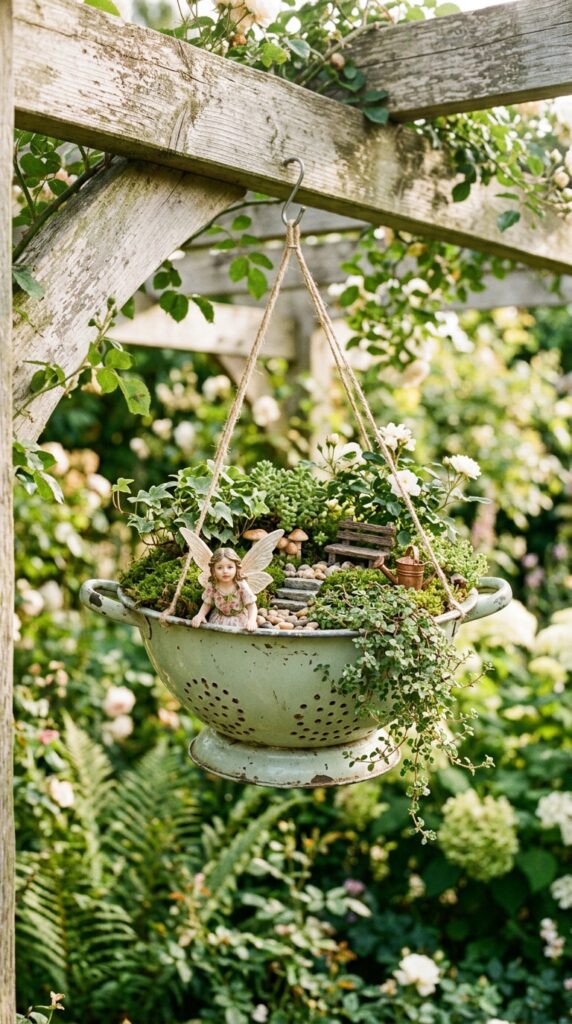
An old metal colander from a charity shop — ideally one with a bit of character, a little rust, some evidence of a previous life — makes one of the most inventive fairy garden containers available, and it costs almost nothing. The existing drainage holes make it perfect for outdoor planting without any modification whatsoever.
Line the interior with a sheet of coir liner cut to fit — the kind sold in rolls for hanging baskets. Fill with standard multi-purpose compost mixed with perlite for drainage. Plant with a combination of trailing plants to spill over the edges (lobelia, bacopa, or trailing thyme all work beautifully) and a small upright plant at the centre as the focal point.
The fairy garden element here works best when played subtly: a single miniature figure perched on the rim as if looking out over a cliff edge, a tiny rope bridge made from garden twine looped to a nearby hanging hook, a few glass beads among the pebbles to suggest a pool far below. The scale of the conceit — the idea that a colander is a vast landscape to someone very small — is what makes it charming.
Hang it at eye level from a pergola, fence hook, or garden arch. The hanging position means children and adults alike look up slightly to peer into it, which makes the experience feel more like discovering something than simply observing it.
11. The Fairy Furniture Workshop

This is less of a finished garden idea and more of an approach — one that produces fairy furniture of far more character than anything you can buy, costs essentially nothing, and doubles as a genuinely absorbing afternoon project for children and adults alike.
The rule of fairy furniture making is to work entirely from natural or domestic waste materials. Twigs become chair legs and table frames, lashed together with garden twine or thin wire. Flat cork rounds cut from wine corks become tabletops and stepping stones. Acorn caps become bowls and bird baths. Walnut shell halves become cradles. Seed pod sections become boats. Bottle caps become drums.
None of it needs to be perfect. In fact, slightly rough, hand-crafted fairy furniture looks infinitely better in a garden context than smooth manufactured pieces, because it belongs to the same material language as the twigs and stones and moss around it.
Build a small collection over a few sessions, then introduce them into your fairy garden gradually over time rather than all at once. Arriving to find a new tiny chair has appeared near the fairy door is a more magical experience than seeing everything placed simultaneously. The slow reveal maintains the sense that the garden is genuinely alive.
12. The Seasonal Fairy Garden
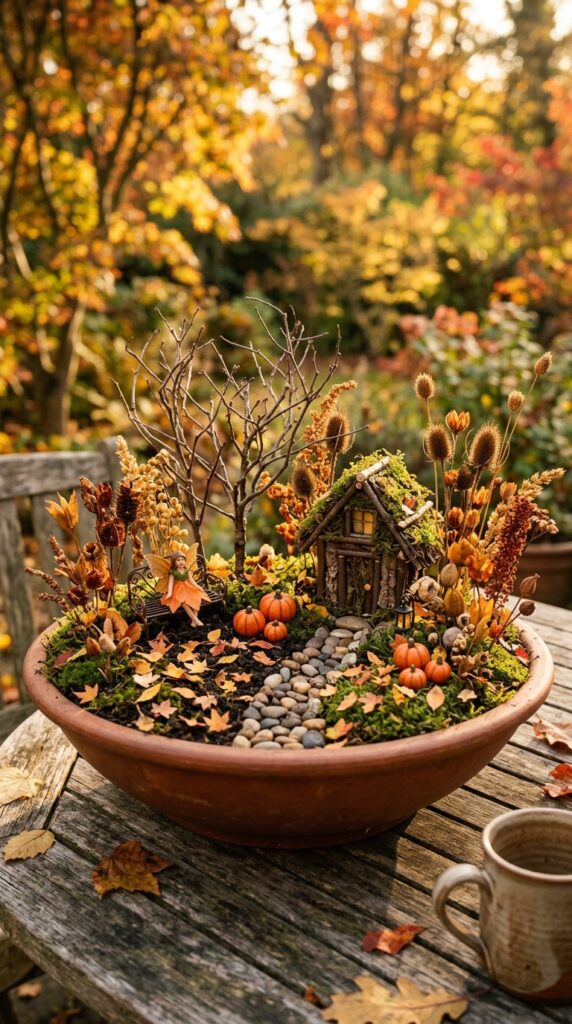
The fairy garden that genuinely keeps people engaged year after year isn’t a static installation — it’s one that changes with the seasons. This is actually the cheapest approach of all, because each seasonal refresh uses materials that are literally falling from the trees and available for free, and the small container or designated garden bed stays as a permanent home that simply gets redecorated four times a year.
Spring: cherry blossom twigs in a small jar of water, bulb shoots as the first fairy trees emerging, tiny nest made from collected hair and fine grass. Summer: fresh moss, flower petals laid as a garden lawn, a tiny clay pot planted with a single miniature herb. Autumn: painted pebble pumpkins, dried seed heads, a path lined with actual fallen leaves in miniature. Winter: bare twig trees dusted with faux snow, a tiny wreath made from rosemary sprigs, a pinecone Christmas tree.
Each seasonal update takes twenty minutes and costs close to nothing. The ritual of refreshing it — particularly if done with a child — becomes as much a part of the magic as the garden itself. Knowing that a season is turning because the fairy garden needs to change is a genuinely lovely way to mark time.
This is the idea to hold onto. Fairy gardens don’t have to be forever. They can be quiet, recurring, affordable moments of attention — which, in a busy life, might be the most valuable thing they offer.
What You Actually Learned Today
The best fairy gardens are never the most expensive ones. They’re the ones where someone looked at a colander, a fallen log, or a cracked teacup and saw a landscape. That shift in perspective — from object to world — is the real skill here, and it costs absolutely nothing to develop.
What this collection of ideas should give you is a starting framework: choose a container that fits your space and commitment level, create some topography, establish a path or clearing, add a single focal point like a door or well, and let the surrounding plants do the heavy lifting. Everything else is detail.
Come back to this as your garden — or your seasons — change. The moss idea for the stepping stones takes weeks to establish; the stacked stone house can be rebuilt in minutes. Each of these twelve ideas rewards slightly different personalities and different relationships with time and effort. There’s one here for the afternoon crafter, the patient gardener, the budget-conscious parent, and the person who simply wants something beautiful and quiet in a corner of their outdoor space.
You now know more about building a fairy garden on a budget than most people who’ve been pinning them for years. That’s worth something. Use it.

