
There’s something deeply satisfying about a mud kitchen. Maybe it’s the way it gives kids permission to make a glorious mess outside, or the way it transforms forgotten corners of the garden into the most-used spot in the whole house. Either way, building one doesn’t have to mean a trip to a fancy outdoor toy store or dropping a small fortune on something they’ll outgrow in two summers.
The best mud kitchens I’ve seen are scrappy, salvaged, and genuinely characterful. They come from old pallets, secondhand cabinets, dented kettles from charity shops, and that random plank of wood every dad seems to keep “just in case.” Below are twelve ideas I keep coming back to when friends ask me how to put one together without spending a fortune. Some are renter-friendly, some are weekend builds, and a few are barely projects at all. Pick what suits your space, your kids, and your tolerance for splinters.
1. The Classic Pallet Build
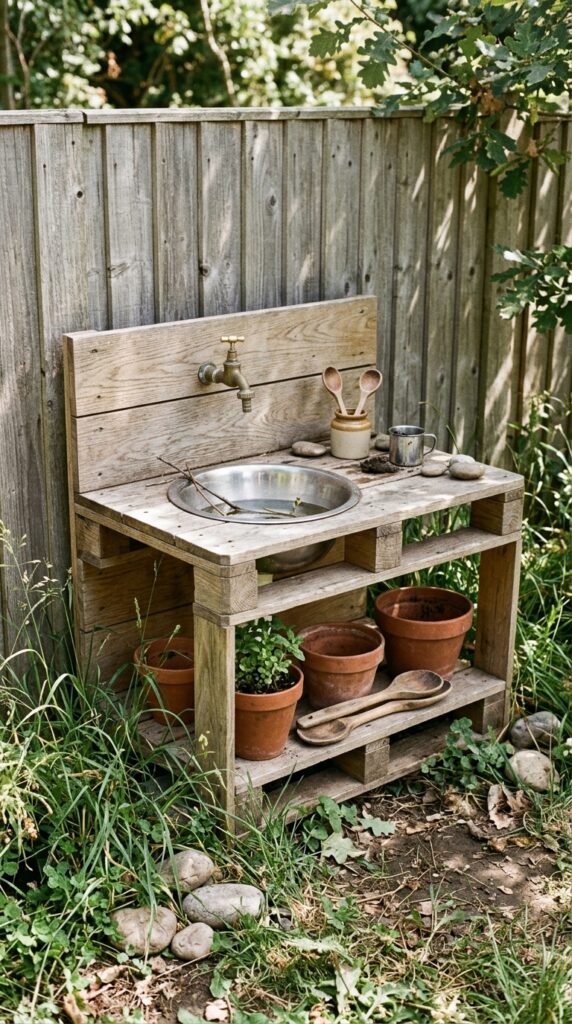
Pallets are the unofficial mascot of budget DIY, and for good reason. You can usually find them free behind hardware stores, garden centres, or on local marketplace listings, and two stacked pallets give you instant counter height for a small child. Sand the rough bits down properly, otherwise you’ll be picking splinters out of little fingers all summer. A recessed metal bowl makes the perfect sink, and you can add a length of dowel between the slats as a utensil rail. Skip painting if you want it to weather naturally into that lovely silvery-grey, but seal the wood if your garden gets a lot of rain. One thing to watch: check pallets for the HT (heat-treated) stamp rather than MB (chemically treated) before bringing them anywhere near kids. Free, fast, and surprisingly handsome.
2. Old Bedside Table Flip
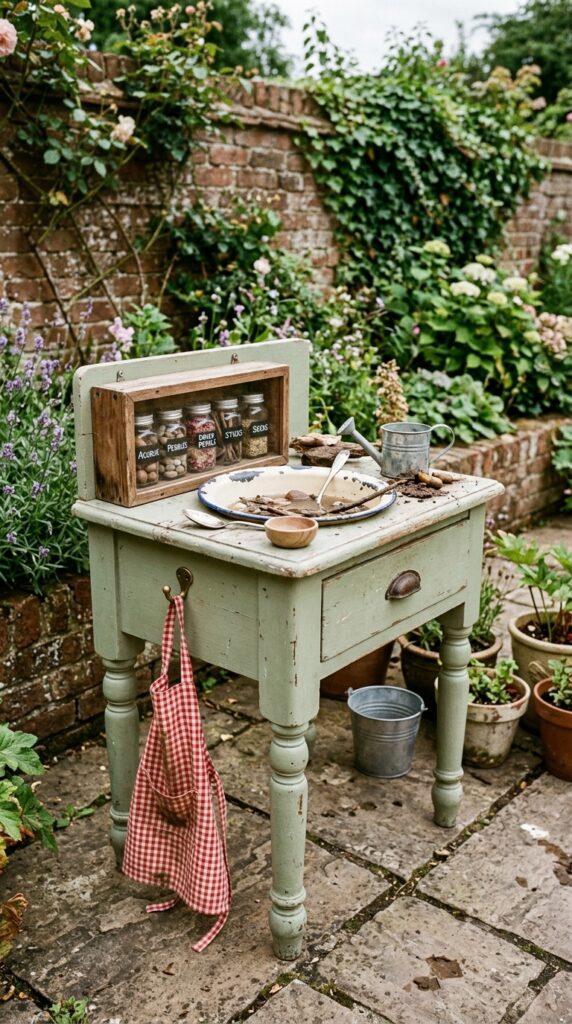
If you’ve got an unloved bedside table gathering dust in the garage, you’ve basically got a mud kitchen waiting to happen. The drawer becomes brilliant storage for tin cups and wooden spoons, and the cabinet underneath hides bigger pots and the inevitable bucket of “important rocks.” Cut a hole in the top with a jigsaw, drop in a metal mixing bowl, and you’ve got a sink in about ten minutes. Chalk paint hides a multitude of sins and doesn’t need much prep, which matters when you’re squeezing this project into a Saturday afternoon. The watch-out here is weather: most bedside tables aren’t built for the outdoors, so either keep it under cover or accept it’ll have a one-or-two-summer lifespan. Honestly, for free or a tenner from a charity shop, that’s still a bargain.
3. The Stacked Crate Stack
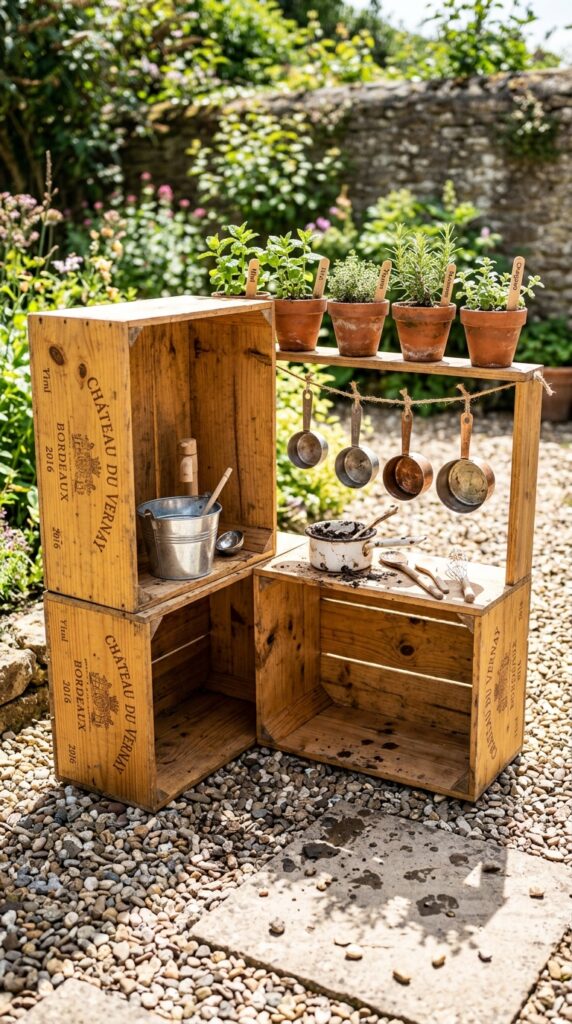
Wine crates and old fruit boxes are my favourite cheat for renters or anyone who doesn’t want to commit to a permanent structure. Stack three or four into an L-shape, weight the base ones with bricks or sandbags inside, and you’ve got a modular kitchen that can be dismantled and stored when the weather turns. The open crate format means everything is visible, which is great for kids who like to see their “ingredients.” Add a length of jute twine across the front for hanging utensils, and tuck a galvanized bucket on top for the sink. The trade-off is stability, so don’t build it too tall or let toddlers climb on it. Wine shops will often give crates away free if you ask nicely on a quiet weekday. Loose, flexible, and genuinely portable.
4. The Garden Sink Station
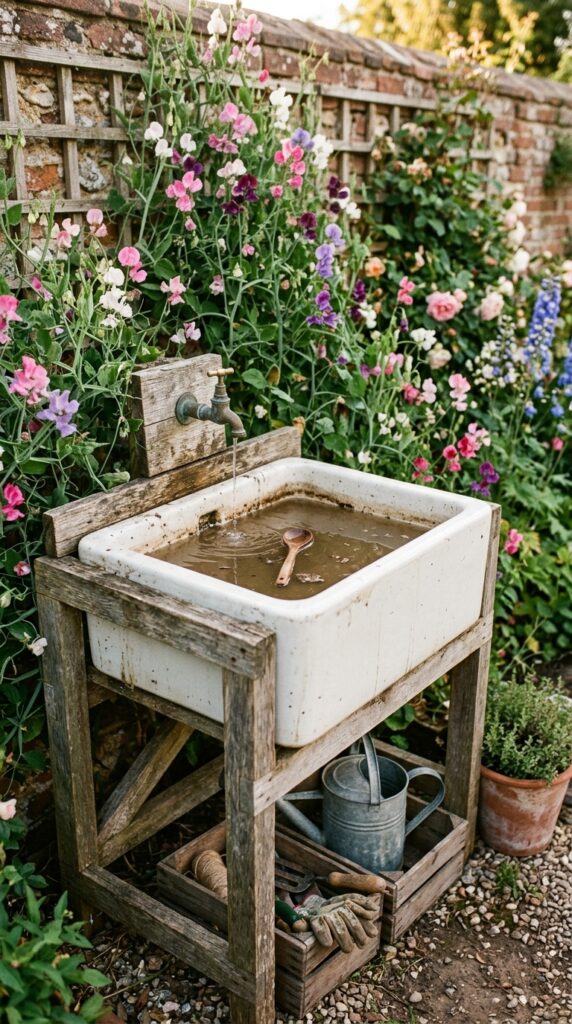
If you can find a chipped Belfast sink at a salvage yard or on a marketplace listing, grab it. They show up cheap because most people don’t want a cracked one for their actual kitchen, but a hairline crack is irrelevant for mud play. Mount it on a frame of scaffolding boards, hook it up to an outdoor tap if you can, and suddenly you’ve got the most photogenic mud kitchen on the street. The weight is the catch here, so you’ll need a solid base and ideally two adults to lift it into place. If a real Belfast sink is out of reach, a deep plastic washing-up bowl painted white gives you ninety percent of the look for almost nothing. The water access changes everything, though, so prioritise that over aesthetics if you can.
5. The IKEA Hack
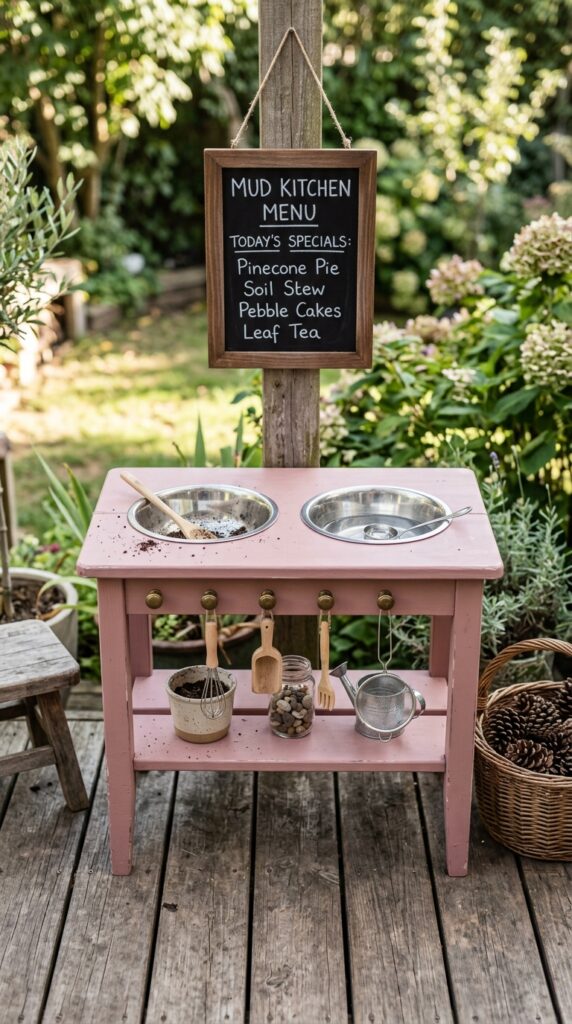
For anyone who isn’t confident with power tools, hacking a cheap flat-pack children’s table is the gentlest way in. You’re really just cutting one or two holes in the top for bowls, adding a few hooks, and painting it in a colour you actually like. The whole project costs less than dinner out and takes an afternoon. Twin sinks are surprisingly worth it because two kids can play side by side without arguing over the water bowl. Add a chalkboard panel to the back for a “specials menu” and you’ve doubled the play value. The watch-out is that flat-pack pine doesn’t love being rained on, so either seal it with an exterior varnish or plan to bring it under cover. Small-space friendly and very forgiving for nervous DIYers.
6. The Outdoor Wall-Mounted Version
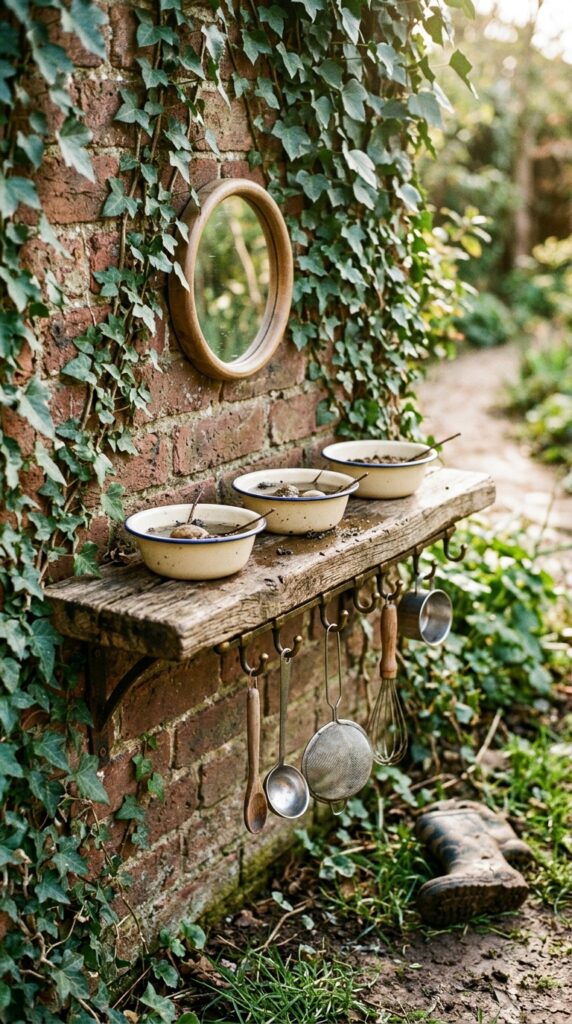
If your garden is small or you’re working with a balcony, a wall-mounted mud kitchen is genuinely the smartest layout. A single deep shelf at child height, a few hooks underneath, and you’re done. No legs, no footprint, nothing to mow around. I’d argue this is the most elegant option visually because it forces you to edit, so everything on display is something the kids actually use. Use rust-resistant brackets and seal the timber, because a wall-mounted version takes weather hits from above and the side. The constraint is obvious: you need a wall you’re allowed to drill into, which rules out most renters. But if you own the place, this is the build I’d recommend over almost any other on the list.
7. The Repurposed TV Stand
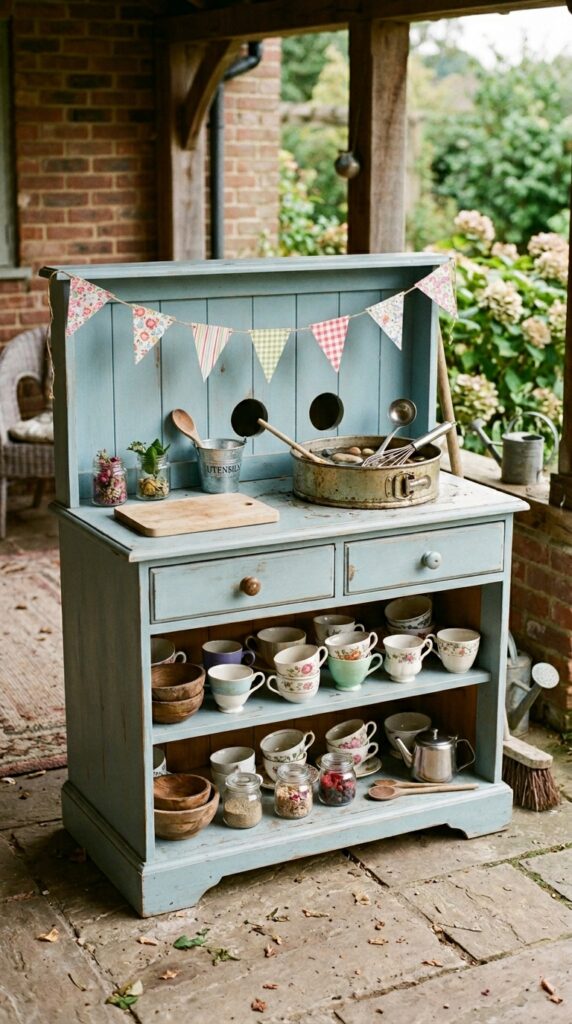
Old TV stands are everywhere on free listings because nobody knows what to do with them anymore. They’re the perfect mud kitchen blank because they already have shelves, often a cable hole at the back you can use for “drainage,” and a low, kid-friendly profile. Paint it whatever colour your kid loves, drop a metal cake tin into the top, and add a row of hooks. The cable cut-out at the back becomes a charming little detail rather than something to hide. If the unit has glass doors, take them off. Glass and mud are a bad combination, and the open shelves are genuinely more useful. The lifespan watch-out applies here too, so cover it or drag it under the porch when the weather turns. Free, characterful, and oddly perfect for the job.
8. The Tree Stump Prep Station
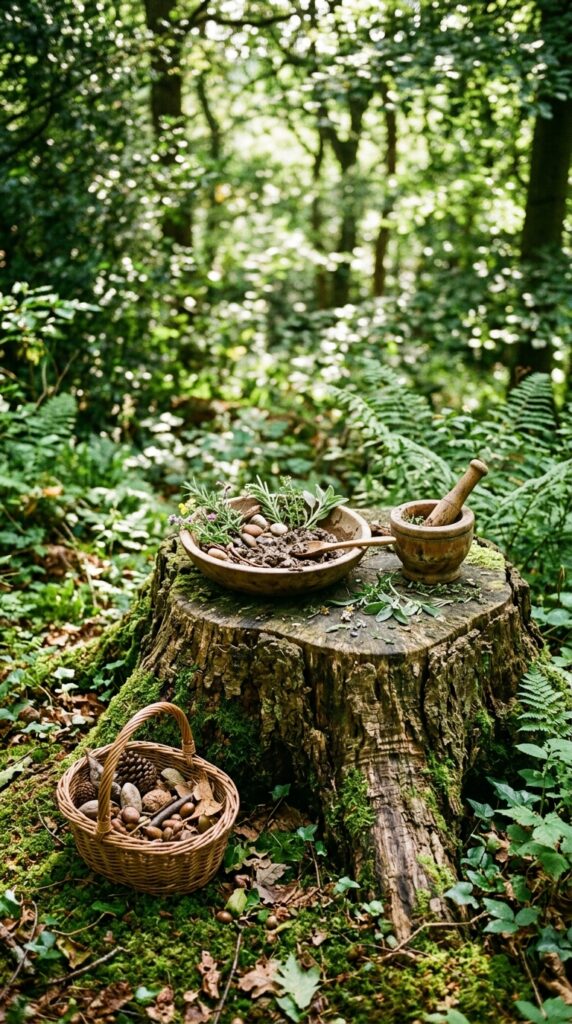
Sometimes the best mud kitchen isn’t really a kitchen at all. A wide, flat tree stump becomes a prep station, a bakery, a potion lab, whatever the kids decide that day. If you’ve recently had a tree taken down, ask the arborist to leave you a thick slice. If not, garden centres sell them surprisingly cheaply. Pair it with a smaller stump as a stool and a wooden crate for storing supplies, and you’ve created an unstructured, imagination-led play space for almost nothing. The trade-off is that it’s not really a “kitchen” in the traditional sense, so if your child is really into the role-play of cooking, this might feel underwhelming. But for sensory, free-form outdoor play, it’s hard to beat. Worth it for the texture alone.
9. The Camping Kitchen Conversion
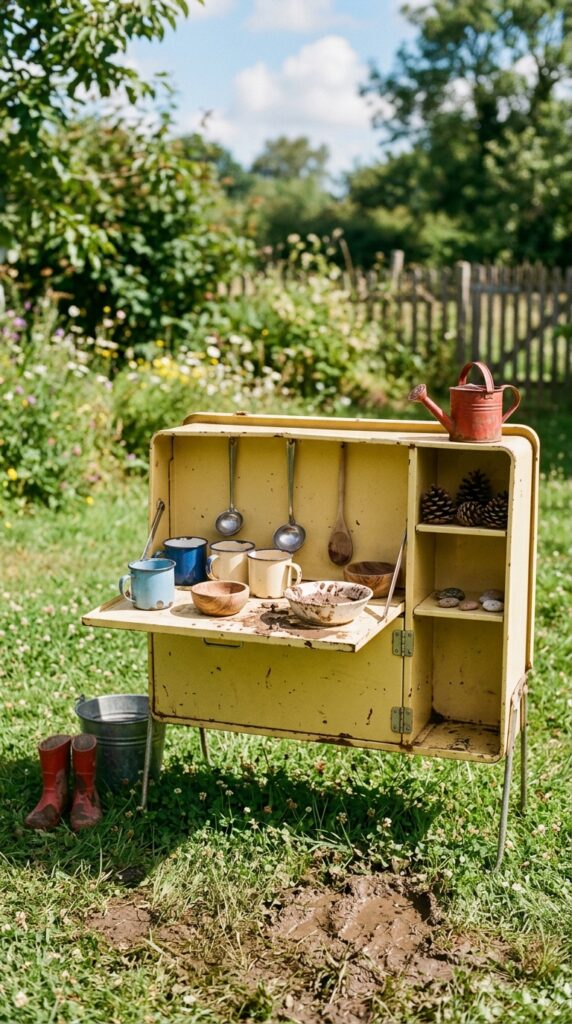
Old folding camping kitchens are an underrated find. They’re built to fold flat, take a bit of weather, and have all the right compartments already built in. Charity shops and car boot sales often have them for next to nothing because nobody camps with them anymore. A coat of exterior paint in a colour you actually like turns an ugly brown 1970s relic into something genuinely charming. The folding aspect is the real win for renters or anyone with a small garden. When the kids are done, fold it flat and lean it against the shed. The watch-out is structural integrity, because some of these units have wobbly joints after fifty years of use. Reinforce any weak hinges with brackets before letting kids lean their weight on it. Portable, characterful, and properly cheap.
10. The Brick and Plank Build
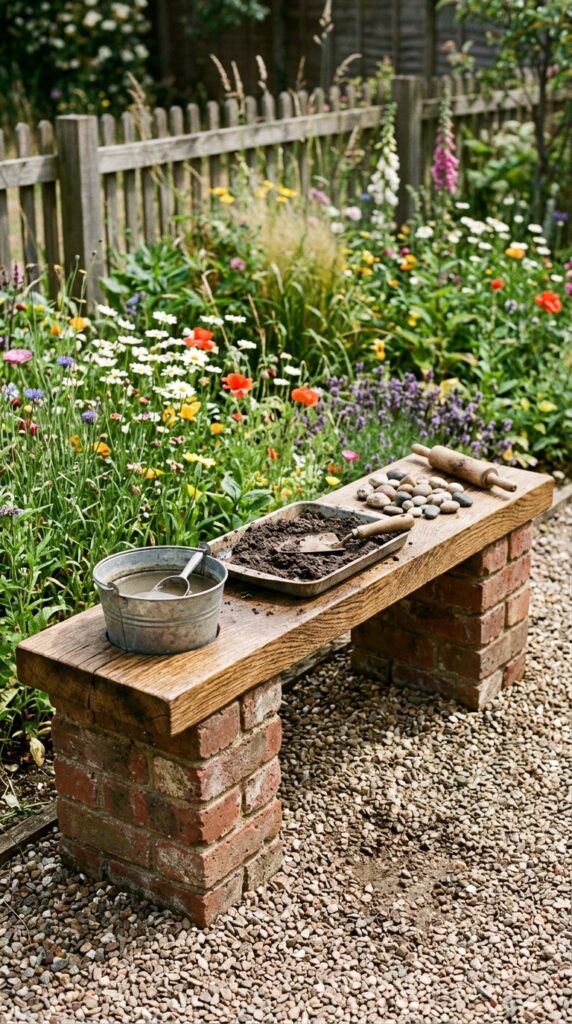
This is the build for people who genuinely have no DIY skills and zero interest in developing them. Two stacks of bricks, one solid plank, done. You don’t need to drill, screw, or paint anything. The bricks give it weight and stability, the plank gives you a surface, and the whole thing can be dismantled in about thirty seconds when you need the bricks for something else. There’s something almost architectural about how clean it looks, especially if you use reclaimed bricks with a bit of patina. The constraint is that it’s not a “real” structure, so there’s no storage and nothing to hang things from. You’ll need a separate basket or crate for utensils. But for a five-minute project that costs nothing, it punches well above its weight. Minimalist, fast, foolproof.
11. The Vintage Dresser Cut-Down
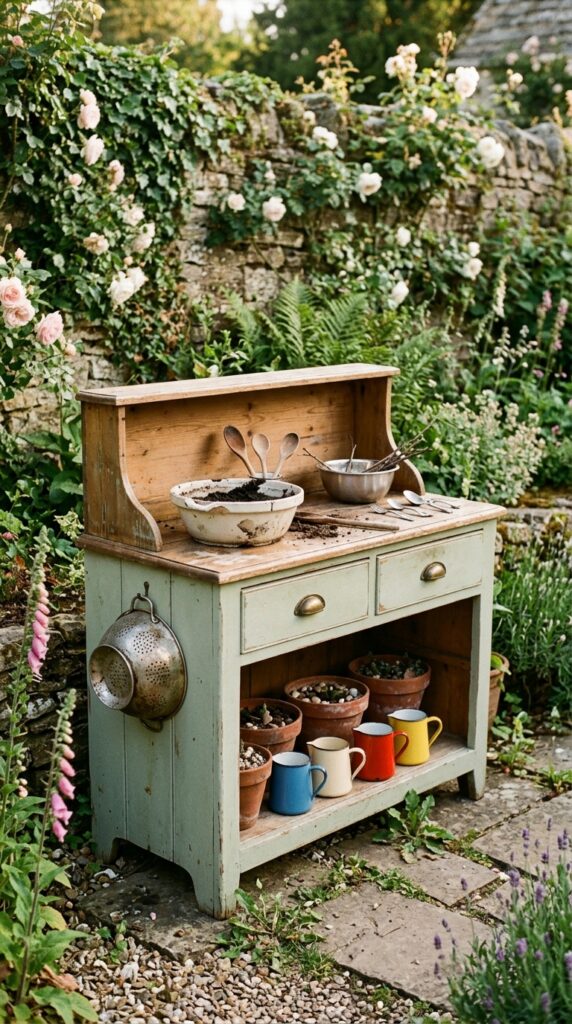
A small dresser with the top hutch removed makes possibly the most beautiful mud kitchen on this list. The drawers are perfect for organising “ingredients,” the lower shelf displays the prettier tools, and the height is usually just right for a four-or-five-year-old. Look for solid pine or oak rather than veneer, because veneer bubbles the moment it gets wet. Chalk paint, a few new brass pulls if the originals are ugly, and that’s genuinely all you need to do. The watch-out is size, because a full dresser takes up real garden real estate, and once it’s outside it’s not really coming back in. Commit to the spot, or don’t bother. But if you’ve got the space and find the right piece, this is the mud kitchen people will photograph and ask about. Patient, characterful, and worth the hunt.
12. The Upcycled Sandpit Combo
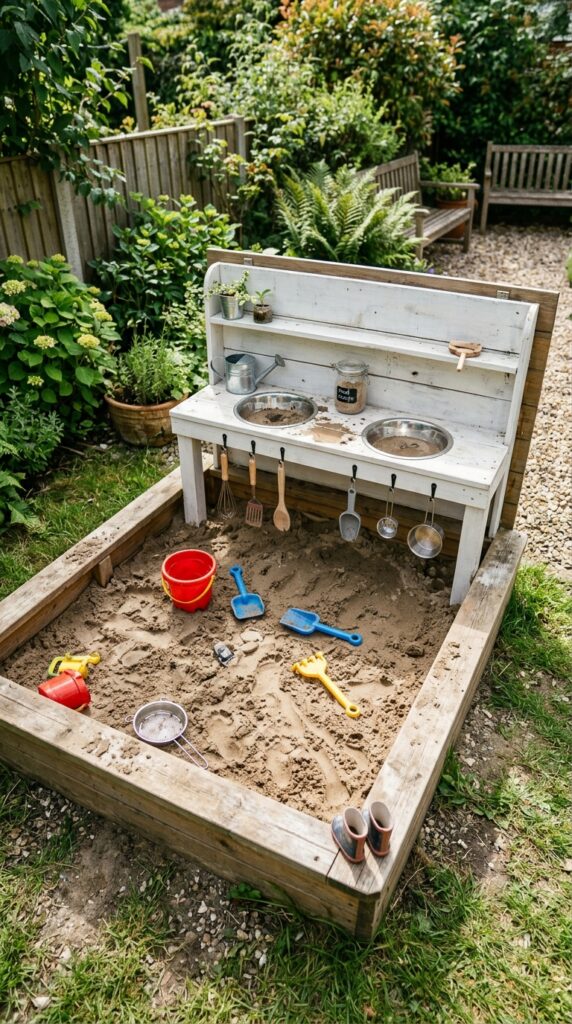
If you’ve already got a sandpit and the budget for two separate play zones isn’t there, build the mud kitchen onto the edge of it. A simple shelf along one side, two bowls dropped in, a few hooks, and now your kids have a sand-and-mud combo that gives them a hundred different play scenarios. The hinged lid doubles as a backdrop or a chalkboard if you paint the underside. The genuine win here is space efficiency, especially in smaller gardens where you can’t justify a dedicated mud kitchen footprint. The trade-off is mess management, because sand and water mix into something that gets tracked through every door in the house. Have a hose nearby and accept your fate. Clever, compact, and weirdly the build I’d recommend most for parents of two or more kids.
A Final Word
If there’s one thing I’ve learned from watching kids play in these little outdoor kitchens, it’s that the budget version almost always wins. The fancy wooden ones from catalogues look beautiful for about a week, then they swell, splinter, and end up in the bin. A scrappy build from pallets, charity shop finds, and salvaged bits has soul, and kids genuinely don’t care whether something cost five pounds or five hundred. They care that they can pour water on it.
Start with what you’ve already got. Walk around your garage, check your local free listings, and ask grandparents if there’s an old bedside table nobody wants. The materials will tell you what kind of kitchen you’re building. And if it falls apart in two summers? You’ve already got the next idea bookmarked.
Bookmark us, share this with the friend who’s about to spend two hundred quid on a plastic one, and come back when you’re ready for the next garden project. There’s always another corner to transform.

