
My first “grown-up” bedroom was 78 square feet. The bed took up half of it. The dresser took up another quarter. I had to walk sideways to get to the closet. Every layout article I read said “use light colors” and “add a mirror.” I did both. My room was still a shoebox. It turns out that pale pink walls and a tiny round mirror don’t actually create space—they just make the smallness feel more cheerful. I didn’t want cheerful. I wanted functional.
Most small bedroom advice is written by people who have never measured a room with a tape measure. They tell you to “declutter” as if you’re holding onto things for fun. They suggest “multifunctional furniture” but don’t mention that a murphy bed costs $2,000 and still requires clearance. The real problem with small rooms isn’t the square footage. It’s the assumptions you bring from larger rooms—that you need two nightstands, that the bed must be centered, that a dresser belongs against a wall.
I’ve now lived in six small bedrooms, including one that was technically a converted hallway. I’ve made every mistake: buying furniture that was too deep, painting colors that made the walls close in, believing that “space-saving” gadgets would save me. These 25 ideas are not theory. They’re what actually works when you have to wake up in a small room every day and not feel like you’re sleeping in a storage closet. Some are free. Some require a drill. All of them have been tested against the brutal reality of a room where every inch matters.
1. The Bed Flush In The Corner (Embrace The Asymmetry)
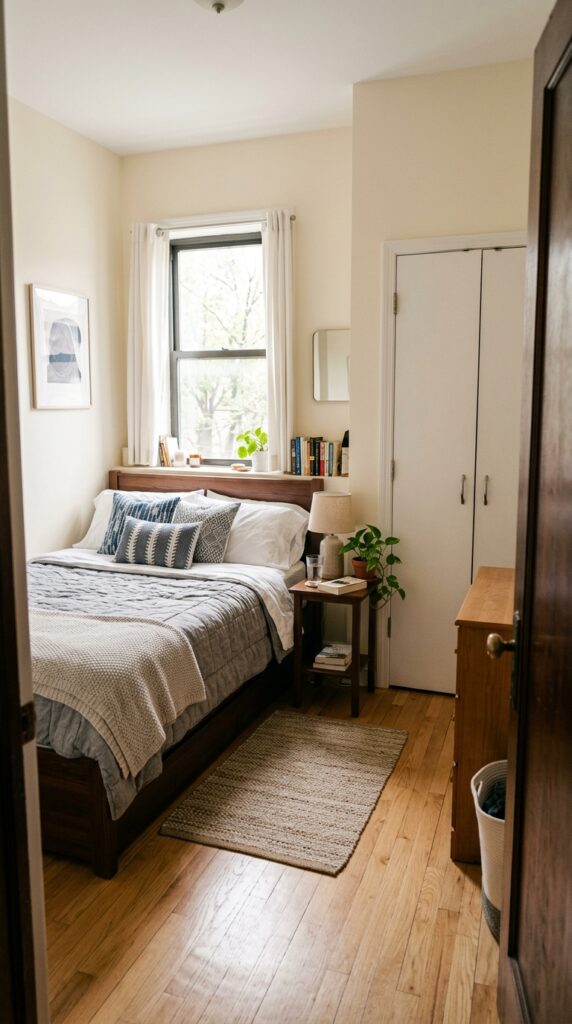
Every guide says not to put your bed in a corner. They say it’s bad feng shui, hard to make, and feels cramped. In a truly small room, those rules go out the window. I shoved my queen bed into a corner, flush against both walls. Suddenly I had a 36-inch path on the open side instead of 18 inches on each side. The room felt twice as big. Making the bed is annoying—you have to crawl to tuck the fitted sheet—but I’ll take that over being unable to open my closet door.
The trade-off is that only one person can get in and out easily. If you share a bed with someone, this arrangement means one of you crawls over the other. For couples, it’s a dealbreaker. For solo sleepers, it’s a lifesaver. Cost: free.
Put a fitted sheet with deep pockets on the corner bed. Standard sheets will pop off the mattress when you crawl over them. Deep pockets (16 inches or more) stay put.
2. The Dresser In The Closet (If You Have The Depth)
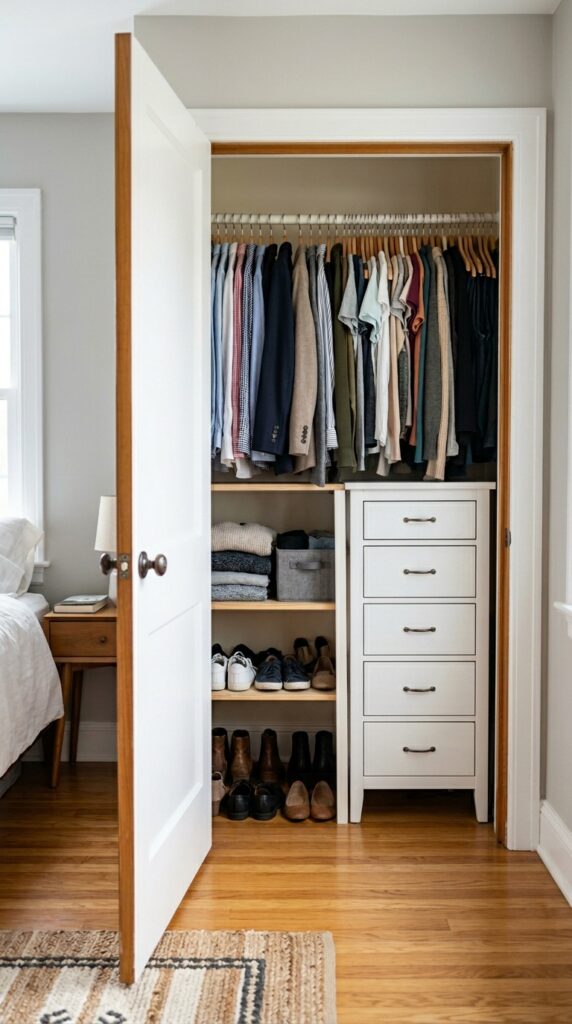
If your closet is at least 24 inches deep, put your dresser inside it. I measured my closet (26 inches deep) and found a dresser that was 18 inches deep. It fits beneath the hanging clothes. The dresser’s top becomes a shelf for folded sweaters. The closet door closes over it. My bedroom lost a 20×36 inch footprint—that’s 5 square feet of floor space I got back. The only catch is that you lose the bottom foot of hanging space. I moved my pants to a different rod.
If your closet is shallow, skip this. A dresser sticking out of a closet is worse than a dresser in the room. Cost: free if you already have a narrow dresser, or $50–$150 for a used one that fits.
Measure the closet depth with the door closed. Some doors have a lip that reduces clearance. You need at least 22 inches of actual floor depth after the door.
3. The No-Nightstand Rule (For One Side Only)
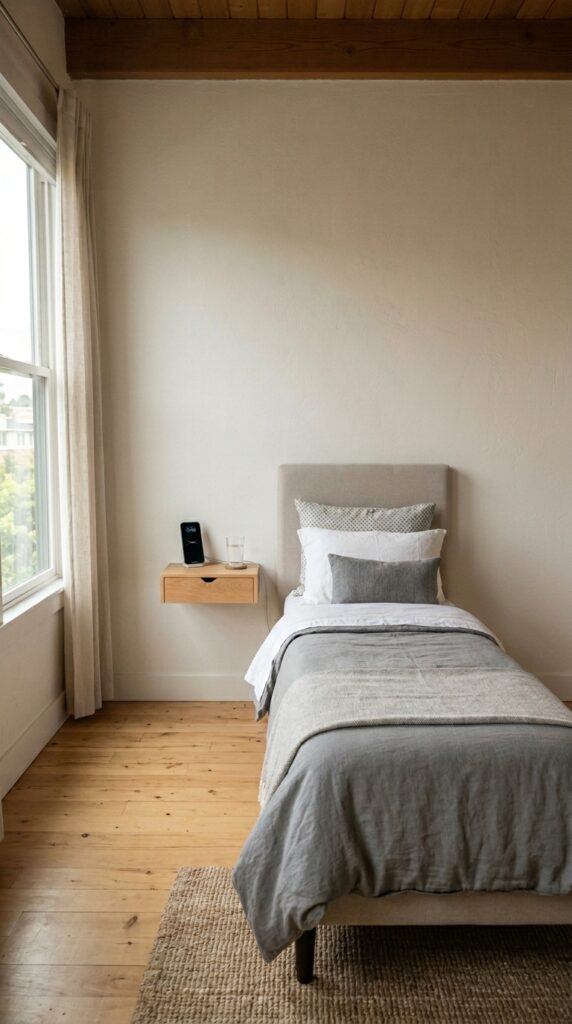
You do not need two nightstands. I know it feels unbalanced. I know every bedroom set sells them in pairs. But in a small room, one nightstand saves 2 square feet of floor space. I keep a narrow nightstand on the side I sleep on. The other side has a wall-mounted floating shelf at mattress height, just big enough for a phone and a water glass. It’s not a nightstand—it’s a ledge. And that’s fine because no one sits on that side of the bed anyway.
The one-nightstand rule works best if the bed is in a corner or against a wall. The floating shelf doesn’t need floor clearance, so you can still make the bed easily. Cost: nightstand $30–$80, floating shelf $15–$30.
Put a command hook on the wall without a nightstand to hang a small pouch for glasses and a remote. Zero floor space, everything accessible.
4. The Headboard That Saves Floor Space (Wall-Mounted)
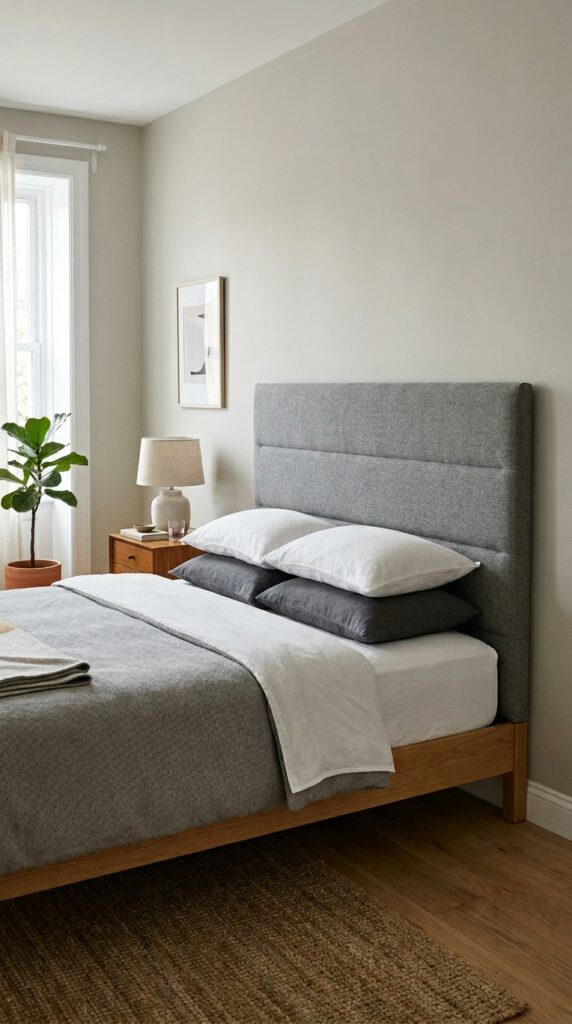
Standard headboards attach to the bed frame and extend several inches beyond the mattress. In a small room, those inches matter. I replaced my bulky headboard with a wall-mounted padded panel. It’s essentially a piece of plywood with foam and fabric, screwed directly into the wall. The mattress touches it. There’s no gap behind the bed. The room gained 4 inches of floor depth—the space where the headboard used to stick out. It doesn’t sound like much, but I noticed it immediately.
You can buy wall-mounted headboards or make one for $50 in materials. The only downside is you can’t change the bed’s position without patching screw holes. Cost: DIY $50–$80, pre-made $150–$300.
Hang the panel slightly lower than a standard headboard so the pillows cover the edge. It looks like the mattress is built into the wall.
5. The Door Mirror That Replaces The Standing One
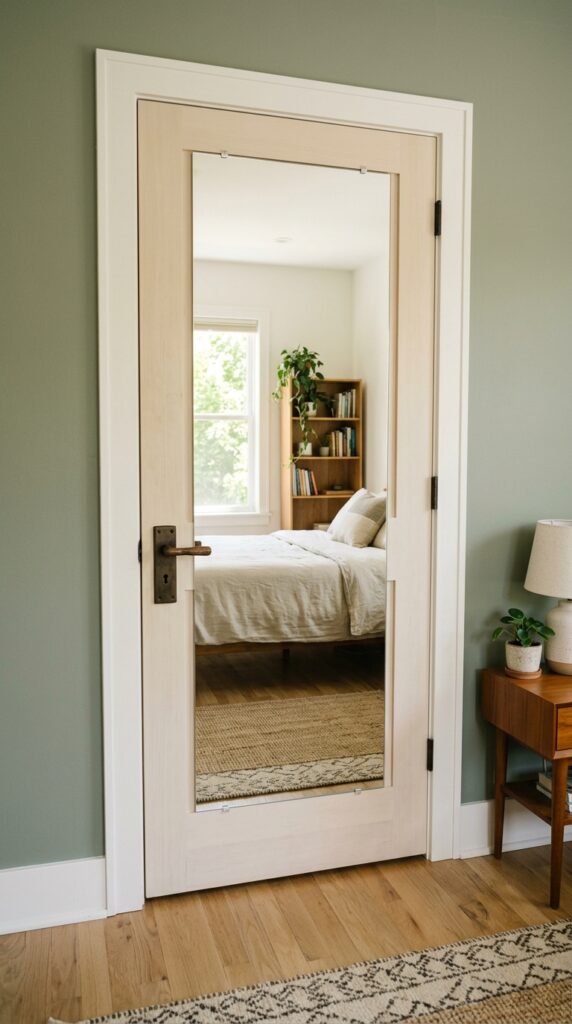
Full-length standing mirrors take up about 1.5 square feet of floor space and stick out 12 inches from the wall. In a small room, that’s prime real estate. I bought a frameless mirror and mounted it on the back of my closet door using adhesive strips. Total cost $25. It doesn’t swing or tip. It doesn’t collect dust on a stand. And it reflects light across the room, which makes the space feel bigger. The only catch is that you need a door that doesn’t have molding that blocks the mirror.
If your door has panels, you can buy a mirror that fits within the largest panel. Or use multiple small mirrors to create a patchwork. Cost: door mirror $20–$50, adhesive strips $5.
Measure the door before buying. Most interior doors are 30 inches wide. A 28-inch mirror leaves room for the door handle.
6. The Luggage Rack As Nightstand (Folding)
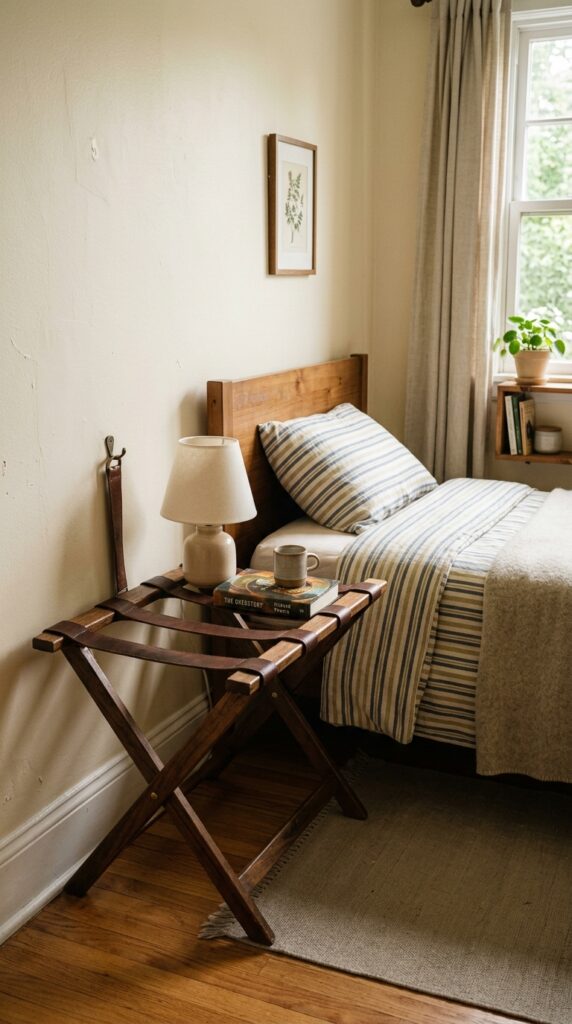
A traditional nightstand is a block of wood that doesn’t move. A folding luggage rack is a nightstand that disappears. I use a wooden luggage rack as my bedside table. It’s 18×24 inches when open—plenty of room for a lamp, a book, and a glass. When I need floor space (to vacuum, to do yoga, to open a suitcase), I fold it and slide it under the bed. It’s not as sturdy as a real nightstand—the slats flex—but I’ve never had it collapse.
The luggage rack as nightstand works best if you don’t put heavy things on it. A heavy lamp is fine. A stack of hardcovers is not. Also, the folding mechanism can pinch fingers. I learned that the hard way. Cost: luggage rack $25–$50.
Put a small tray on top of the luggage rack to create a solid surface. The slats will still flex, but your water glass won’t tip over as easily.
7. The Sconce That Frees The Nightstand (No Lamp Base)
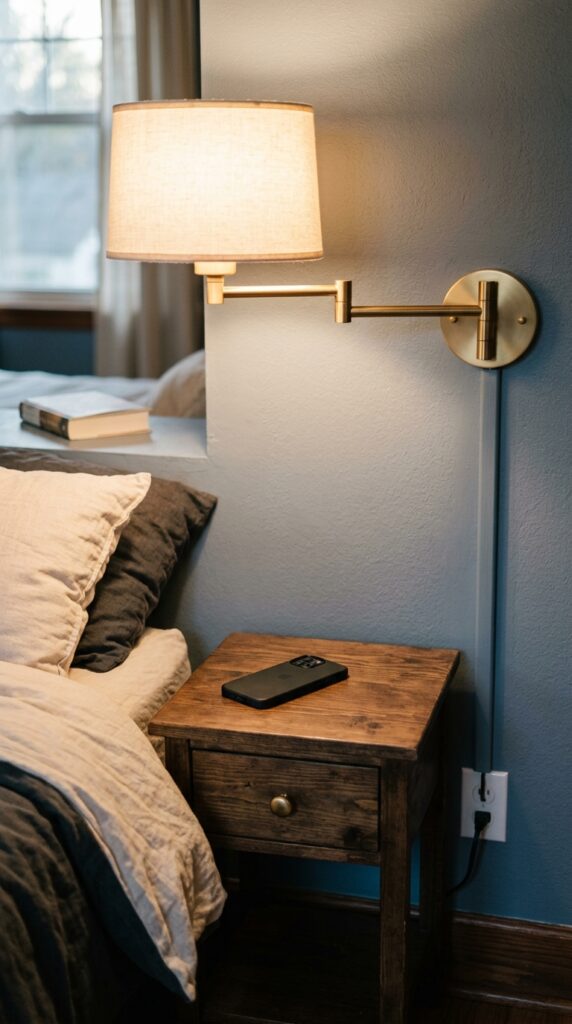
A table lamp takes up a third of a small nightstand’s surface. I replaced my bedside lamp with a plug-in wall sconce. The sconce base is 4 inches wide. The cord runs down the wall in a plastic channel painted to match the wall. The nightstand surface is now clear for a book, a glass, and my phone. The room feels less cluttered because the light source is off the horizontal plane.
Hardwired sconces are better but require an electrician. The plug-in version costs $40–$80 and takes 20 minutes to install. The only downside is the visible cord channel, but you can run it behind the headboard if the outlet is positioned correctly. Cost: plug-in sconce $40–$80, cord cover $10.
Position the sconce so the bulb is at eye level when you’re sitting in bed. Too high and you get glare. Too low and you hit your head on it.
8. The Over-The-Door Shoe Organizer (For Everything)
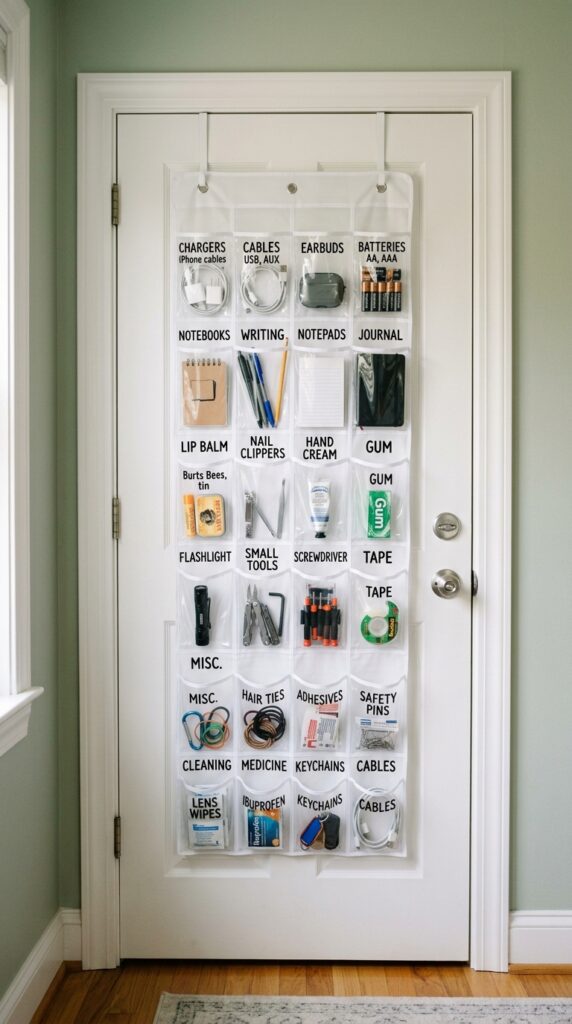
I’ve mentioned this before, but it bears repeating because it’s that useful. An over-the-door shoe organizer (clear pockets, not fabric) holds everything that would otherwise sit on a nightstand or dresser. I put one on the inside of my closet door. Each pocket holds a category: cables, office supplies, toiletries, tools. The pockets are shallow—they don’t bulge—so the door still closes. I’ve been using the same $12 organizer for four years. One pocket finally ripped. I duct-taped it.
Don’t put heavy items in the bottom pockets. The weight pulls the organizer down and the top hooks slide off. Light items only. Also, the plastic gets cloudy over time. That’s fine—it’s a utility piece, not decor. Cost: $12–$25.
Cut a piece of cardboard to fit the back of the organizer. It stiffens the whole thing and prevents the pockets from sagging into a lumpy mess.
9. The Tall Skinny Bookcase In The Gap
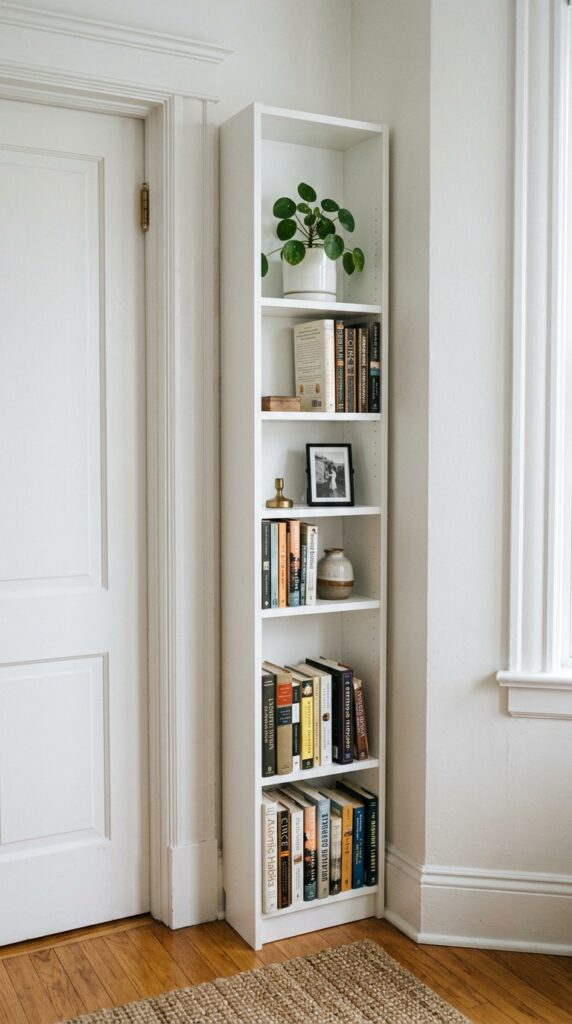
Every small room has gaps—between the door frame and the wall, next to the closet, behind the door. Measure them. You can buy “skinny bookcases” that are 8 to 12 inches wide. I found one that’s 10 inches wide and 6 feet tall. It fits in a gap that was completely empty. Now it holds 40 books and takes up zero floor space that was usable anyway. The bookcase is so narrow that it doesn’t block light or make the room feel crowded.
Don’t fill the whole bookcase. Leave empty shelves. The negative space makes the unit recede visually. Also, anchor it to the wall—a tall skinny bookcase is a tip hazard. Cost: skinny bookcase $50–$150, wall anchor $5.
Paint the bookcase the same color as the wall. It will almost disappear. White bookcase on a white wall is invisible. Dark on dark also works.
10. The Ottoman That Opens (And Flattens)
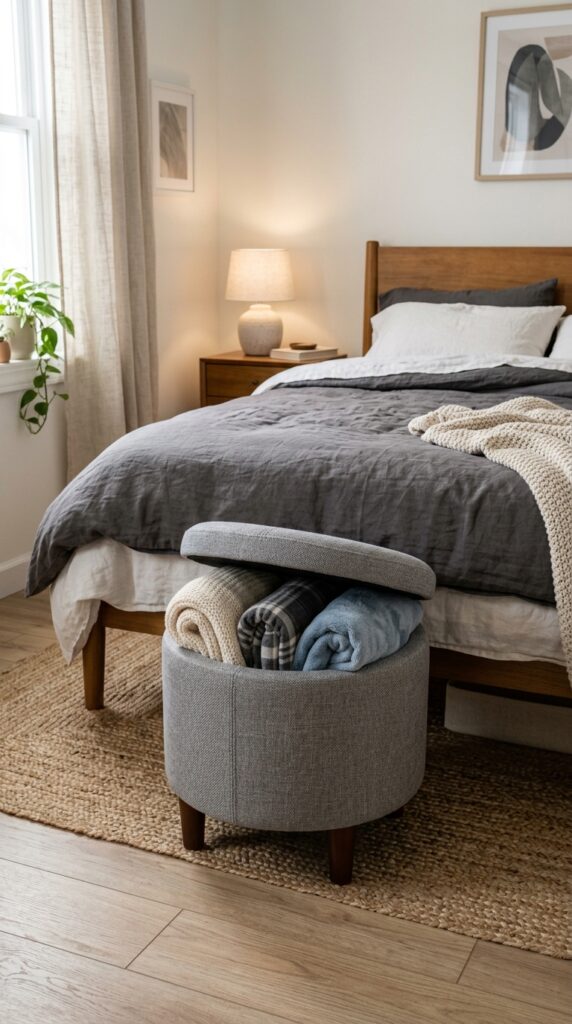
A storage ottoman is the most efficient piece of furniture you can add to a small bedroom. It’s a seat, a footrest, and a blanket box. I have a 15-inch round ottoman that holds four winter blankets. It sits at the foot of my bed. In a small room, a cube ottoman with sharp corners is dangerous—I’ve bruised my shins too many times. Round ottomans have no corners. They’re also easier to move out of the way when you need floor space.
The cheap ottomans from big-box stores lose their shape after a year. The padding flattens. The hinges loosen. Spend $80–$120 on one with a solid wood frame and metal hinges. My first ottoman was $40. I replaced it within 18 months. Cost: $80–$150 for a good one.
Choose a light color for a small room. A dark ottoman absorbs light and feels heavy. Cream or light grey recedes visually.
11. The Vertical Stripes (But Only On One Wall)
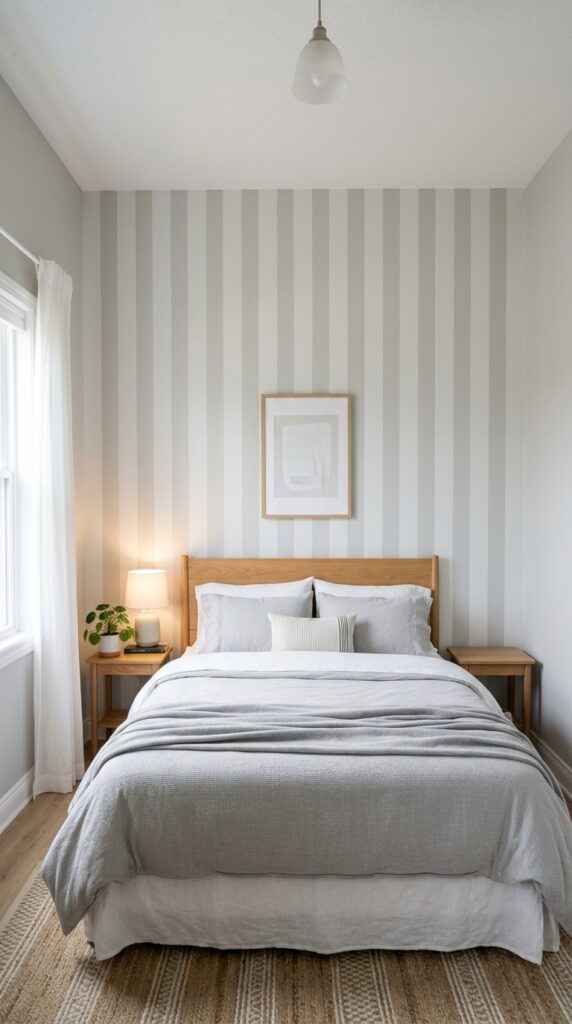
Vertical stripes make a room feel taller. But high-contrast stripes (black and white) are too aggressive for a small space. The version that works is low-contrast stripes—two shades of the same color, four inches wide. I painted stripes on the wall behind my bed using a laser level and frog tape. It took four hours. The result is subtle: you notice the stripes only when you look for them. The room feels about 6 inches taller.
If painting sounds miserable, use vertical stripe wallpaper. Peel-and-stick is $30 a roll. The trick is to only do one wall. Four striped walls is a headache. Cost: paint $30–$50, tape $10, wallpaper $30–$60.
Use a laser level for painting stripes. A spirit level is too slow and you’ll make mistakes. A $20 laser level saves hours of re-taping.
12. The Clear Acrylic Desk (Invisible Furniture)
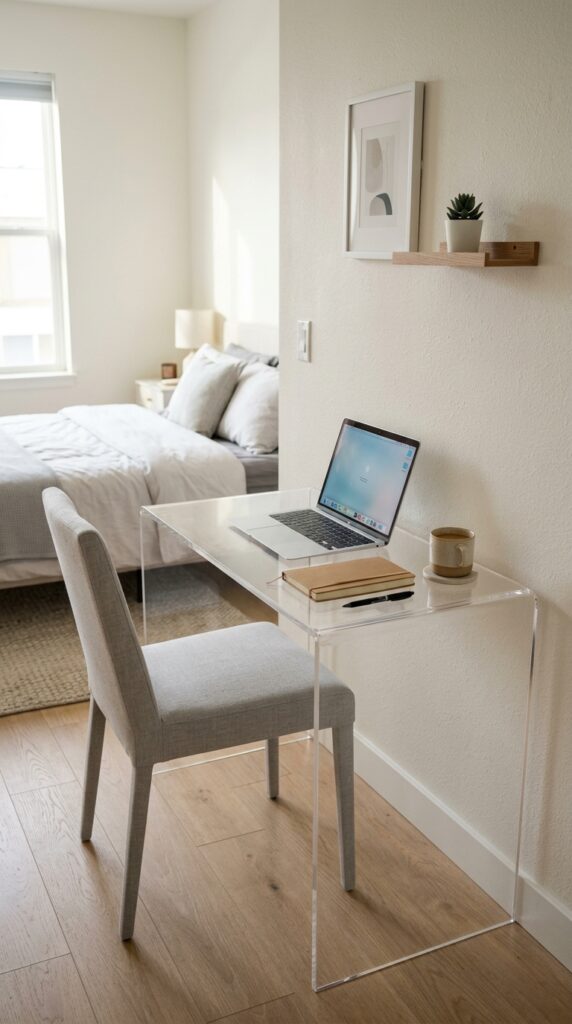
A desk in a small bedroom is usually a necessary evil. But a solid wood desk is a visual block. A clear acrylic desk (also called “ghost desk”) is almost invisible. Your eye sees the wall behind it. The desk surface seems to float. I bought a 40-inch acrylic desk for $90. It’s not as sturdy as wood—it flexes when I lean on it—but it’s fine for a laptop and a notebook. The lack of visual weight makes the room feel significantly larger.
Acrylic scratches if you look at it wrong. The surface of my desk is now covered in fine scratches from my mousepad. From three feet away, you can’t see them. Up close, it’s a mess. That’s the trade-off. Also, acrylic shows every dust speck. I wipe it down daily. Cost: $70–$150.
Use a felt desk pad on an acrylic desk. It prevents scratches and gives you a non-slip surface. A $10 pad is cheaper than a new desk.
13. The Bed Lifted (For Under-Bed Storage You Can Reach)
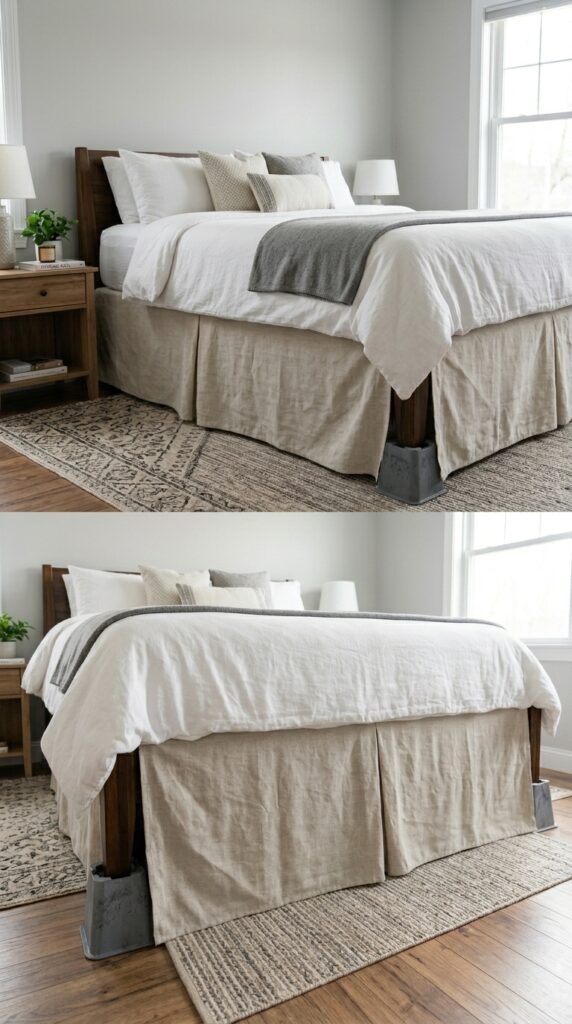
Standard bed frames have 6 inches of clearance. That’s not enough for most storage bins—they’re 5.5 inches tall, but you need clearance to slide them. I bought 6-inch bed risers (the plastic cups that go under the legs). Now the bed is 12 inches off the floor. I can fit standard 6-inch-tall bins underneath. I have four bins holding off-season clothes, extra bedding, and shoes. The bed skirt hides everything. The room looks normal, but I gained 20 cubic feet of storage.
The catch: getting into bed is now a climb. I’m 5’4″ and I have to jump slightly. If you’re shorter or have mobility issues, this is a problem. Also, the bed feels less stable on risers. I use metal risers that screw into the existing legs, not plastic cups that can crack. Cost: metal bed risers $20–$40, plastic bins $10–$20 each.
Drill small holes in the back of the bins for airflow. Clothes stored completely sealed can get musty. The holes make a huge difference.
14. The Curtain Instead Of A Closet Door (Saves 3 Square Feet)
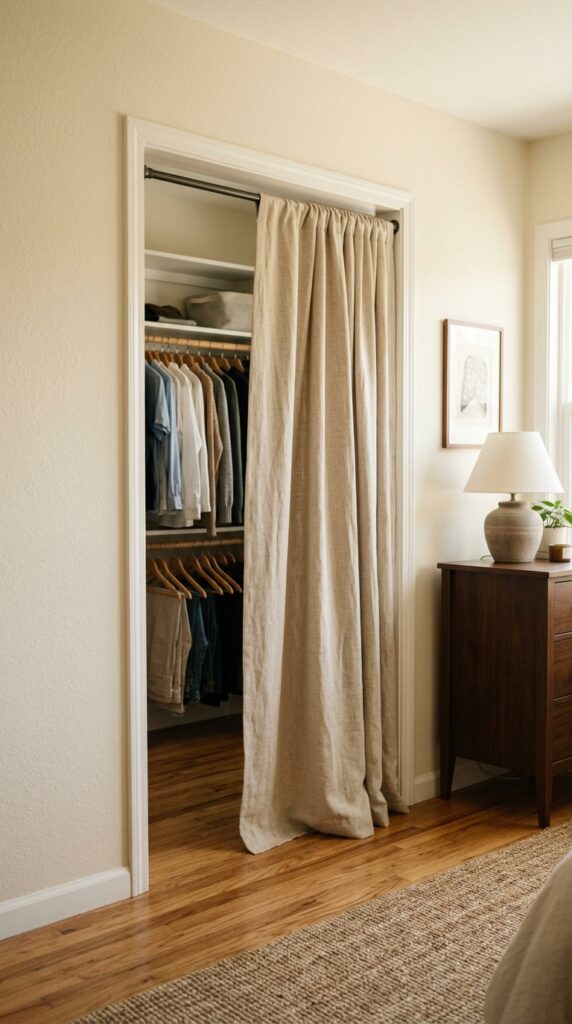
A swinging closet door takes up about 3 square feet of floor space when open. A sliding door covers a third of your closet at all times. I removed my closet door entirely and hung a tension rod with a linen curtain. The curtain takes zero floor space. It’s soft, so it doesn’t block the path. The room gained 3 square feet of usable space—the area where the door used to swing. It’s the cheapest square footage I’ve ever gained.
The curtain doesn’t block sound or light the way a door does. If your bedroom is off a living area, you’ll hear more noise. Also, cats love to climb curtains. My cat used mine as a scratching post. I switched to a heavier cotton canvas. Cost: tension rod $15–$25, curtain panel $20–$40.
Use a ceiling-mounted curtain track instead of a tension rod if you have a wide closet. Tension rods sag over 48 inches. A track is $20 and never sags.
15. The Floating Desk That Folds Up (Murphy Desk)
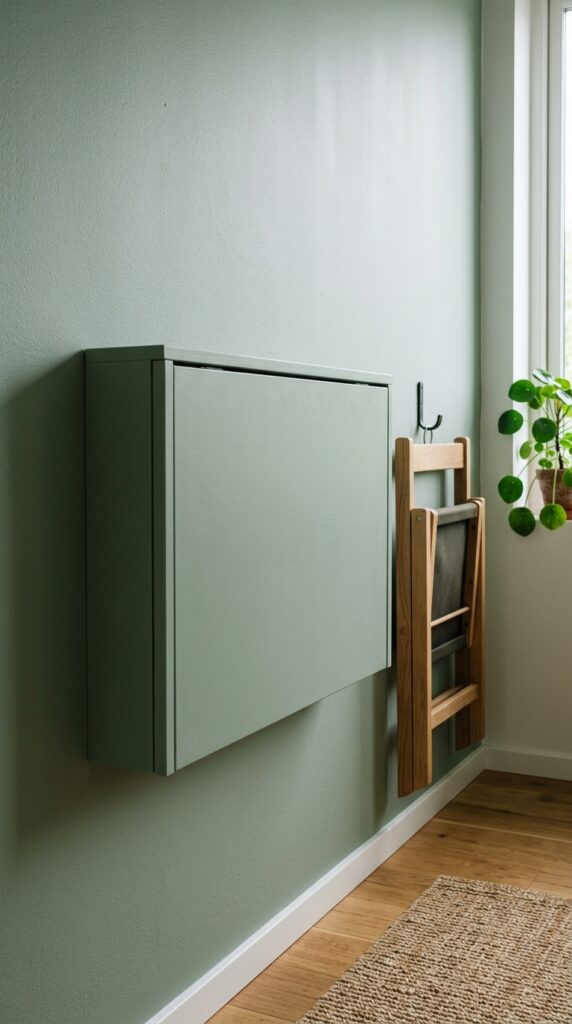
A murphy bed is expensive and heavy. A murphy desk is cheap and easy. I installed a fold-down wall desk (sometimes called a drop-leaf desk) that’s 24×36 inches when open and 4 inches deep when closed. It’s mounted at standing height, so I don’t need a chair (I stand to work). When I’m done, I fold it up and it disappears. The desk cost $80 on Amazon. The hardware is cheap—the hinges started squeaking after six months. I sprayed them with WD-40 and they’re fine.
If you need a chair for your floating desk, use a folding wooden chair that hangs on a wall hook. The whole setup takes zero floor space when not in use. The only downside is that the desk can’t hold much weight. My laptop is fine. A monitor and a stack of books is not. Cost: fold-down desk $60–$120, folding chair $30–$60.
Mount the desk into wall studs, not drywall anchors. The leverage from opening and closing will pull anchors out. Studs are non-negotiable.
16. The Paint Color That Recedes (Not Just White)
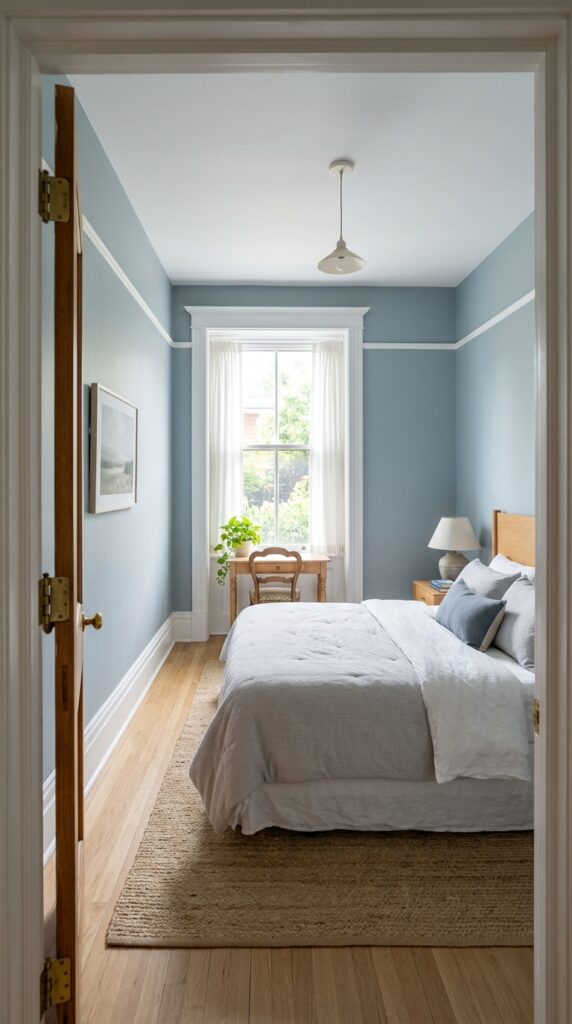
White walls are the default for small rooms. But white can feel flat and harsh. The colors that actually recede are cool, pale tones: blue-grey, green-grey, lavender-grey. These colors trick the eye into thinking the wall is farther away. I painted my small bedroom in Benjamin Moore’s “Pale Smoke”—a barely-there blue-grey. The room feels about 10% larger than it did in white. It’s subtle but real.
Avoid warm tones (beige, cream, peach) in small rooms. Warm colors advance—they feel closer. Also avoid dark colors unless you have a lot of natural light. Dark walls in a small, dark room feel like a cave. Cost: one gallon $40–$60, supplies $20.
Test your paint color on a foam board and move it around the room. The color looks different on every wall because of the light. Don’t trust the swatch.
17. The Corner Shelves That Use Dead Space
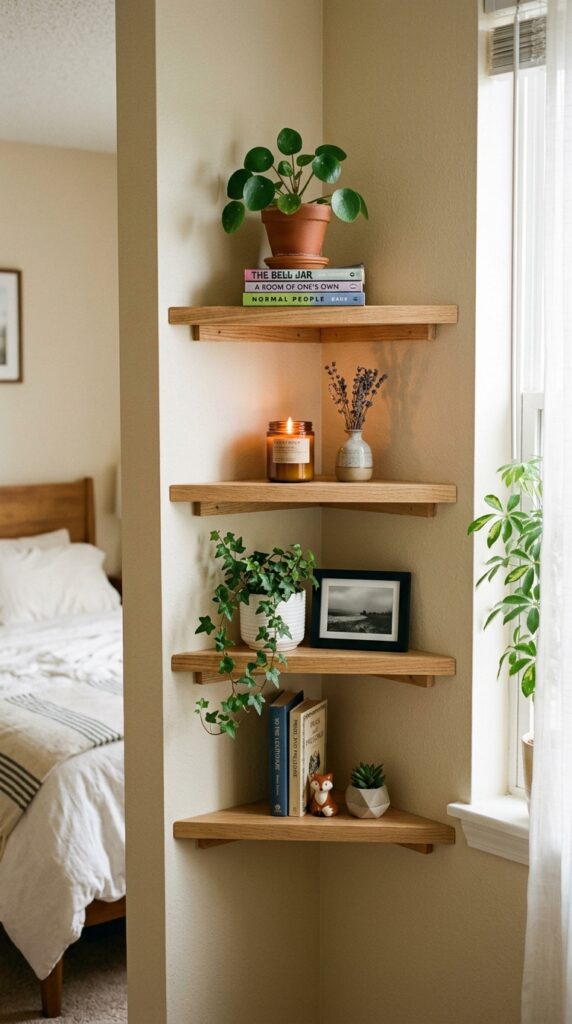
Corners are dead space. You can’t put furniture in a corner without blocking two walls. But corner shelves—triangular shelves that fit into the 90-degree angle—use that space. I installed three corner shelves in a 45-degree pattern going up the wall. They hold my small plant collection and a few books. The shelves don’t stick out into the room because the deepest point is at the corner. They’re invisible from certain angles.
Corner shelves are easy to install (one screw per bracket). The tricky part is finding shelves that are actually triangular. Most “corner shelves” are square with a cut corner. Look for true quarter-circle or triangular shapes. Cost: set of 3 corner shelves $20–$40.
Stagger the shelves in a zigzag pattern, not a straight line. A straight line of corner shelves looks like a ladder. A zigzag looks intentional.
18. The Console Table Behind The Bed (For Depth)
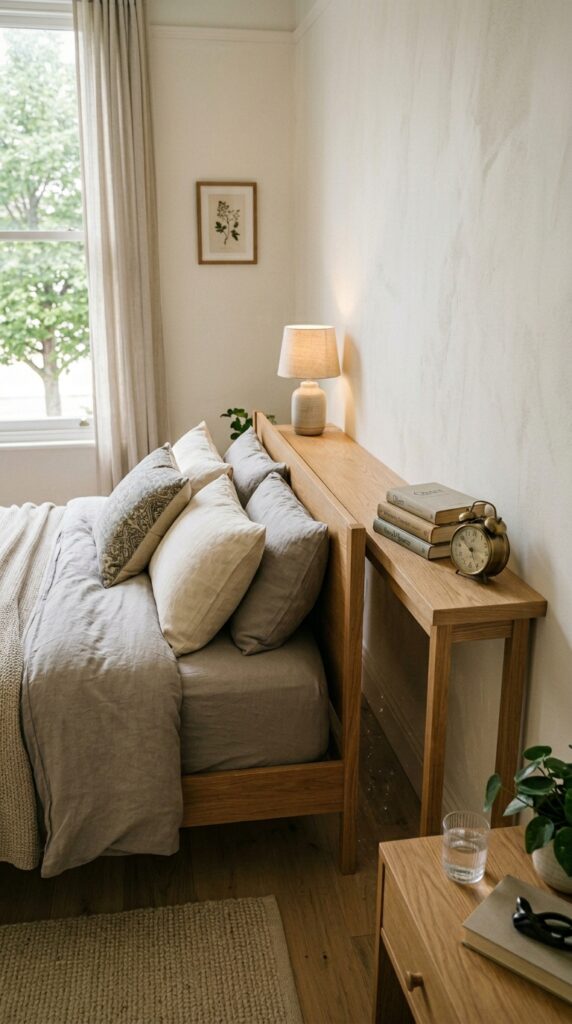
This is a trick I learned from hotel design. Place a narrow console table (6-8 inches deep) against the wall, then push your bed against the table so the headboard touches the table’s back edge. The table becomes a shelf behind your pillows. You can put a lamp, books, or your phone there. The table adds visual depth without taking any floor space because the bed sits in front of it. My console table is an 8-inch-deep, 60-inch-long board on hairpin legs. It cost $40 to make.
The table needs to be the same width as your bed or slightly wider. If it’s narrower, it looks like a mistake. Also, the table height should match the top of your mattress or be slightly lower. Cost: DIY $40–$60, pre-made $80–$150.
Use the console table as a hidden charging station. Run a power strip along the back, and you’ll never see the cords. Your phone charges behind your pillow.
19. The Hooks Instead Of A Coat Rack
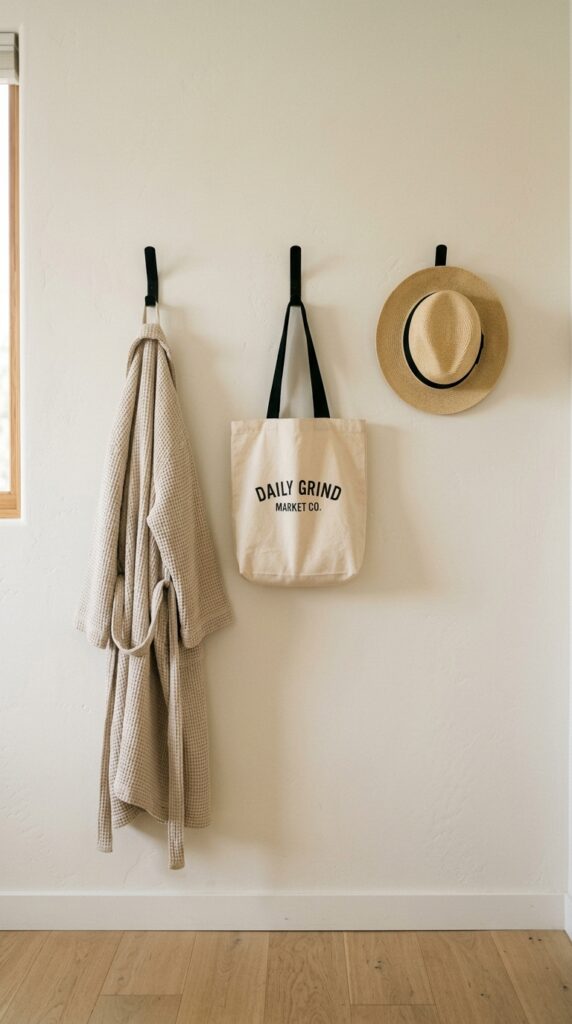
A standing coat rack takes up 1 square foot of floor space and is always in the way. I replaced mine with three wall hooks. They cost $5 each. They hold my robe, my tote bag, and tomorrow’s outfit. The hooks are mounted at eye level, so the hanging items don’t drag on the floor. This works for any small room: hooks on the wall behind the door, hooks on the back of the door, hooks on the wall near the closet.
Don’t overload the hooks. Three items maximum per hook, or they look like a pile. Also, mount them into wall anchors, not just drywall. A heavy winter coat can pull a hook out of drywall. Cost: hooks $10–$20 for a set of three, anchors $5.
Use a decorative hook rail (a board with multiple hooks) to distribute weight and make the installation look intentional. A single row of hooks can look sparse.
20. The Light Wood Floor (Reflects, Doesn’t Absorb)
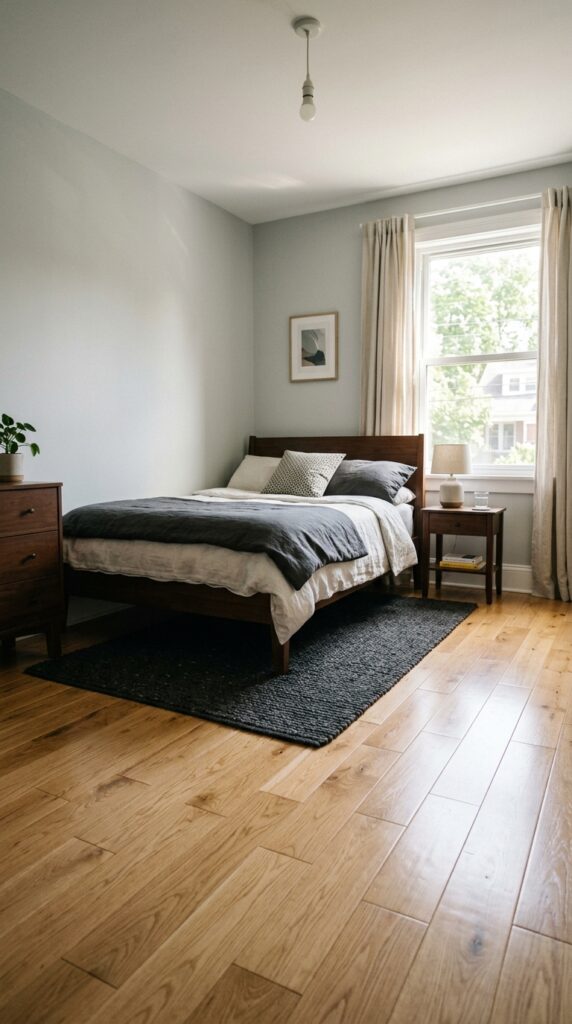
Dark floors absorb light. Light floors reflect it. In a small bedroom, light floors are non-negotiable if you want the room to feel spacious. I have light oak laminate that cost $2 per square foot. It’s not real wood, but it’s durable and reflects light up toward the walls. If you have dark floors and can’t change them, cover them with a large light rug. A 9×12 cream rug will bounce light the same way a light floor would.
Light floors show dirt and scratches more than dark floors. I sweep every other day. The scratches are inevitable—I’ve learned to see them as texture. Cost: laminate $2–$5/sq ft, large light rug $150–$300.
If you have dark floors, use light-colored furniture and a large light rug. The contrast will distract from the dark floor and pull the eye upward.
21. The No-Headboard Option (Minimal And Spacious)
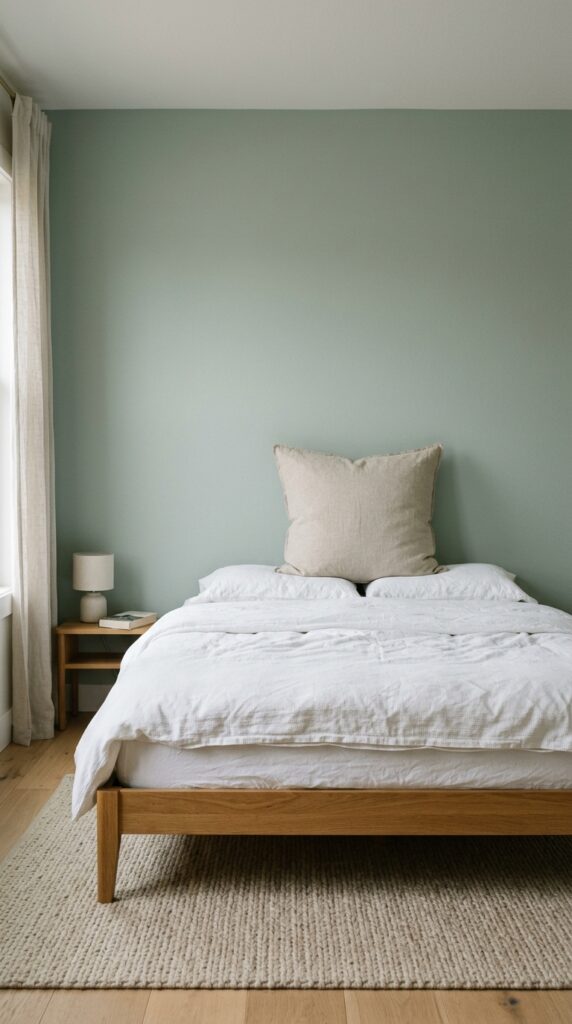
A headboard is not required. I removed mine entirely for a year. The bed looked lower to the ground, which made the ceiling feel higher. The wall behind the bed was empty, which my eye read as open space. I used a large euro pillow as a backrest when sitting up. The only downside was that the pillows slid down between the mattress and the wall. I solved that with a pool noodle tucked into the gap.
No-headboard works best with a low-profile bed frame (6 inches or less). A tall box spring with no headboard looks unfinished. Cost: free, or $5 for a pool noodle.
Paint the wall behind the bed a slightly darker color than the other walls. The contrast creates a faux headboard effect without taking up any space.
22. The Sheer Curtains That Filter Light (Not Block It)
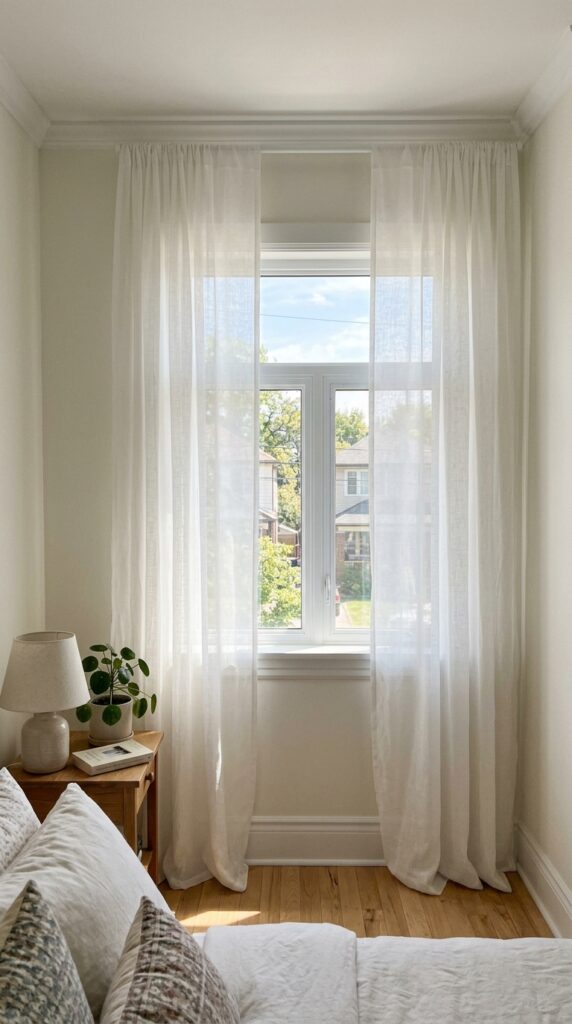
Blackout curtains are great for sleep but terrible for making a room feel spacious. They block light and make small rooms feel like boxes. Sheer curtains let light in while providing privacy. I use white sheer curtains that go from ceiling to floor. The light comes through diffused, which makes the room feel airy. At night, I have blackout roller shades behind the sheers for when I need darkness. Best of both worlds.
Sheer curtains show every wrinkle. I steam mine once a month. Also, white sheers get grey from city dust. I wash them every two months. Cost: sheer curtains $20–$40 per panel, blackout roller shade $30–$60.
Hang the curtain rod two inches from the ceiling, not above the window frame. The floor-to-ceiling fabric draws the eye up, making the room feel taller.
23. The Wire Shelving Instead Of A Dresser (Visible But Airy)
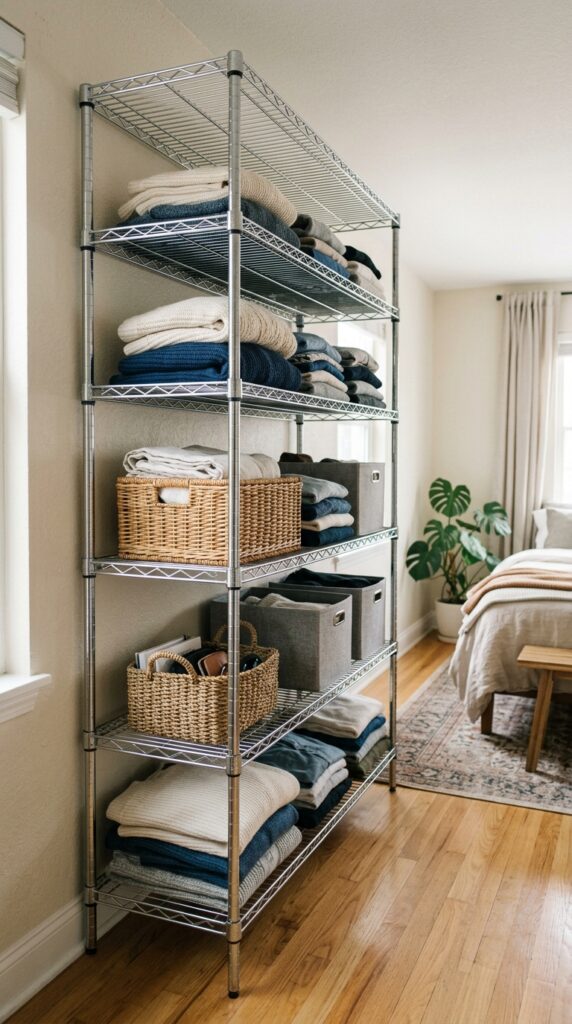
A solid wood dresser is a visual block. Wire shelving is almost invisible. I replaced my dresser with a 48-inch-wide wire shelving unit. The open grid lets light pass through. I can see the wall behind the shelves, which makes the room feel larger. I store folded clothes in fabric bins on the shelves, and the bins add texture. The whole unit cost $60 at a hardware store. It’s adjustable, so I can reconfigure it when my needs change.
Wire shelving doesn’t look high-end. It looks utilitarian. If that bothers you, use wooden crates or a pegboard system. But the airy quality of wire is hard to beat for small spaces. Cost: $50–$100.
Use matching fabric bins on wire shelves to hide the visual clutter of folded clothes. The bins add color and texture while the wire structure remains light.
24. The Furniture On One Wall Only (The Gallery Wall Layout)
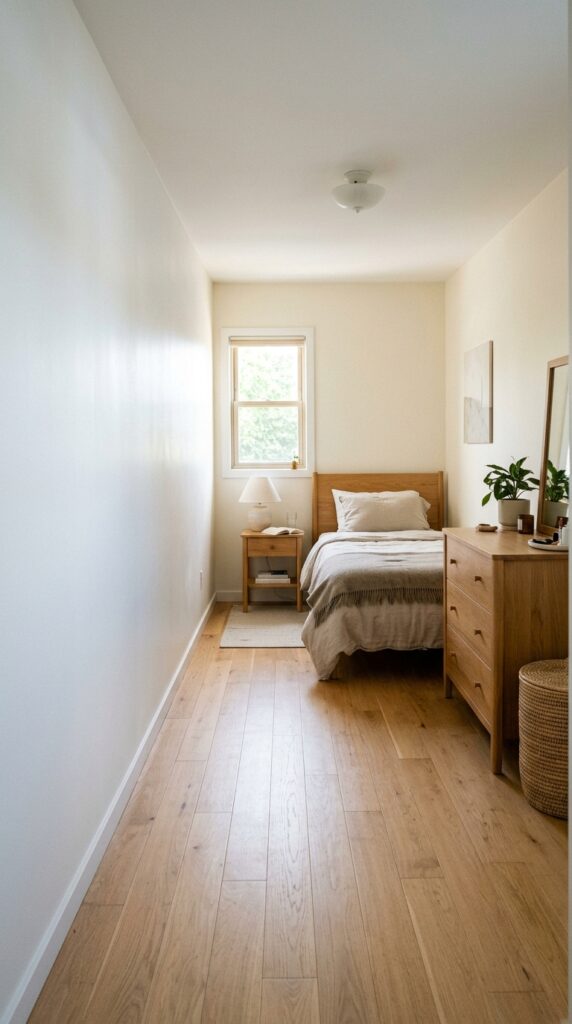
This is the ultimate small-room layout hack. Arrange all your furniture along one wall, like a gallery. The bed goes in the middle of that wall. The nightstand and dresser flank it. The opposite wall stays completely empty. The room now reads as a long, open space rather than a cluttered box. I tried this in a 10×10 room and couldn’t believe the difference. The empty wall became a breathing space.
The constraint is that you need a room where the furniture wall is long enough to fit everything. In a narrow room, this doesn’t work—you need the short wall for the bed. But in a square or slightly rectangular room, it’s magic. Cost: free.
Hang a single large piece of art on the empty wall. It becomes a focal point without adding clutter. The art should be simple—a landscape or abstract.
25. The Annual Purge Of One Cubic Foot
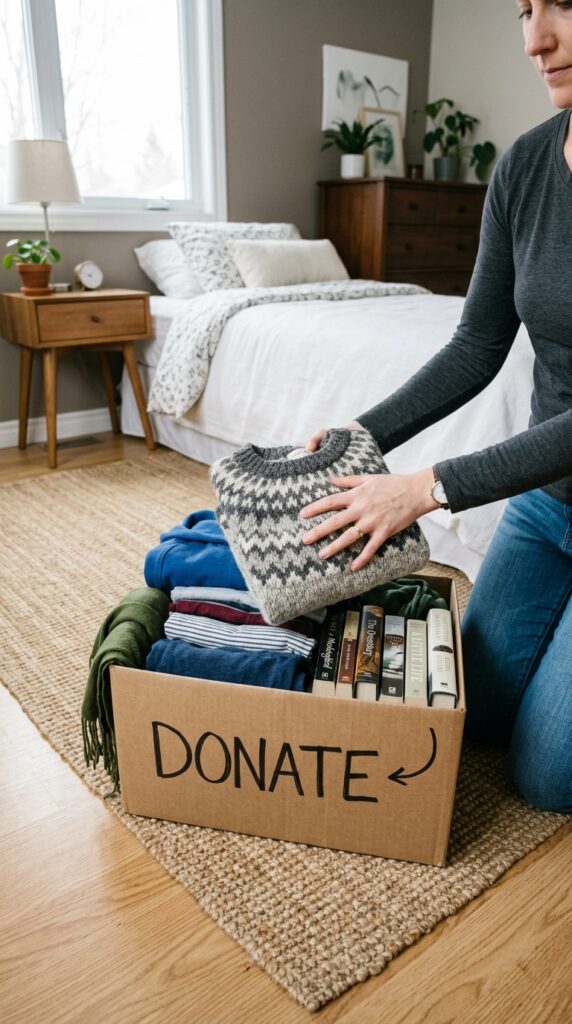
All the layout tricks in the world won’t save you if you keep accumulating stuff. Once a year, I fill a box with things I haven’t used in 12 months. It’s usually about one cubic foot—the size of a banker’s box. That box goes to Goodwill. The rule is simple: if you haven’t touched it in a year, you won’t miss it. I’ve done this for five years. Each time, I feel lighter. The room feels bigger. And I never remember what I donated.
The one exception: sentimental items. I keep a shoebox of things that don’t serve a purpose but mean something. That’s allowed. Everything else goes. Cost: free, plus the emotional labor of letting go.
Set a calendar reminder for the same day every year. January 2nd is my purge day. The post-holiday clutter is fresh, and the new year energy helps.
The core decision of making a small room feel spacious is choosing function over convention. You cannot arrange a 90-square-foot bedroom like a 200-square-foot bedroom. The rules change. The bed goes in the corner. The dresser goes in the closet. You pick one nightstand, not two. You hang a mirror on the door. These are not design compromises. They are design adaptations.
If you do one thing from this list, start with the furniture-on-one-wall layout. Push everything to a single wall and leave the opposite wall empty. It’s free, it takes ten minutes, and it will immediately change how the room feels. Then measure your paths. If you’re squeezing past anything, move it. The goal is not to make the room look bigger in photos. It’s to make it feel bigger when you’re half-awake at 7 AM.
A small bedroom is not a limitation. It’s a constraint that forces you to be intentional. And intentionality, in the end, looks better than square footage. Now go move your bed into the corner.

